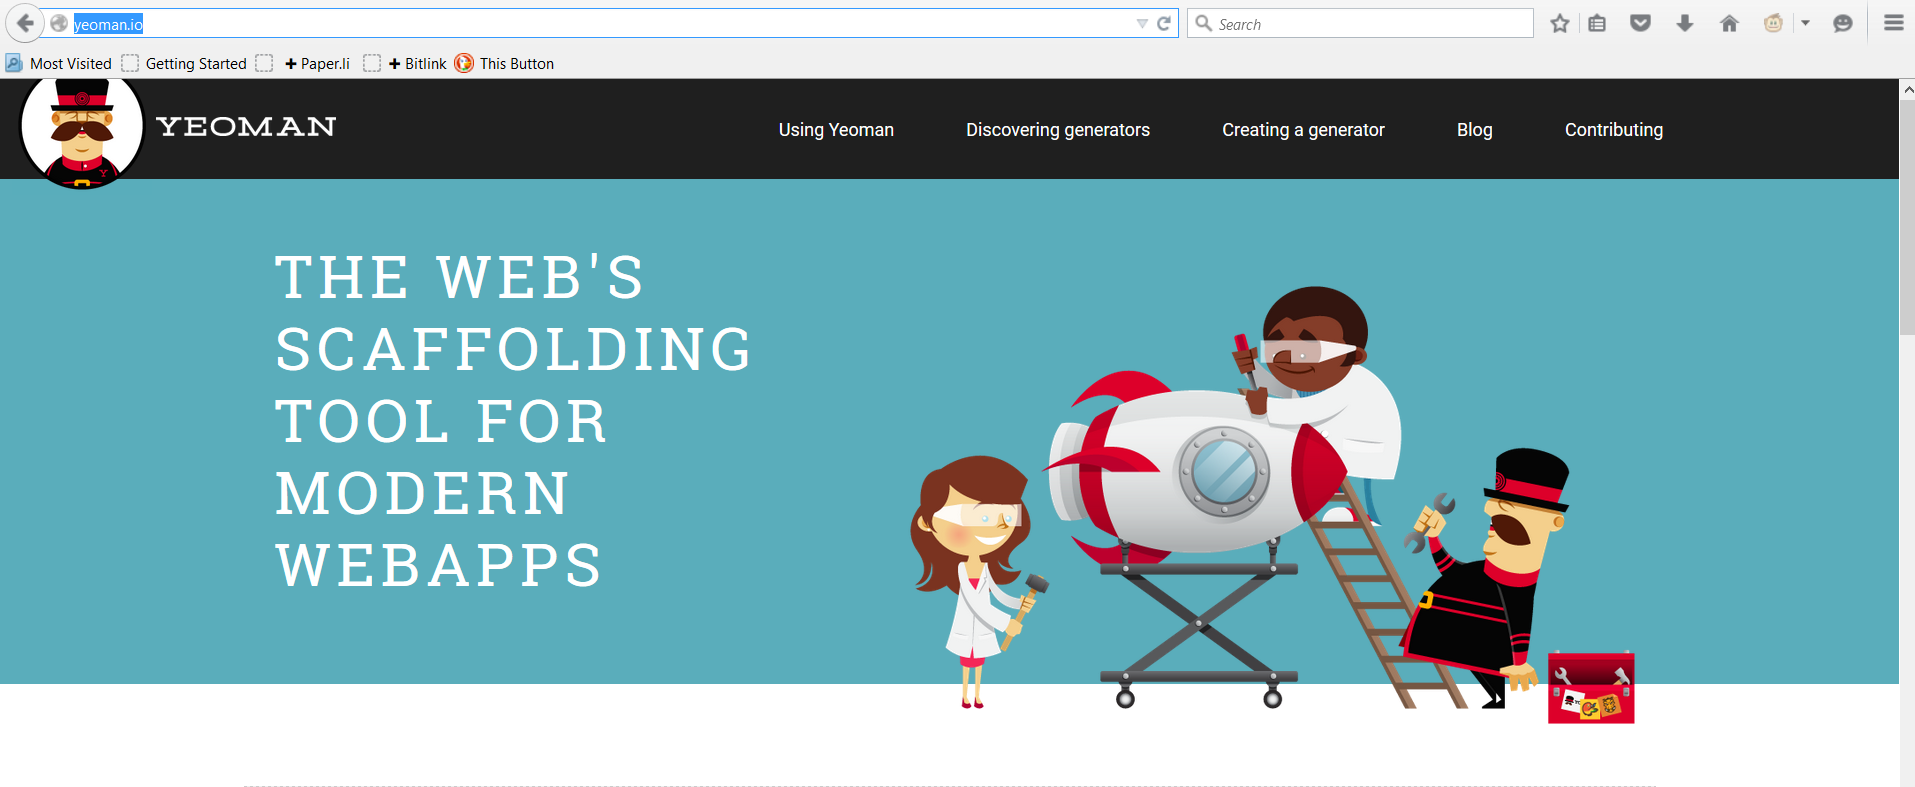
In this section, we’ll see how to use Yeoman (http://yeoman.io/) to create a next generation app. Here, in this entire session, we will be using tons of angular stuffs, node, bower, grunt, bootstrap and many more things. Therefore, this is not for those who don’t know the basics of other pre-requisites. For that, please refer to my other articles.
Below is a yeoman website which is getting very popular these days.

This is a scaffolding tool for creating boilerplate stuff. After installing Yeoman, you can install generators. These generators will help create project templates for you. There are many generators which have generators embedded in it. We will see the same. But, let us go ahead and install the yeoman first. Since I have already installed node, I am skipping this step. Therefore, the first step is installing node, then yeoman.

As you can see, I am installing the same from command line and installing yeoman as a global so that we can use the same from command line.

Once it got installed, next install bower.

Once bower is installed, next I need to install grunt with the below shown command.

Then, the next thing we will do is we will install angular generator as shown below.

Since we have installed all the required components, hence now we can go ahead and launch yeoman as shown below.

Upon successful launch, it will show the below confirmation message and will start a questionnaire session, for other required components.


I said ok means I am ok with default selection and hit enter. Then, it started installing all the required stuff as shown below:

Upon successful installation, it will show the below message:

At this stage, everything is installed. Hence, I can launch the template with grunt command as shown below:

After doing all the initial check successfully:

It will launch the landing page of the screen.

Thanks for joining me.
