Introduction
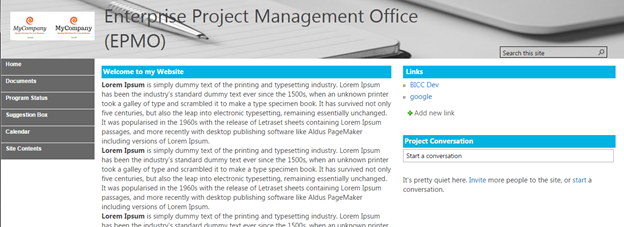
The aim of this article is to create a website with good skins similar to the below screen shot without writing any custom code. It took only 3 to 4 hours for me to create this website. So it is very simple and the content of the webpage can be customized based on your needs.
Background
The site was created using "Project Site" template. Since most of the features are not available in the Look and Feel group for the site collection, I activated the publishing feature.

In case you have not used publishing feature site template, please follow the below couple of steps to activate the publishing feature.
- Activate the SharePoint Server Publishing Infrastructure feature for your site collection.
- Click Settings menu and then choose Site Settings from the options.
- Click the Site Collection Features link in the Site Collection Administration group of the Site Settings
- Click the Activate button for the SharePoint Server Publishing Infrastructure feature.
- Activate the SharePoint Server Publishing feature for your team site.
- Click Settings menu and then choose Site Settings from the options.
- Click the Manage Site Features link in the Site Actions group of the Site Settings page.
- Click the Activate button for the SharePoint Server Publishing feature.
The following OOTB web part is used for developing this web site:
- Custom Master Page
- Custom style sheets
- Content Editor Web Part
- Links Web part
- News Feed web part
Style Library
-
Click Settings menu and then choose Site contents from the options.
-
Open Style library and create the following folders:
-
Upload the attached "leftmenu.css" and "epmo.css" files into CSS folder in style library.
-
Upload "logo" file into image folder.
-
Upload "announcments.xsl" file into xsl folder.
-
Upload "jquery.js" file into .js folder,
Customizing Master Page
- Click Settings menu and then choose Site Settings from the options.
- Click the Master pages and page Layouts link in the Web Designer Galleries group of the Site Settings page.
- Download seattle.html file and save it in your local drive:
- Open the “seattle.html” in Visual Studio/Notepad and customize the page based now on your needs
- Now open attached CustomMasterPage.html and Replace the word "dummy" as your site collection url and upload it in the Master Page Layout folder
- Publish "CustomMasterPage.html" as major version
Customizing Home Page
- Go to Site content --> Pages library
- Upload the attached homepage.aspx page
- Edit the page, and add the content editor webpart in the left side
- Add links webpart and new feed bard in the right side of frame
Customizing Left Navigation Menu
- Click Settings menu and then choose Site Settings from the options.
- Click the Tree View link in the Look and Feel group of the Site Settings page.
- Check "Enable Quick Launch" option and press ok.
- Navigate to "Site Contents", you could see "Edit link" option in the left menu
- Click on "Edit link", then you can customize the menu based on your needs, style of the menu changed using leftmenu.css file.
History
- 30th June, 2016: Initial version

