Introduction
As of today, Angular is the most widely used web development framework. It's MV-whatever framework caught the eye of many web developers in recent years. It's a framework developed to support the end to end operations.
Angular 2.0 team has introduced new change detection system for faster rendering, promises to support isomorphic (server-side) rendering, and sets out to give tough competition to UI specific libraries such as ReactJS.
Having said that, it's a good time to learn about Angular 2.0 but it's more important to learn migration of Angular 1 applications to Angular 2.0.
Topics to be Covered
- Migration phases and Levels
- Migration Levels
- Phase 1
- Level 1 : Building the base
- Level 2 : Angular 2.0 armory
- Phase 2 : Upgrade to Angular 2.0
- Learning Resources & References
Migration Process Phases

Migration Phases
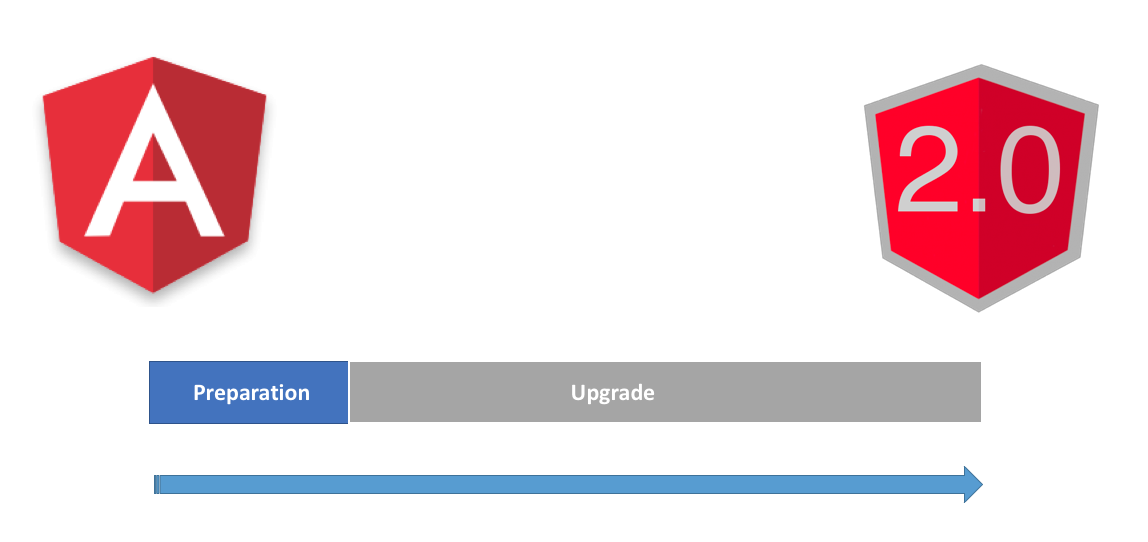
The release of Angular 2.0 is quite possible by 2016. It’s a good time to learn about the migration process. There are two phases:
- Preparation
- Upgrade
This guide provides in-depth preparation steps for the migration. Actual upgrade and adding Angular 2.0 into the project build will be included with the release.
Migration Steps – Level 1
- Follow the John Papa’s Styleguide for Angular 1 development
- Update to the latest version of Angular 1
- All new development using components
- Switch controllers to components (component directives)
- Remove incompatible features (specific to Angular 2) from directives
- Implement manual bootstrapping (No more ng-app)
Migration Steps – Level 2
- Add TypeScript transpilation and build
- Start using ES6 or Javascript 2015
- Switch controllers and services to ES6 Classes
- Add Angular 2.0 to your project - (Not covered in this article)
- Migrate one piece at a time - (Not covered in this article)
Level 1: Building the Base
Step 1: Follow the Angular recommended 1.0 styleguide by John Papa
Step 2: Update to the latest Angular 1 via dependency manager
Step 3: All new development using Angular 1.5 components
Angular has three types of directives:
- Component
- Isolate scope
- Contains template or view
- Developed to divide the actual view into number of sub-sections
- Can be referred as Web-components or Reusable views
- Decorator
- Derivation of JavaScript’s decorator pattern
- Enhances containing component’s properties
- In general, restricted as ‘A’ attribute directives
- Structural
- Manipulates DOM
- Takes control of deleting DOM elements from the view
- It is not recommended to develop custom structural directives
Angular 1.5 components are introduced to replace the component or element type directives in the application. This is a big step towards component driven application design because new components can be configured in the router to provide navigation.
New components can replace your views, sub-views and sub-sub-views which were written as states and element-directive respectively.
To learn more about the Angular 1.5 components, please refer to the documentation:
Step 4: Convert old controllers into Angular 1.5 components. Here's an example:
OLD CONTROLLER
var FirstModule = angular.module('FirstModule');
FirstModule.config(function(){
})
FirstModule.controller(FirstModuleCtrl);
function FirstModuleCtrl(DataService) {
}
NEW COMPONENT
var app = angular.module('app')
var config = {
templateUrl : 'FirstComponent/FirstComponent.hmtl',
bindings: {
someAttribute: '='
},
controller: FirstComponentCtrl
}
app.component('FirstComponent', config)
function FirstComponentCtrl () {
this.data = 'This value should reflect in the HTML'
Step 5: Remove Incompatible features from Directives
- Compile
- Terminal
- Priority
- Replace
Note: We don’t have to modify attribute directives, since they are not upgradable to Angular 2.0 and we will end up re-writing them.
Step 6: Manual Bootstrapping
Angular 2.0 uses manual bootstrapping. To perform manual bootstrapping in Angular 1, please add this to your App.js (bootstrapping logic) and remove directive bootstrapping (ng-app).
New ES6 syntax
angular.element(document).ready( () => {
    angular.bootstrap(document.body, ['app'])
})
Old ES5 syntax
angular.element(document).ready( function () {
     angular.bootstrap(document.body, ['app'])
})
Note: Most important step, since we cannot migrate to 2.0 without it.
Level 2: Angular 2.0 Armory
Step 1: Add TypeScript to the project build
Add TypeScript and typings node modules to your dev-dependencies
npm install typescript typings - - save-dev
Add typescript compiler and typings command to the npm scripts (package.json).
"scripts": {
    "start": "node ./server/server.js",
    "dev": "nodemon ./server/server.js -w ./server",
    "test": "karma start",
    "tsc": "tsc -p . -w --outDir build",
    "typings": "typings"
  },
Step 2: Add TypeScript Configuration
Create a tsconfig.json file in your project root. This config file will be used for adding TypeScript build path and including typings.
{
  "compilerOptions": {
    "target": "ES5",
    "module": "system",
    "sourceMap": true,
    "emitDecoratorMetadata": true,
    "experimentalDecorators": true,
    "removeComments": false
  },
  "exclude": [
    "node_modules",
    "typings/main.d.ts",
    "typings/main"
  ]
}
Where to store compiled source files?
- Same directory as .ts file:
- Advantage of using relative path
- No configuration needed for removing build files
- Within a separate build directory:
- Directory looks clean, only contains .ts files
- Need to watch scripts via build tool for development server
Step 3: Switch controllers to ES6 Classes
Here, we are re-writing the controller defined in the Step 2 - New Component.
class FirstComponentCtrl {
  $location: any;
  auth: any;
  data: string;

  constructor ($location, auth) {
    this.$location = $location;
    this.auth = auth;
  }

  someFunc () {
    this.data = 'should reflect in the view';
  }
}
Step 4: Switch services to ES6 Classes
var App = angular.module('app')
App.service('MyService', MyService)
class MyService {
$q: any;
auth: any;
data: string;
constructor ($q, auth) {
this.$q = $q;
this.auth = auth;
}
someFunc () {
}
}
Migration Phase 2 – Upgrade to Angular 2.0
Step 5: Adding Angular 2.0
The recommendation is to wait for the stable release of Angular 2.0. After adding Angular 2.0 to the project, we will upgrade or re-write one module at a time.
This guide will be extended once the Angular 2.0 is released.
Angular 2.0 - Official Resources
