Here, we are in the final part of the Google Daydream series: creating a menu in VR. The menus that I’m thinking about are the general purpose kinds. Things like for Main Menu/Restart/Quit, Inventory management, etc.
Off of the top of my head, there are 2 ways we create a menu. We can have it appear:
- In front of us to interact with
- On the controller so we’ll have to look down on our remote to see our menu
Having the UI appear on our controller might just be the equivalent of having the UI appear in world space and then making it a child of our controller.
With that being the case, let’s create a simple menu and see how we can interact with it with the Daydream setup.
Creating a Menu in Unity
From our existing game, let’s create a new scene that we can use that will be just used for the menu.
- Hit Ctrl + Shift + S or File > Save Scene As… to create a new scene. Let’s call it Menu
- Now let’s do some clean up in our new scene. First things first, let’s get rid of
Ball from the game hierarchy. Just delete it. - In
GvrControllerPointer, remove the PlayerController script component. We’re going to create a new one that will allow us to interact with our menu. - Let’s also remove the
TouchpadMovement We’re not going to be using that for this.
Now that this is done, let’s create a simple menu for us to use.
As you might recall from working with UI in the previous series of using the Google Cardboard, our UI will only show up when we use World Space when developing with the VR SDK.
Let’s just create a simple UI for now. Here’s what it’ll look like in the end.
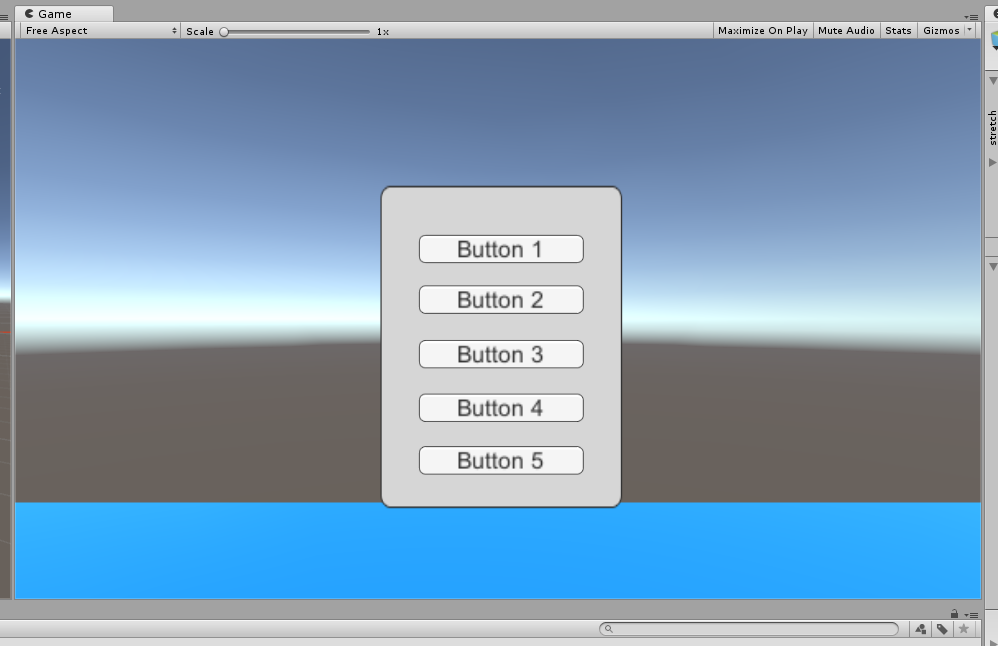
Here’s what we’re going to have to do to create this menu.
- Create a UI
Panel that will hold our game object. We can create it, by right clicking the game hierarchy and select: UI > Panel. By doing this, Unity will automatically create a Canvas game object for us. For now, it might be easier for us to edit the UI by clicking the 2D button at the top of the Scene tab. - Right now, the panel has its Alpha set to be around the 50% mark, making it semi-transparent. Fix that by selecting the
Color in the Image component for the panel and set the alpha value to be 255. - Next up, we adjust the size of
Panel to be a more menu like size. Change the scale to: (1.5, 2, 1) - Next, we’re going to create the buttons. Select
UI > Button from the hierarchy to create another button. I set the Width to be 100 and the Height to be Next, I set the position to be (0, 30, 0). - Every UI button comes with a
Text, change the text value to be Button 1 - Duplicate our button and repeat Step 4-5 with each button, except each button will be
15 less in the Y position
Now at this point, we should have our panel with the buttons, now let’s work on bringing the canvas onto the world space for us to interact with.
- In
Canvas, change the render mode to be World Space. This will move our UI into the game world as opposed to an overlay. - Now that we have our
Canvas, our UI is too big, we’ll scale it down. Set the scale to be (0.01, 0.01, 0.01) - Now if we want to be able to interact with our UI, we need to add Google’s graphic raycaster script to our canvas. Add the
Gvr Pointer Graphic Raycaster script too
Now that we’re here, we have almost everything that we need. We still have one problem.
Currently, the UI uses a Rect Transform that only moves in 2-dimensions. How do we deal with 3D?
The answer is simple, we child it to a 3D game object.
- In the hierarchy, create an
Empty Object, let’s call it Menu Container. Set Canvas as a child of it. - With
Menu Controller working in 3D space, we can move and rotate it around like we can any normal Game Object. Let’s move it in front of our camera. Set the Position to be (0, 2, 3).
Finally, now with all of this done, we have a working menu that we can interact with. Here’s what the menu looks like in our hierarchy.

Conclusion
With this, we have the scene set up for us to play around with the menu. We don’t have to add anything more to the menu itself. The only thing we need to do is use event triggers for the button so we can interact it, but we’ll do more of that in later posts.
Now with all of this in place, we can finally start writing some code to interact with the menu! We’re going to do a simple button click first, but then we’re going to progress into more complex actions later.

