This is the final article of Auto SP Installer for SharePoint 2016.
Please refer to my previous articles if you are interested in reading them:
The purpose of this article to use Online Editor to SharePoint Installation configuration.
After you have set up everything, as per my previous articles, you need to go to Online Configuration Editor:
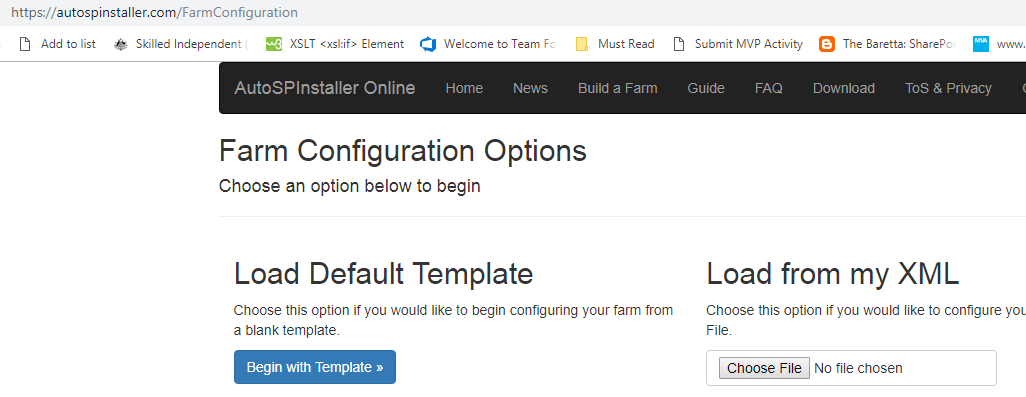
Then you need to choose Load from my XML and choose the AutoSPInstallerInput file.

Then the below page will be visible:
We don't need to edit all the configurations for this scenario.
First, add the HOST name for the SharePoint Server. Since we have two SharePoint servers, we will insert both hostnames.
If you are in a multiple domain environment, use the full domain name for the host.
Then navigate to Install Section and Specify the SharePoint Product Key and the Version to 2016 if it is not selected.
Then, navigate to the Main section:
Here, there are few sections you need to fill up.
First, you need to add the Security Phase for the Farm:
Then we have to mention the farm account name, refer to my first article.
Service Account name: spadmin
Rights: Local Admin All Servers (DB, WFE, APP)
SQL DB Rights: SQL DB Creator and Security Admin Rights
Domain Privileges: Service User
Description: Use for set up and Configuration
Since we are not using any custom alias, remove the tick and mention the database server name and the prefix for SharePoint databases.
Central Administration will be provisioned on the APP server, thus I selected it and removed the SSL because we will be running behind the WAF:
Then specify the other accounts which we have created before as below:
Service Account name: spfarm
Domain Privileges: Service User
Service Account name: spservices
Domain Privileges: Service User
Service Account name: spsearch
Domain Privileges: Service User
Service Account name: spprofile
Domain Privileges: Need Replicating Directory Changes
Then navigate to services section and select web application to deploy in WFE server.
Then configure the email, setting, you can use the existing Email server.
All other sections are optional to configure.
Go to the Review & Download section to copy the configuration file.
Copy and paste the XML file to AutoSPInstallerInput file.
Now you are done with the configuration.
Just go to Automation Folder:
and Launch to install the SharePoint.
and do the same installation in SPApp server as well.

