This is Part 3 of a 3-article series that demonstrates how two infrastructure-as-code tools – ARM Templates and Terraform – can work in unison to manage multi-cloud infrastructure provisioning. This article builds on the previous infrastructure code and sees how to use GitOps principles to automatically validate and deploy multi-cloud infrastructure from the previous part of this series.
So far, you’ve learned why enterprises are adopting multicloud infrastructures and how to deploy one through with ARM Templates and Terraform. Now it’s time to add some automation to the multicloud pipeline.
Another important part of Azure Arc is its GitOps-based configuration management. It allows dev teams to build, deploy, configure, and manage globally distributed multicloud environments easily through Git repositories.
In this article, we will build on the previous infrastructure code and see how to use GitOps principles to automatically validate and deploy our multi-cloud infrastructure from the previous part of this series. If you need the code from the previous article as a starting point, you can download it here.
We'll set up a GitHub repository that will use GitHub Actions for code pushes to trigger Continuous Deployment processes to validate and deploy our multicloud environments automatically.
The full code for this repository is available here.
Requirements
To follow this guide, you’ll need the following:
Setting Up the GitHub Repository
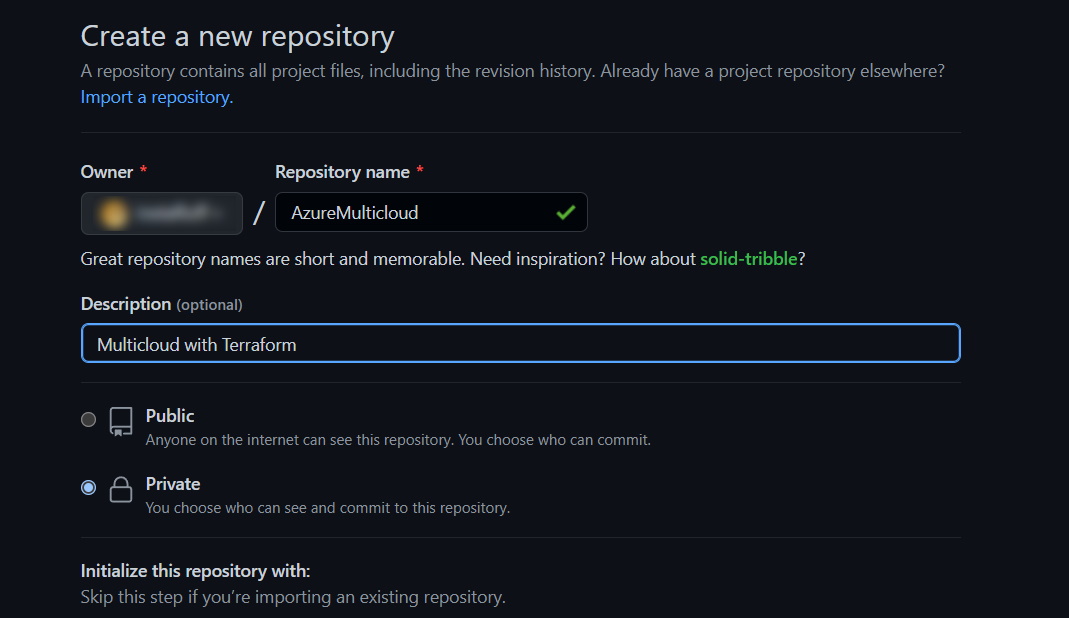
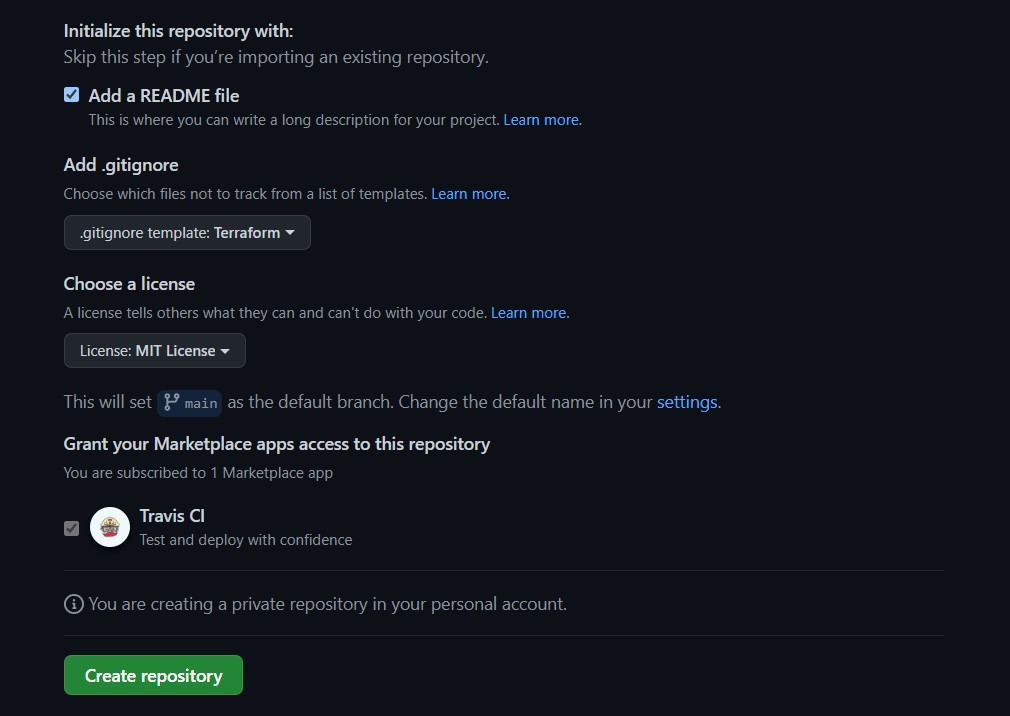
Start by creating a new GitHub repository in which to save our Terraform and Bicep files. Select the Terraform option for the .gitignore template so that the repository ignores the extra Terraform files.
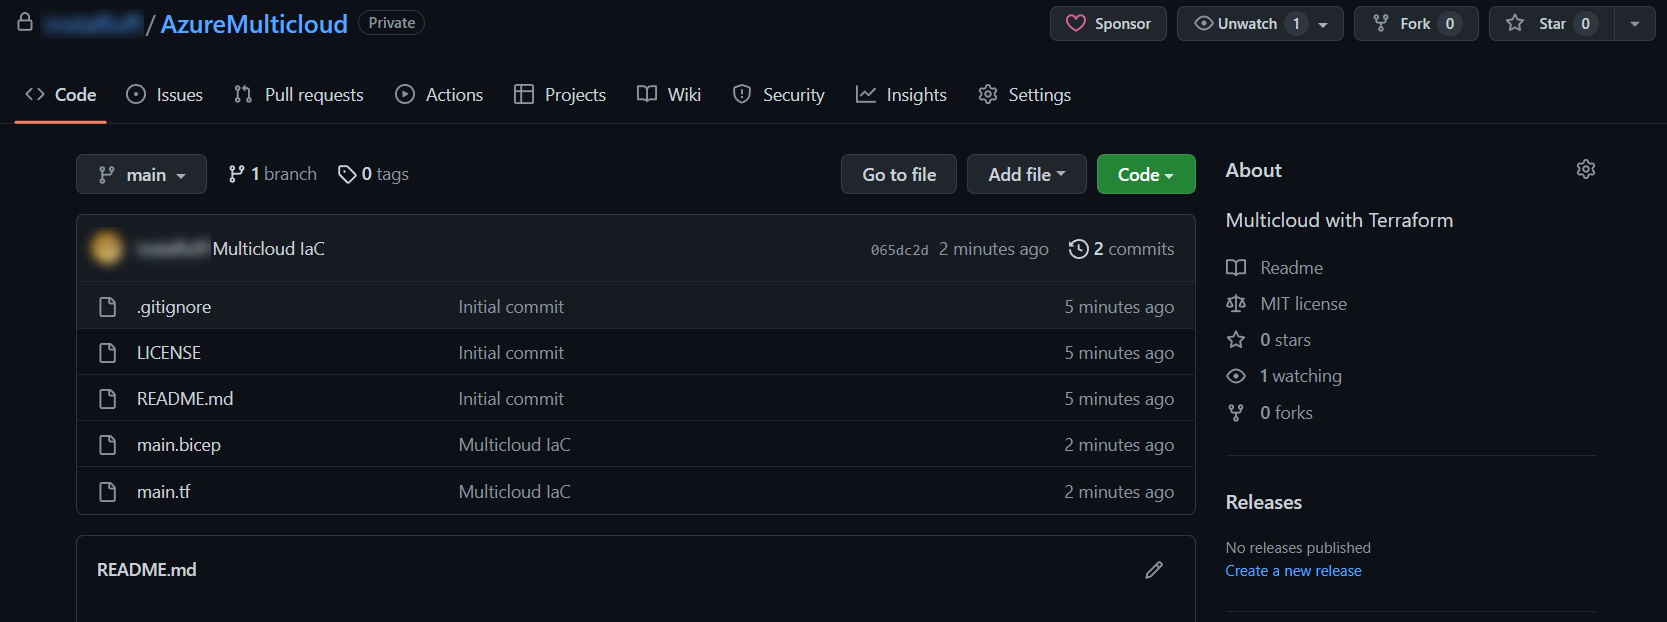
Next, clone the repository and copy over the main.bicep and main.tf files into the project directory, then commit and push the files to GitHub. Don't worry, this won’t trigger any deployment because we haven’t configured any GitHub actions yet.
Account Credentials for Azure and DigitalOcean
Now we need to prepare a few things before our Terraform can deploy properly.
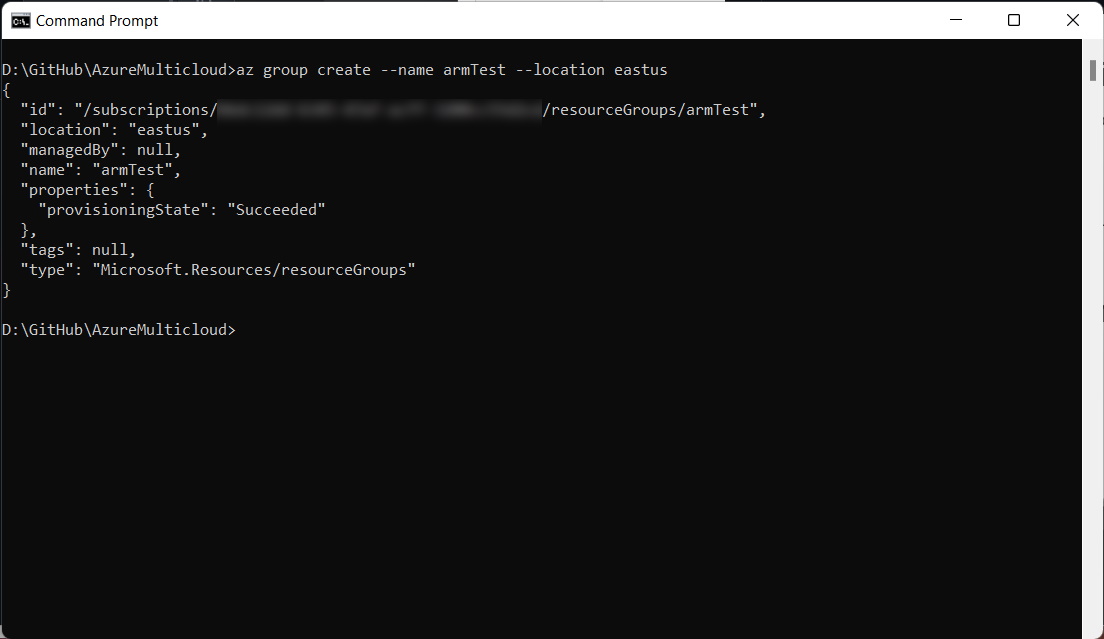
Create an armTest resource group in your Azure account that ties it to the deployed virtual machine. Do this by running this command:
az group create –name armTest –location eastus
Next, we need to generate account credentials for GitHub actions to use to access Azure, so let’s create a service principal.
You’ll need the Azure subscription ID for this. You may already have this ID from earlier in the series, but if you need to find it again, you can get your Azure subscription ID by either copying it from the resource group output or by running az account list and finding the ID from the result.
Use the subscription ID with the Azure Active Directory command to create the Service Principal that the GitHub Action will use by running the following command, replacing “YOUR-SUBSCRIPTION-ID” with the actual subscription ID:
az ad sp create-for-rbac --name armTestSP --role Contributor
   --scopes /subscriptions/YOUR-SUBSCRIPTION-ID
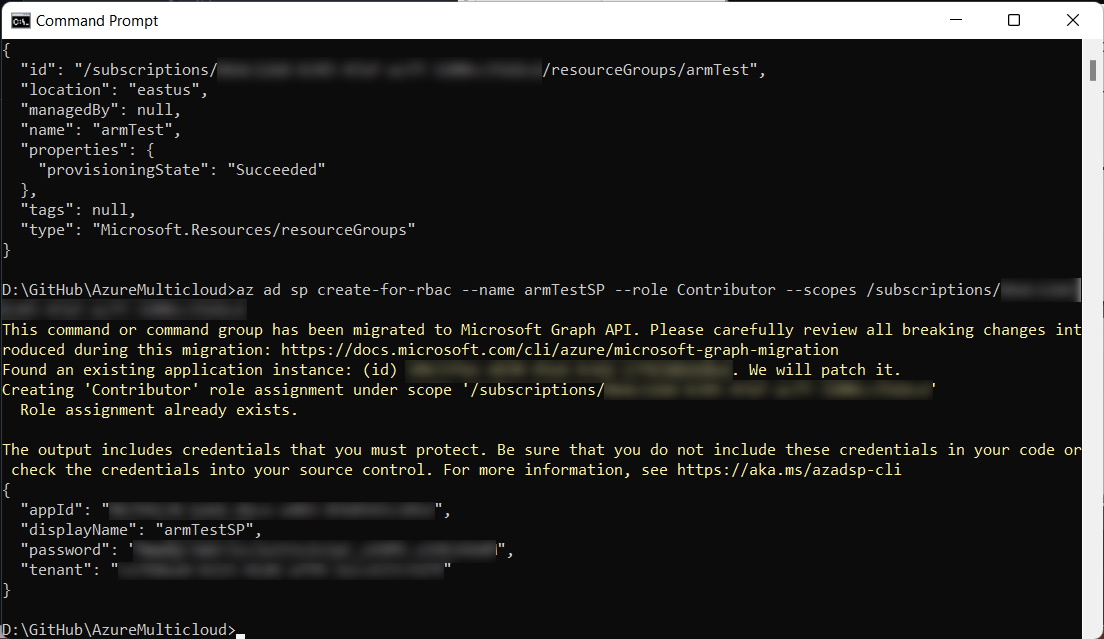
Keep these values safe for a moment because we’re going to need them in the next step.
One more thing we will need is a DigitalOcean Personal Access Token. If you don’t have one already from the previous part of this series, follow this guide and save the token as well for the next step.
Configuring GitHub Actions
Next, we’re going to securely store those Azure and DigitalOcean credentials we retrieved inside the GitHub repository as GitHub Actions secrets.
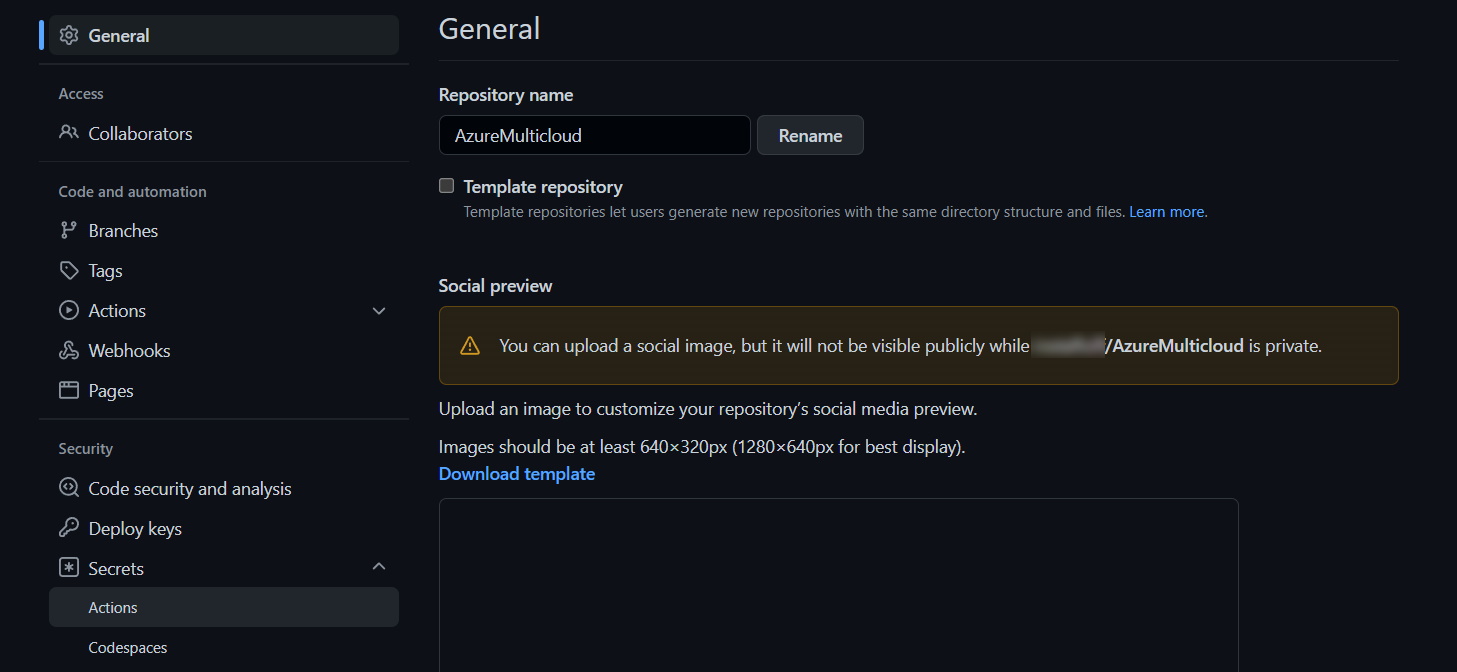
Open the Settings page for your repository and click Secrets to expand the options and then select Actions right underneath to navigate to the Actions secrets page.
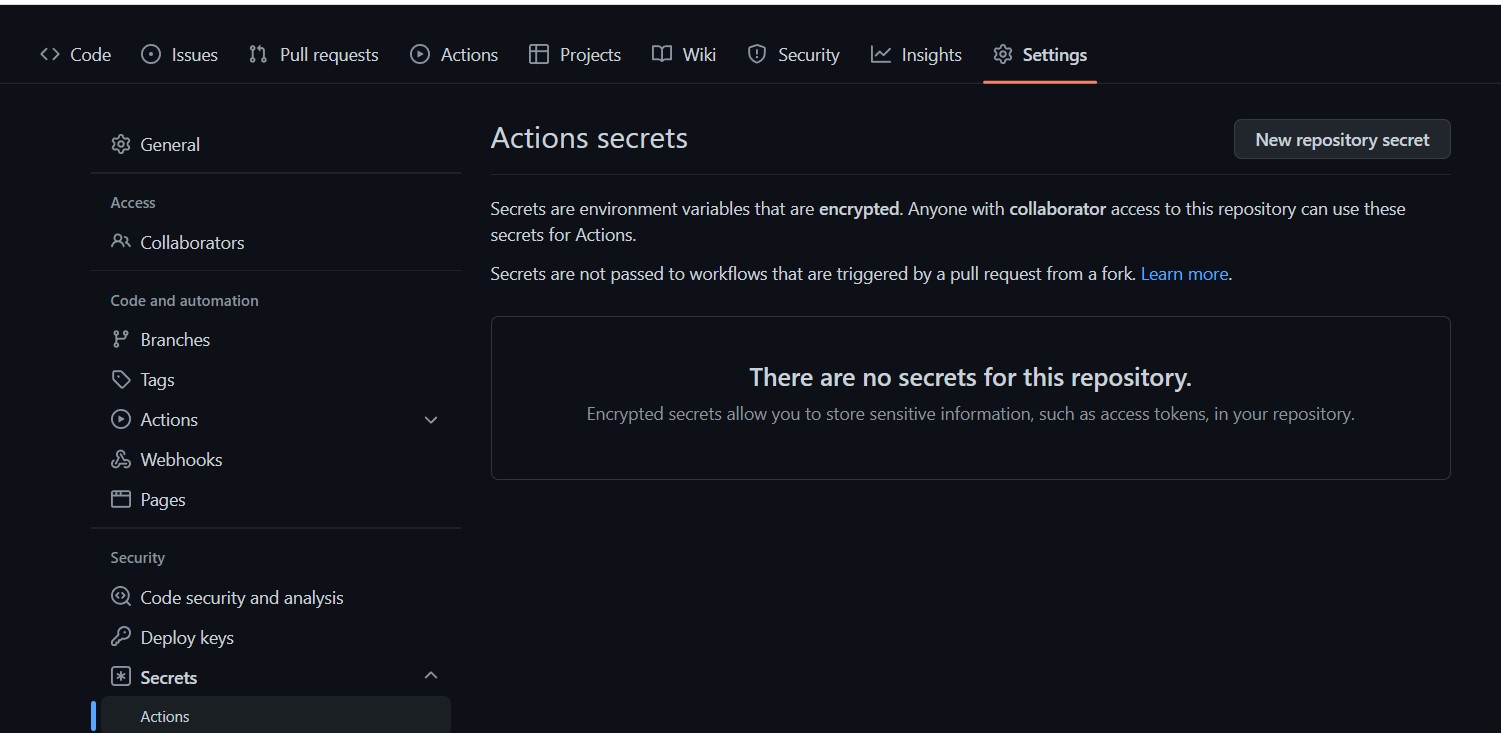
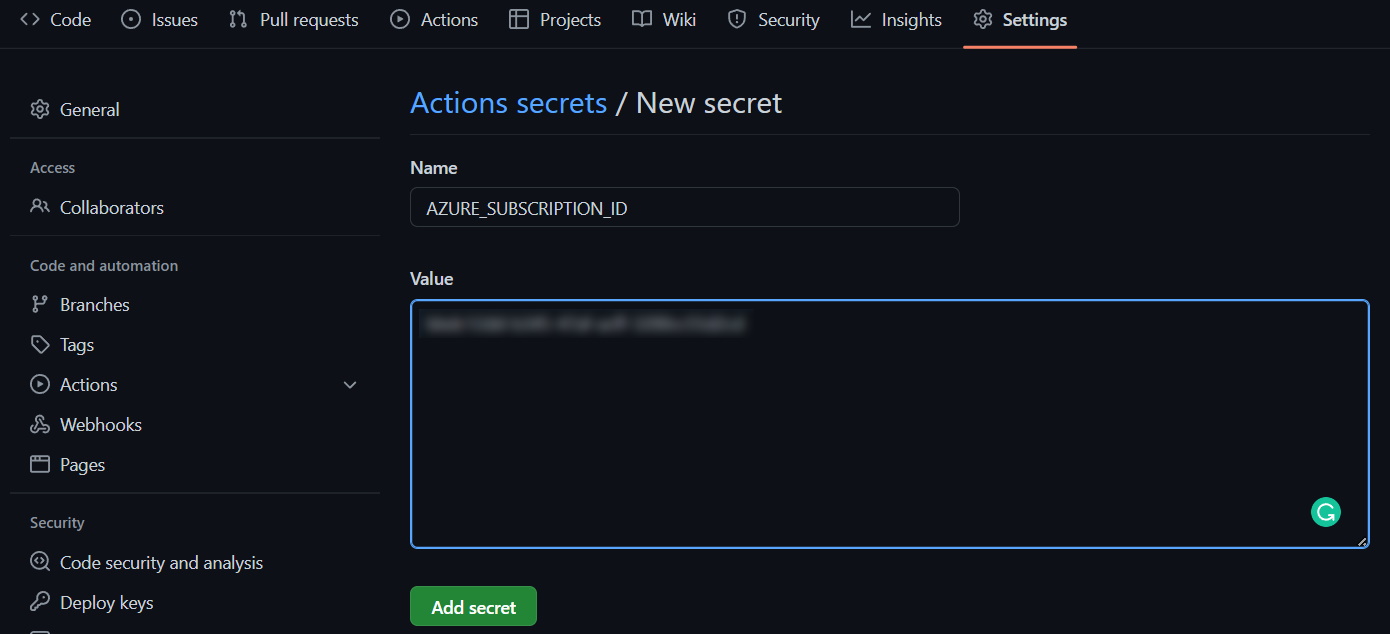
Add the following Actions secrets to the repository:
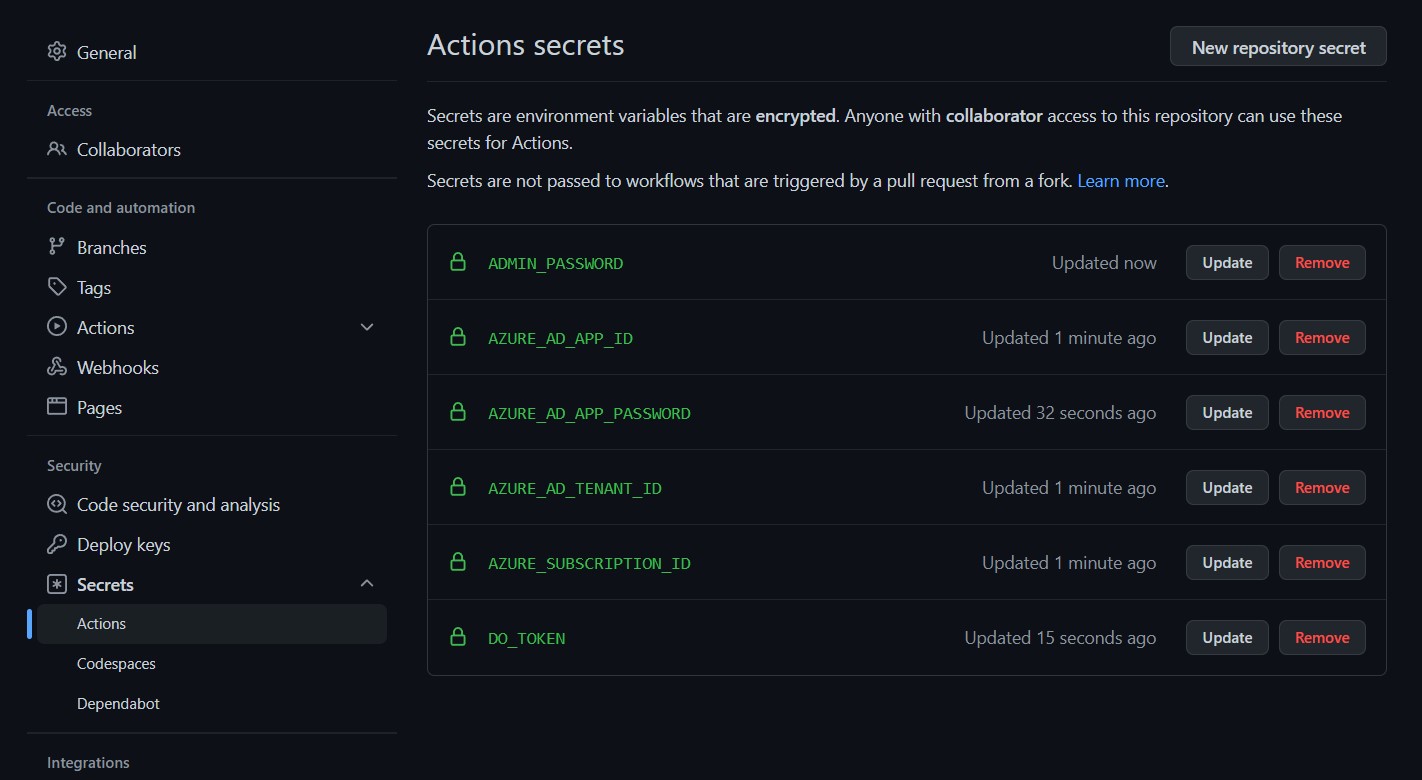
AZURE_SUBSCRIPTION_ID — your Azure Subscription IDAZURE_AD_TENANT_ID — the Tenant value from your Service PrincipalAZURE_AD_APP_ID — the App ID value from your Service PrincipalAZURE_AD_APP_PASSWORD — the Password value from your Service PrincipalDO_TOKEN — your DigitalOcean Personal Access TokenADMIN_PASSWORD — the admin password you wish to set for your Azure VM
The Actions secrets page should then look like this:
Finally, we need to configure our GitHub repository with a GitHub Action to run Terraform when pushing new changes to the repository.
Navigate to the Actions tab and search for the Terraform workflow template, then click Configure.

Replace the contents of the terraform.yml file with the following code, which uses our GitHub Actions secrets, adds a Bicep file build phase to generate the ARM template, and passes the Admin password and the DigitalOcean access token as parameters to Terraform for deployment.
name: 'Terraform'

on:
  push:
    branches:
    - main
  pull_request:

permissions:
  contents: read

jobs:
  terraform:
    name: 'Terraform'
    runs-on: ubuntu-latest
    environment: production
    env:
      ARM_CLIENT_ID: ${{ secrets.AZURE_AD_APP_ID }}
      ARM_CLIENT_SECRET: ${{ secrets.AZURE_AD_APP_PASSWORD }}
      ARM_SUBSCRIPTION_ID: ${{ secrets.AZURE_SUBSCRIPTION_ID }}
      ARM_TENANT_ID: ${{ secrets.AZURE_AD_TENANT_ID }}

    defaults:
      run:
        shell: bash

    steps:
    - name: Checkout
      uses: actions/checkout@v3

    - name: bicep-build-output
      uses: Azure/bicep-build-action@v1.0.0
      with:
        # Bicep main file path
        bicepFilePath: main.bicep
        # ARM template output path
        outputFilePath: main.json

    - name: Setup Terraform
      uses: hashicorp/setup-terraform@v2

    - name: Terraform Init
      run: terraform init

    - name: Terraform Validate
      run: terraform validate -no-color

    - name: Terraform Plan
      run: terraform plan -input=false
         -var "adminPasswordOrKey=${{ secrets.ADMIN_PASSWORD }}"
         -var "do_token=${{ secrets.DO_TOKEN }}"

    - name: Terraform Apply
      if: github.ref == 'refs/heads/main' && github.event_name == 'push'
      run: terraform apply -auto-approve -input=false
         -var "adminPasswordOrKey=${{ secrets.ADMIN_PASSWORD }}"
         -var "do_token=${{ secrets.DO_TOKEN }}"

Commit the new workflow file and it will begin the GitHub Action automatically. If you want to view the logs in real time, you can open the GitHub Action and select the most recent Terraform job.

If properly configured, your Terraform will successfully deploy to your multicloud and complete the GitHub Action.

Testing Your Multicloud Environment
At this point, your virtual machines should have successfully deployed to both Azure and DigitalOcean.
You can run a quick check for your Azure VM by running az resource list --resource-group armTest to see that the resources exist. Your DigitalOcean dashboard should also show the deployed droplet, allowing you to log in via the Web Console.

And that’s all there is to it!
Cleaning Up
To clean up our multicloud resources, we can run terraform destroy locally. Alternatively, we can commit and push an update to the GitHub Action workflow that replaces the terraform plan and terraform apply phases in terraform.yml like the following snippet to run the terraform destroy command:
- name: Terraform Validate
  run: terraform validate -no-color

- name: Terraform Destroy
  run: terraform destroy -auto-approve -input=false
  -var "adminPasswordOrKey=${{ secrets.ADMIN_PASSWORD }}"
  -var "do_token=${{ secrets.DO_TOKEN }}"

# - name: Terraform Plan
#   run: terraform plan -input=false
-var "adminPasswordOrKey=${{ secrets.ADMIN_PASSWORD }}"
-var "do_token=${{ secrets.DO_TOKEN }}"
#
# - name: Terraform Apply
#   if: github.ref == 'refs/heads/main' && github.event_name == 'push'
#   run: terraform apply -auto-approve -input=false
-var "adminPasswordOrKey=${{ secrets.ADMIN_PASSWORD }}"
-var "do_token=${{ secrets.DO_TOKEN }}"

After destroying Terraform, it is still a good idea to check that the resources have been properly de-provisioned.
Lastly, there are some additional steps to take on our Azure account to finish cleaning up.
Let’s delete the Azure Resource Group by running az group delete –name armTest.
Also, delete the Service Principal. Get the ID of the armTestSP Service Principal by running az ad sp list --display-name armTestSP and then az ad sp delete --id YOUR-SP-ID.
What’s Next
In this series, you learned about the benefits and challenges of multicloud. You also learned how to use technologies like Terraform and GitHub Actions to take existing Azure infrastructure code in Bicep and ARM templates and enable multicloud infrastructure.
While this series may conclude here, your multicloud journey doesn’t have to. Check out the Azure Arc documentation to learn more about all the other technologies that Azure Arc has to offer. Good luck with your cloud deployments!
To learn more about how to secure, develop, and operate infrastructure, apps, and Azure services anywhere, check out our resource Azure Arc.
