This is a very basic article about how to open an existing AutoTools project in Eclipse CDT. Yet it will waste some of our time specially if we don’t know that we have to convert an ordinary makefile project to an AutoTools project even if we have all the AutoTools files (configure.in, MakeFile.am etc.) in our project.
There is also a serious problem in Ubuntu 12.0.1 while configuring an AutoTools project with Eclipse CDT; but don’t worry about that for now because we have a work-around to solve that problem.
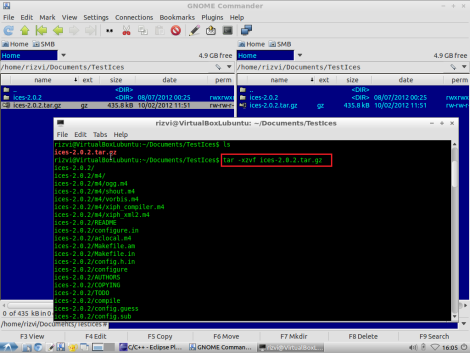
Now let's open an existing opensource project which has been built with AutoTools support. In our case we will open Ices client project. To know more about ices browse here. Download the compressed source code and tar the file to decompress it.

Next we will rename the extracted folder to ices20121121.

Now lets go to the Eclipse and open a MakeFile project from existing code.

Locate our code folder ices20121121 and set the tools chain to GNU Autotools Toolchain.

Up to now you have opened a Makefile project form an existing source code. Select our project node(ices20121121) in the project explorer and notice that our ises20121121 project has the autotools files (configure.in, Makefile.am etc) but in our ‘Project’ menu there is no ‘Reconfigure Project’ item. So we can’t configure the project which is very important for an Autotools project.

To be able to configure the project we will have to convert the project to a C/C++ Autotools project. From the file menu you can get ‘Convert to a C/C++ Autotools Project’ item. If you don’t find it there that means you do not have the Autotools plugin installed in your Eclipse.
Here you can find how to install a plugin in Eclipse.

The next steps are simple, just follow the wizard.
Step 1

Step 2

Step 3

Now select the project node(ices20121121) and check the ‘Project’ menu and you will find the ‘Reconfigure Project’ item to configure the project.

Now its time to configure; hit the ‘Reconfigure Project’ and the configuration will start and if ends in success then you will find the successful message in ‘CDT Global Build Console’ or ‘Configure’ console.

Next build the project: Select the project node(ices20121121) in the ‘Project Explorer’, then in the ‘Project’ menu hit ‘Build All’.

If the build is successful we will get the message in our ‘CDT Global Build Console’.

Then run the project by just right clicking on the project node(ices20121121) and select Run As -> Local C/C++ Application.

If the project run successfully you will see Ices version info and Usage option.

Thus we can run an open source project which is Autotools supported by Eclipse CDT Autotools Project in Ubuntu 12.
