Introduction
This article will walk through how I set up my 64bit windows machine to develop Android apps. It will explain where and how I installed the Android SDK, the Java Development Kit, and how I set up my first Android Virtual Device. It will give tips and tricks for a successful installation.
Installation
I chose to use the Eclipse IDE because I had used it years ago when I did some Java Development work. There is a new Android Studio that could be used for development but for now I am going to use Eclipse.
The first step is to download and install the Android SDK. This includes
- The Ecipse Development Enviroment with the ADT plugin
- The Android SDK Tools
- The Android Platform-tools
- A version of the Android Platform
- A version of the Android system emulator
Interestingly it does not contain the Java Development Kit (JDK) and it is not obvious what version is needed.
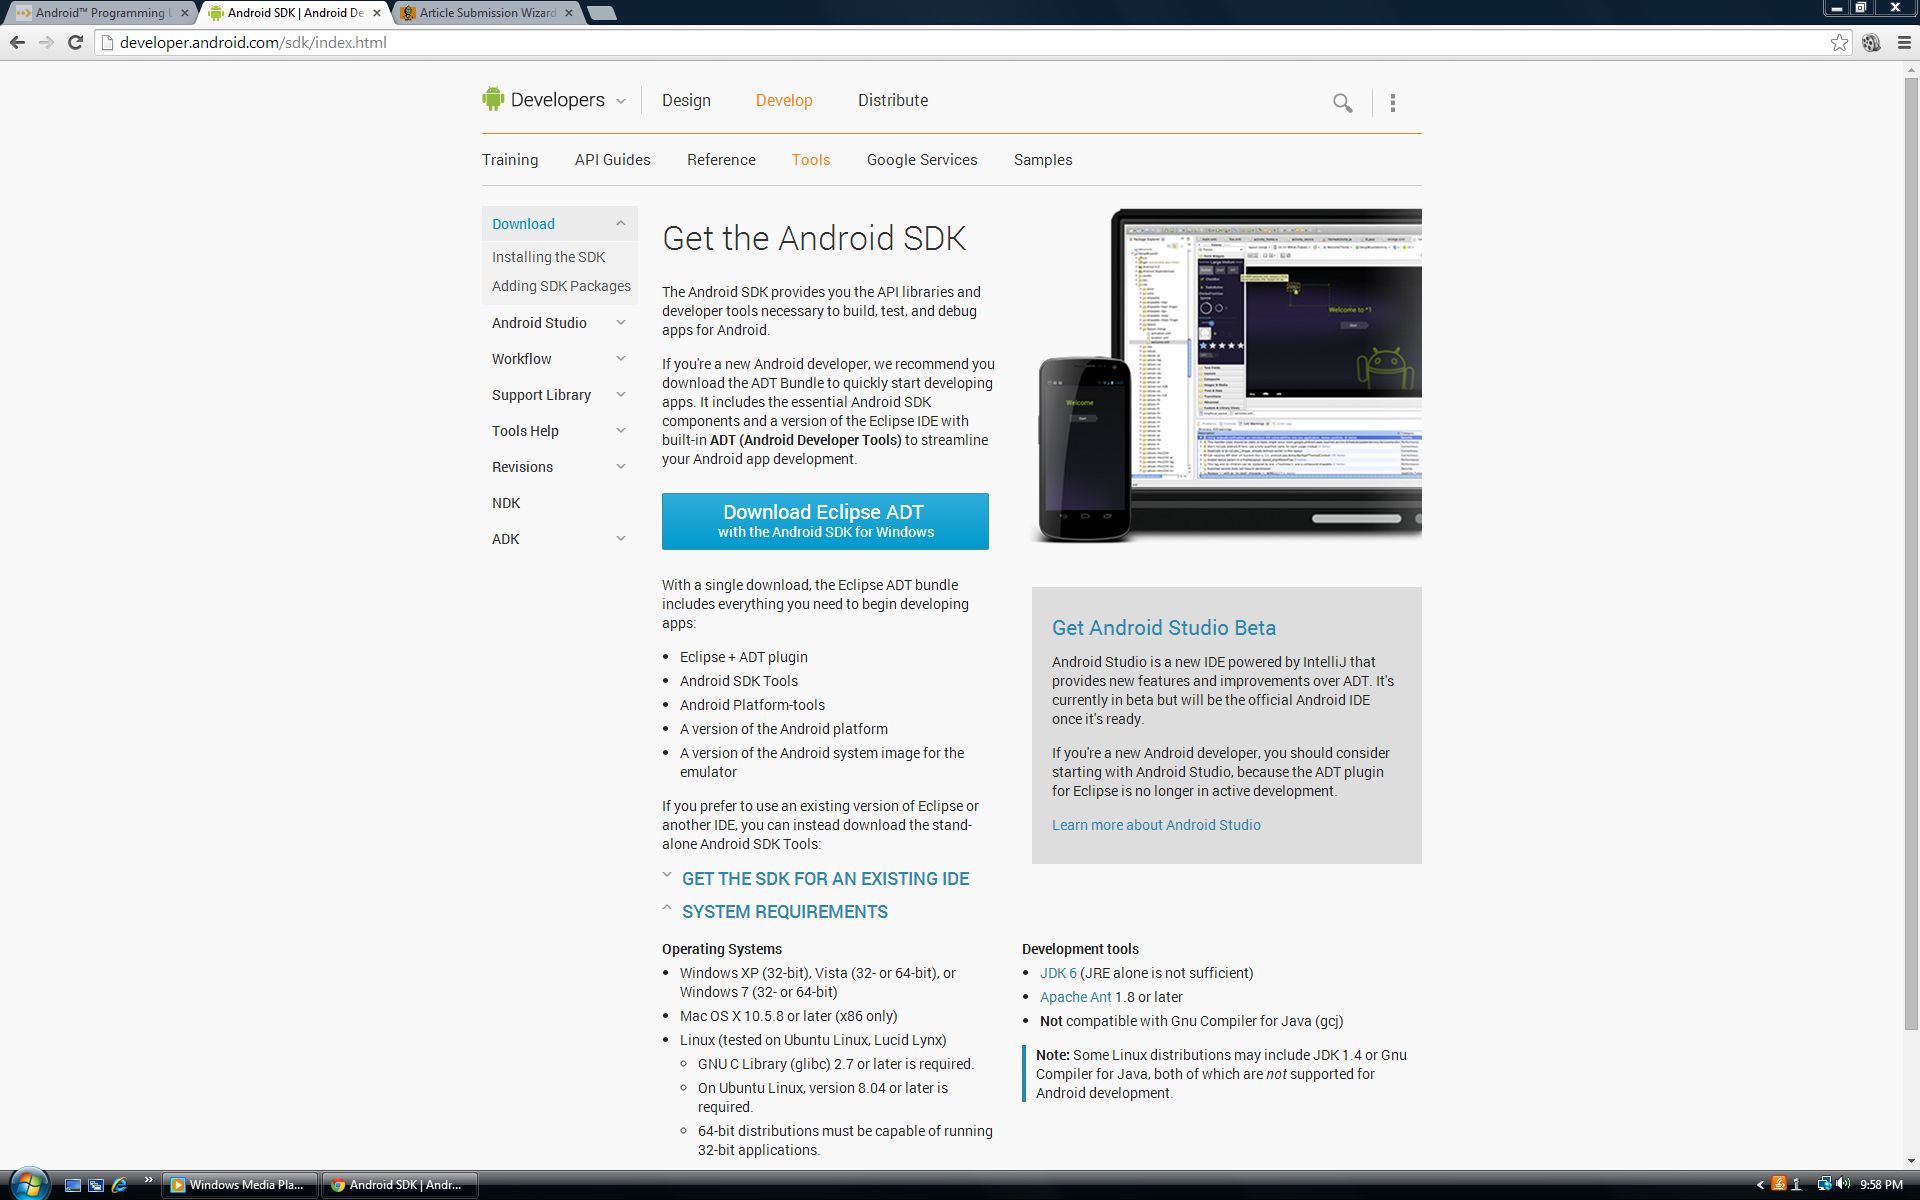
The first step is to go to .developer.android.com<sup> </sup>From the main page select Develop and then Tools
Expand the System Requirements and you will see the JDK version you will need.

Click to download and you will see the screen where you select read the terms of use and choose 32 or 64 bit versions. Then click the button to download. It will download a zip file to your machine. Create a folder in your home directory and extract the file to the directory.
If you try to open Eclipse now it will show the error message below because the JDK needs to be installed.

Now we need to go get the JDK. The version I needed was JDK 6. I clicked on the link on the same page that I got the Android SDK. The link goes to the Oracle site but not to the version of the JDK that is needed. Scroll down and choose the correct version and Install.

After the JDK is installed Eclipse will launch.
Creating the Android Virtual Device
I found it was best to run Eclipse as an administrator because I needed to instalol the processors using the SDK manager. (right click run as administrator) From Eclipse click on the icon in the toolbar.
When you launch you are in the Android Virtual Devices Tab. Switch to the Device Definitions Tab. This is a list of predefined devices. There are real devices and Generic device definitions that can be customized.

You can choose an existing device definition and select the Create AVD button. This will launch the property screen. You should change the AVD name to be very descriptive of the device you want to emulate because you will probably want to make many different emulator devices.

In Memory options change RAM from 1024 to 512 so the emulator will work better on a Windows machine.
SD Card is a key part of the device so you need to set the size to what your device will have. 32 Meg is a good size.
Go back to the Android Virtual Devices Tab and highlight you device and click start. This can take a while to launch the first time.

History
Keep a running update of any changes or improvements you've made here.
