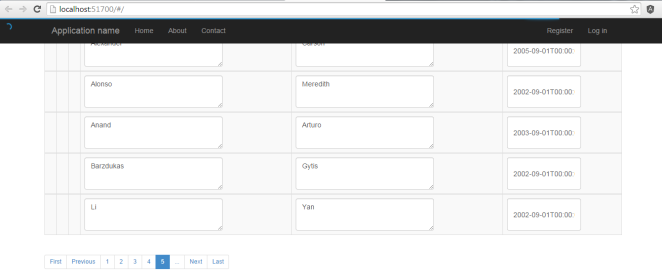
In the previous post, I implemented paging and in this post, we’ll implement a nifty Angular plug-in called angular-loading-bar. But before we proceed, there is one thing I wanted to correct in my previous post. In the students.tpl.html file, we added the pagination directive as follows:
<pagination data-total-items="totalItems" ng-model="currentPage" data-max-size="NumberOfPageButtons"
class=" pagination-sm" data-boundary-links="true" data-rotate="false" ng-change="pageChanged()"
data-items-per-page="recordsPerPage"></pagination>
And, though this works just fine, it will not pass HTML validation and you might have noticed squiggles below “pagination”. This was bothering me quite a bit, so to correct this, convert the pagination custom tag to a span & then use attributes to initialize the pagination custom directive as follows:
<span data-pagination data-total-items="totalItems" data-ng-model="currentPage"
data-max-size="NumberOfPageButtons" class=" pagination-sm" data-boundary-links="true"
data-rotate="false" data-ng-change="pageChanged()" data-items-per-page="recordsPerPage"></span>
Now that we have that out of the way, let’s go to the home page of the loading bar we will be using. While this page was loading, you might have seen a blue colored bar run across the top of your screen from left to right. We’ll incorporate this in our application such that each time there is a delay due to an XHR request, the loading bar should show up.
If you recall, in the first post, we made sure loading-bar.js and loading-bar.css were being included in the page. Now, all we have to do is inject this as a dependency.
We do that as follows:
angular.module('ngWebApiGrid.student', ['ngRoute', 'ui.bootstrap', 'chieffancypants.loadingBar'])
    .config(["$routeProvider", function($routeProvider) {
        $routeProvider.when("/", {
            controller: "studentCtrl",
            templateUrl: "app/simpleGrid/students.tpl.html"
        });

        $routeProvider.otherwise("/");
    }])
That’s it! You should now see the loading bar appear at the top when you (say) page through the records.

For now, we’ve gone with the default configuration and that seems to be fine for our purposes but feel free to experiment – this is very well documented so it should be easy to configure.
As always, the code is here and you can view the changes I made in this post by looking at this commit.


