Introduction
This is a brief tutorial on how to sign a Windows device driver with WDK 7.1
Why is a Signed Device Driver needed
Since Windows Vista x64, the kernel-mode code signing policy assures that only signed device drivers are loaded. This is also valid for drivers that stream protected media or kernel-mode boot-start drivers on Windows Vista 32-bit.
As 64-bit CPU are more often used, it gets more likely that you need to sign your drivers.
It is possible to disable driver signature enforcement via the boot menu (F8), but this works for the next start only. In a development environment, this can get annoying quickly. Microsoft offers a second possibility which needs a "test certificate". This path is explained in this tip too.
Prerequisites
Open Build Environment
The first step is to open a Build Environment of WDK 7.1:
Go to Start menu -> All Programs -> Windows Driver Kits -> WDK 7600.16385.1 -> Build Environments -> Windows 7.
Select "x64 Checked Build Environment" if you are running a 64-bit OS, or "x86 Checked Build Environment" for 32-bit.
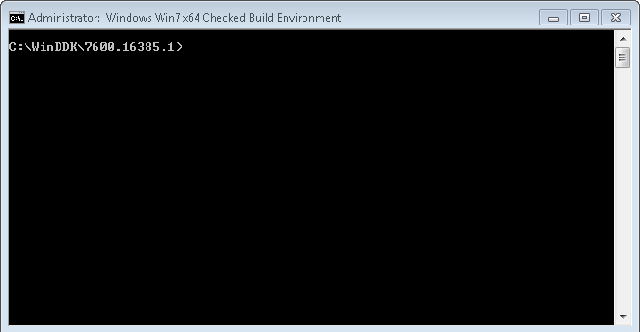
You should see a Command Line window like this:

Create a Test Certificate
If you have a valid certificate, you can proceed to the next step. Otherwise, we will create one for testing purposes.
ATTENTION - A self created certificate will only work in your test environment!
It is not intended to be used in productive scenarios.
Enter in the Command Line window:
MakeCert -r -pe -ss my -n "CN=Sign Drivers Test Certificate - for testing only" testcert.cer
The result should look like:

To verify that the certificate was created in the personal store, enter:
CertMgr
The window should look similar like:

Additionally, the certificate was exported to the file "testcert.cer".
Import Certificate to Certificate Store
If you want to use a certificate of a third-party CA to sign a driver, it must be imported into the personal certificate store.
Enter in the Command Line window:
CertMgr /add CertificateFileName.cer /s my
Sign the Driver
Either you imported a certificate into the store or you created a test certificate. Now, we can use this certificate to sign the driver:
Enter in the Command Line window:
SignTool sign /v /s my /n "Sign Drivers Test Certificate - for testing only"
/t http://timestamp.verisign.com/scripts/timestamp.dll DriverFileName.sys
The window should show a similar output like this:

The driver has been successfully signed. :)
Enable Boot Option "Test Signing"
If the driver was signed with a test certificate, a start of the driver results in an error message similar like this:

The reason is that the driver is signed with a self created certificate. For this case, Microsoft offers a special test signing boot switch.
To enable it, enter in the Command Line window:
bcdedit -set TESTSIGNING ON
After a reboot, the desktop shows a notice in the lower right corner:

A start of the test-signed driver will now be successful.
History
- Version 1.0: Created the tip
