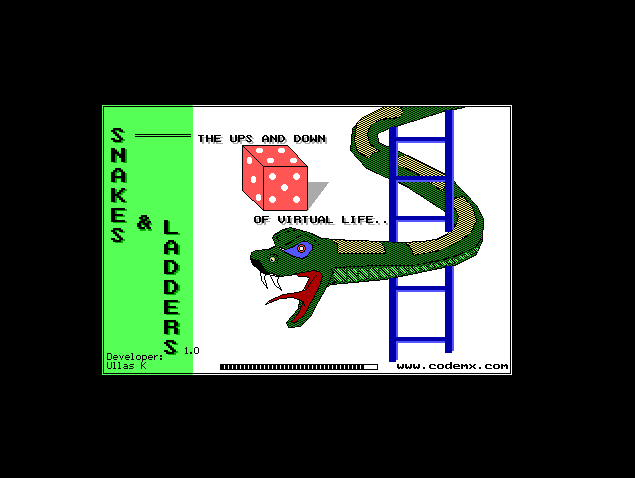

Snake & Ladder Game in C (TurboC++ Compiler)
This game was developed for students who are developing mini project with the help of TurboC / C++ compiler. In my previous tips, I have explained how to create a splash screen with TurboC compiler. So those who are downloading this program should go through the previous tip explained here -> Splash Screen.
Game Mode
- Single Mode: In this mode: "Player 1" -> User and "Player 2" -> Computer
- Double Mode: Two players can play with the dice
Game Rules & Functions
- Throwing Dice: This is done by pressing the left button on "Player 1". The counter is stopped when you release the button and the counter value is displayed on the Dice.

- If player gets number six after throwing the dice, then the respective player is eligible for one more throw.
User Interface & Mouse Click Events
For user interface design ideas, please go through the previous tip explained here -> Splash Screen. User Interface was designed with the help of basic setfillstyle, floodfill, rectangle and bar functions. In this tip / tutorial, I will explain how to use mouse events and handle them nicely.
Graphics mode is initialized and then mouse is activated by calling initmouse() function. We are using ax register to store the values and then raising interrupts for activating mouse. After calling this function, we need to call show showmouseptr(). We need to call this function if we done any change in interface. Mouse pointer can be hidden by using hidemouseptr() function. This function will be frequently used if we are drawing with Mouse Pointer. We can also get the mouse position (xy) cordinates by using or calling this function getmousepos(). The first parameter in this getmousepos function is the button click option. The button pointer is assigned to 1 if "Left" button clicked and 2 if "Right" button is clicked.
union REGS i,o;
void initmouse()
{
i.x.ax=0;
int86(0x33,&i,&o);
}
void showmouseptr()
{
i.x.ax=1;
int86(0x33,&i,&o);
}
void hidemouseptr()
{
i.x.ax=2;
int86(0x33,&i,&o);
}
Get Mouse Position Button 1-> Left and Button 2-> Right.
void getmousepos(int *button,int *x,int *y)
{
    i.x.ax=3;
    int86(0x33,&i,&o);

    *button=o.x.bx;
    *x=o.x.cx;
    *y=o.x.dx;
}
Restricting Mouse pointer in respective closed window:
void restrictmouseptr(int x1,int y1,int x2,int y2)
{
    i.x.ax=7;
    i.x.cx=x1;
    i.x.dx=x2;
    int86(0x33,&i,&o);
    i.x.ax=8;
    i.x.cx=y1;
    i.x.dx=y2;
    int86(0x33,&i,&o);
}
Shadow Effect
Shadows effect was created by using outtext. To get the effect, it's needed to print the same text twice, one in grey color (shadow) and the original text on top by moving left.

Splash and Snake Picture
Splash screen was created with Rectangle function. The snake picture was drawn with LineTo function and the color was done with Fill Patterns.

Game Board
Game board was designed with Lineto, Floodfill and Outtext function. Snake was drawn with continuous ellipse function with fill pattern style.

Flow Chart

User Interface Help
The below picture gives you an idea about the interface design and user option in the game board.
Game Mode
From the below option, user can change the mode:

Dice Value Display
Dice value after throwing will be displayed on the below orange dice:

Score Display
Each player score is displayed in the below button box. The value was updated for each throw:

Player Dice
Player dice was displayed on the left side of the player button. Button on the right side was used for throwing the dice (long press). You have to press the left button and release the button for recording the dice thrown value.

New and Exit Game
These two buttons were used to create a new game or exit the game.

Player Dice on Board
Player dice was shown in "Red" or "Yellow" square inside each Tile.

Source Code Module Details
Functions and modules are commented inside the source file. So please download the code and run the program.
www.codemx.com
