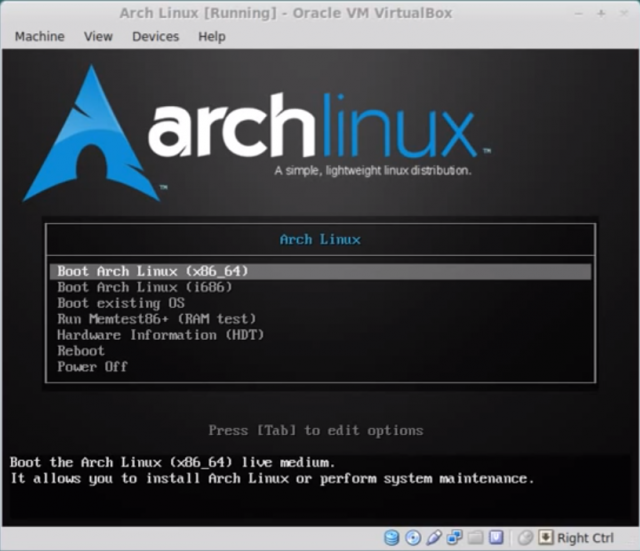
Picking back up where part one ended. Open virutal box and select your newly partitioned virtual machine click settings and select storage. Within the Storage Tree select the Controller: IDE and replace GParted with the Arch Linux ISO you downloaded then click ok then start the virtual machine.
CodeProject
Selecting An Arch Linux Version
After a few seconds you'll be presented with the Arch Linux boot screen. At this point you can choose either the 64 or i686 version. It doesn't matter which version you decide to go with because this guide will work with either one.

Press the up/down keys to highlight which version suits you then press enter to select it. Once you do this, the Arch Linux boot process will be displayed on your screen. When it's done you'll be dropped right into a command prompt.
Partition Verification
The first command we need to issue is fdisk -l. This command lists the partitions for our virtual machine. Issuing this command allows us to make sure that the list that's displayed to us is what we expected.
The items shown under the Device Boot column in the list are as follows:
Root partition:
Linux swap partition:
Home partition:
Mounting Drives
Now we need to create our home directory and we can do so with the following command:
Next we need to mount our /dev/sda1 and /dev/sda3 partitions in order to modify them:
- mount /dev/sda1 /mnt
- mount /dev/sda3 /mnt/home
Install Base Distribution
Next we need to issue the pacstrap command:
What's happening at this point is that pacstrap is installing the base distribution to the /mnt directory.
pacstrap will eventually ask you to enter a selection. Just press enter when it does. Next it will ask you to proceed with installation; type Y then press enter and it will continue installing the base distribution.
Wrap Up
In the next part we will start by creating a fstab file and continue installing Arch!
Series Links
