Pre-requisites
You need a AWS subscription: Get it done here.
Time to nail it down.
Step 1. Create EC2 Instance
- After registration, you will land here:
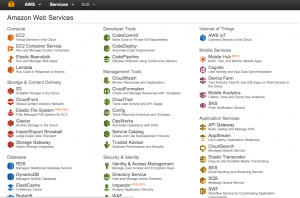
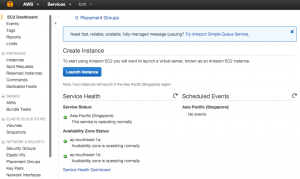
- Click on EC2 then click on Launch Instance:
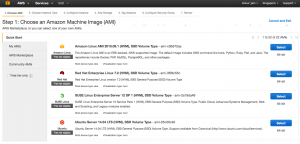
- Choose an AMI (Amazon Machine Image from list) :- Click on Quick Start and then select Ubuntu Server 14.04 LTS (HVM), SSD Volume Type.
- Choose Instance type: you have to choose size of instance RAM and others configuration here. You will be charged accordingly (Choose free tier for now).

- Configure Instance details: Leave them as it is for now. No need to change it on a basic level.

- Configure Storage for this instance: By-default, it is 10 GB. You can extend it as per your need (upto 30 GB is covered in free tier).

- Give your Instance a Name (Tag it): Tag your instance.
Name is the default Tag. You can provide a name for it.

- Configure Security Group: Create a security group so that you can access your blog from outside world. Open port 80,22,443. Name it as you wish.

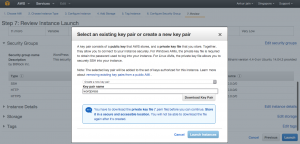
- Click on Review and Launch, then click on Launch. It will land you to key-pair creation page. Create a new key and download that key and then click on Launch instance.
- Click on View Instance to view your newly created instance

Step 2. Create Elastic IP to Access Newly Created EC2 Instance Publicly
- Click on Elastic IPs

- Then click on Allocate a New IP:
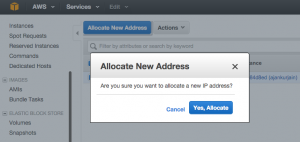
- Select your newly created IP and click on Associate Address. It will open another dialog box to select EC2 Instance. Select your instance by typing name of it and click on Associate button. Now, you can access your instance publicly by typing your newly created Elastic IP in address bar of any browser.


- Use ubuntu as username and key file (pem) to access newly created ubuntu instance on putty/filezilla.
CodeProject

