In this post, we are going to see how to use the mobile phone camera in mobile apps built using the Ionic 2(2.0.0-rc.1) Framework. To access the camera, we use the Cordova Camera plug in just like Ionic 1 but unlike Ionic 1 in Ionic 2, we can (preferably) use Ionic native to interface with Cordova plugins so how to use Ionic Native and the Cordova camera plug in to build apps that use the phone Camera.
Getting Started
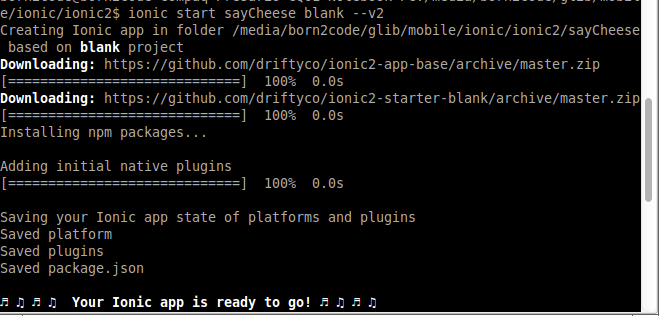
Let's start by generating a new app using the blank template:
ionic start sayCheese blank --v2 --id "com.techiediaries.sayCheese"
Make sure you add the –v2 switch so the Ionic cli generates an app based on Ionic 2 not Ionic 1.

Now enter in your app project and ionic serve it.
cd sayCheese
ionic serve
If everything is OK, you should see your blank app served with your default browser.
You can’t use the Cordova plugins in the browser, you need an actual plug in so go ahead and plug in your mobile phone to your computer with a USB cable and enter.
ionic run android
If you are developing with a MAC, you can also build apps for iOS so instead of Android, you can use iOS.
ionic run ios

Next, you should add your target platform with:
ionic platform add android
Please note that if this is your first time using Cordova, make sure you first install it via npm:
npm install -g cordova
Now after adding your platform, you need to add the camera plug in:
ionic plug in add plug in
Now after installing the Android platform and the camera plug in, let's start writing the code for accessing the camera and taking a nice picture:

Go ahead and open home.ts inside your app src/pages/home directory and write this code to access the camera using Ionic native.
import { Component } from '@angular/core';

import { NavController } from 'ionic-angular';

import {Camera} from 'ionic-native';

@Component({
  selector: 'page-home',
  templateUrl: 'home.html'
})

export class HomePage {
  public myImage:string;
  constructor(public navCtrl: NavController,public ngzone: NgZone) {

       this.myImage = "https://placehold.it/150x150";
  }

  public takePic(){

    Camera.getPicture({

            quality : 75,
            destinationType : Camera.DestinationType.DATA_URL,
            sourceType : Camera.PictureSourceType.CAMERA,
            allowEdit : false,
            encodingType: Camera.EncodingType.JPEG,
            targetWidth: 300,
            targetHeight: 300,
            saveToPhotoAlbum: true

    }).then( (imageData) => {

        this.myImage = "data:image/jpeg;base64," + imageData;

    }, (err) => {

        alert(err);
    });
  }
}
Now let's understand the code.
First, we imported the Camera class from ionic-native.
import {Camera} from 'ionic-native';
Then, we declared a string attribute with the name myImage which will hold the URL of the image.
Next in the constructor, we initialized myImage with an image from placehold.it.
this.myImage = "https://placehold.it/150x150";
Next, we added a public method takePic() which holds the logic to take a picture using Camera.getPicture which takes an options object defining properties of the image to take and other settings for the camera, most important we tell the camera to return image data in base64 format with destinationType: Camera.DestinationType.DATA_URL.
Camera.getPicture({

        quality : 75,
        destinationType : Camera.DestinationType.DATA_URL,
        sourceType : Camera.PictureSourceType.CAMERA,
        allowEdit : false,
        encodingType: Camera.EncodingType.JPEG,
        targetWidth: 300,
        targetHeight: 300,
        saveToPhotoAlbum: true

}).then( (imageData) => {

    this.myImage = "data:image/jpeg;base64," + imageData;

}, (err) => {

    alert(err);
});
This method returns a promise, if the operation is successful, we assign the image data(base64) to myImage, otherwise we just show the error.
That’s all now just in your terminal enter:
ionic run android
Don’t forget to plug in your mobile device.
And take a picture, if everything goes as expected, you should see your picture in the place of the placehold.it image. If anything goes wrong, just drop me a comment below.
Thanks for reading!
The post How to access and use your mobile phone camera using Ionic 2 and Ionic Native appeared first on techiediaries.
