I've had this dream of building my own game ever since I first started coding. Most attempts have been very basic in command line, various 2D libraries, Silverlight, etc.
So now that I am on a sick-leave for 2 weeks, I bought a book called OpenGL SuperBible, Seventh Edition and I try to read it at a pace that suits me. Currently pretty slow as I really don't have that much energy and feel more like napping than reading or writing. :)
The thing is that all the examples in the book are in C++ and I don't really want to do this in C++ as I have a lot of utility code written in C# that I want to be able to reuse. So after looking around, I found this neat wrapper called OpenTK that basically wraps the OpenGL API as is and lets you use it from C#.
So, while trying to figure out OpenGL, I will try to write down how to do things in OpenTK. Hopefully, this process forces me to learn at least a little. :)
This is part 1 of my OpenGL series.
For other posts in this series:
OpenGL 4 with OpenTK in C# Part 1: Initialize the GameWindow
OpenGL 4 with OpenTK in C# Part 2: Compiling shaders and linking them
OpenGL 4 with OpenTK in C# Part 3: Passing data to shaders
OpenGL 4 with OpenTK in C# Part 4: Refactoring and adding error handling
OpenGL 4 with OpenTK in C# Part 5: Buffers and Triangle
Get a Working Game Window
So step 1 I guess is to get a working game window that we can extend upon.
I assume you know how to create a new Solution and find the new Project menu in Visual Studio. :)
In Visual Studio, create a new Windows Forms project, I guess you could go console as well but this is what I did.

Be sure to change your build options to x64 if you downloaded the x64 version of OpenTK.
Add OpenTK.dll as a reference.
Delete the Form1 class in the Solution Explorer.
Add a new class called MainWindow. (I placed it in a Components folder.)
using OpenTK;
using OpenTK.Graphics.OpenGL4;
namespace techdump.opengl.Components
{
    public sealed class MainWindow : GameWindow
    {
    }
}
Adding the 'using OpenTK.Graphics.OpenGL4;' statement tells OpenTK that we want to use OpenGL 4 and not see all the old APIs. Just gives us a cleaner environment.
Open Program.cs and remove all content of the Main method and write this instead:
static class Program
{
    [STAThread]
    static void Main()
    {
        new MainWindow().Run(60);
    }
}
The Run(60) tells OpenTK that you want to run at 60 fps. If you run the application at this point, a window should appear that looks like this:

Setup Overrides
OpenTK provides some nice methods that can be used by overriding them in your MainWindow.
Adding a constructor and setting up your window:
public MainWindow()
: base(1280,
720,
GraphicsMode.Default,
"dreamstatecoding",
GameWindowFlags.Default,
DisplayDevice.Default,
4,
0,
GraphicsContextFlags.ForwardCompatible)
{
Title += ": OpenGL Version: " + GL.GetString(StringName.Version);
}
So basically what this does is to setup the initial state of our window. Again, we tell OpenTK that we want to use OpenGL 4. For the sake of sanity, we then overwrite the window Title with the actual OpenGL version used in the body of the constructor.
Overriding the OnResize method to be able to reset our ViewPort if the user decides to resize the window:
protected override void OnResize(EventArgs e)
{
 GL.Viewport(0, 0, Width, Height);
}
OpenTK wraps the OpenGL API in the GL static class. So the above GL.Viewport corresponds to glViewport. So basically, you can read the OpenGL API documentation and figure out what OpenTK method name is.
Next up the OnLoad method. This gets executed once when our window loads. Perfect for initializing stuff.
protected override void OnLoad(EventArgs e)
{
 CursorVisible = true;
}
The OnUpdateFrame method is where all updates should be placed. This is called every frame.
protected override void OnUpdateFrame(FrameEventArgs e)
{
 HandleKeyboard();
}
private void HandleKeyboard()
{
 var keyState = Keyboard.GetState();

 if (keyState.IsKeyDown(Key.Escape))
 {
  Exit();
 }
}
I threw in a HandleKeyboard method here as well so that we can kill the window easily by hitting the Escape key.
The last override is the OnRenderFrame. This is where all the drawing will happen. Also called for every frame, the FrameEventArgs contains a Time property telling us how many seconds elapsed since the last frame.
protected override void OnRenderFrame(FrameEventArgs e)
{
    Title = $"(Vsync: {VSync}) FPS: {1f / e.Time:0}";

    Color4 backColor;
    backColor.A = 1.0f;
    backColor.R = 0.1f;
    backColor.G = 0.1f;
    backColor.B = 0.3f;
    GL.ClearColor(backColor);
    GL.Clear(ClearBufferMask.ColorBufferBit | ClearBufferMask.DepthBufferBit);

    SwapBuffers();
}
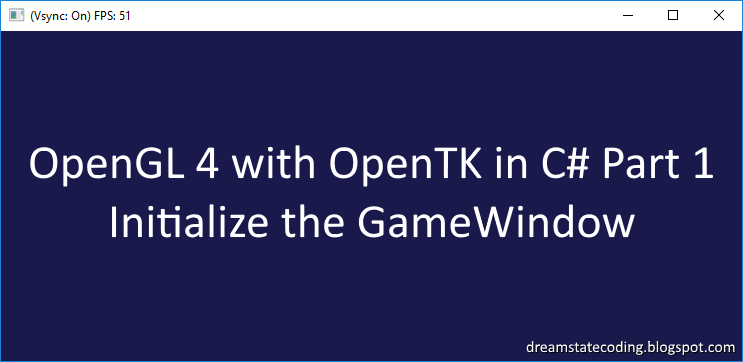
The GL.ClearColor takes a Color4 struct. There are a lot of colors predefined in the Color4 struct for example: Color4.AliceBlue. Running this should show a dark blue window and an fps counter in the title stuck around 60fps as seen at the top of this post.
Hope this helps someone out there. :)

Thanks for reading. Here's a GIF of 2 of our cats fighting. (Full video at https://youtu.be/idObqY19eds)
