OpenShift is Red Hat's platform-as-a-service offering for hosting and scaling applications. It's built on top of Google's popular Kubernetes system.
Getting up and running with OpenShift Online is straightforward, as it is a cloud hosted solution. Setting up your own cluster is a little more complex, but in this article, I'll show you how to make it fairly painless.

The repo for this project is at github.com/dwmkerr/terraform-aws-openshift.
Creating the Infrastructure
OpenShift has some fairly specific requirements about what hardware it runs on1. There's also DNS to set up, as well as internet access and so on.
All in all, for a bare-bones setup, you'll need something like this:

Which is (deep breath):
- A network
- A public subnet, with internet access via a gateway
- A master host, which will run the OpenShift master
- A pair of node hosts, which will run additional OpenShift nodes
- A hosted zone, which allows us to configure DNS
- A bastion, which allows us to SSH onto hosts, without directly exposing them
- Some kind of basic log aggregation, which I'm using CloudWatch for
This is not a production grade setup, which requires redundant masters and so on, but it provides the basics.
Rather than setting this infrastructure up by hand, this is all scripted with Terraform. To set up the infrastructure, clone the github.com/dwmkerr/terraform-aws-openshift repo:
$ git clone git@github.com:dwmkerr/terraform-aws-openshift
...
Resolving deltas: 100% (37/37), done.
Then use the terraform CLI2 to create the infrastructure:
$ cd terraform-aws-openshift/
$ terraform get && terraform apply
You'll be asked for a region, to deploy the network into, here I'm using us-west-1:

After a few minutes, the infrastructure will be set up:

A quick glance at the AWS console shows the new hosts we've set up:

The next step is to install OpenShift.
Installing OpenShift
There are a few different ways to install OpenShift, but the one we'll use is called the 'advanced installation3'. This essentially involves:
- Creating an 'inventory', which specifies the hosts OpenShift will be installed on and the installation options
- Downloading the advanced installation code
- Running the advanced installation Ansible Playbook
To create the inventory, we just run:
sed "s/\${aws_instance.master.public_ip}/$(terraform output master-public_ip)/"
inventory.template.cfg > inventory.cfg
This takes our 'inventory template4' and populates it with the public IP of our master node, which is recorded in a Terraform output variable.
We can then copy the inventory to the bastion:
ssh-add ~/.ssh/id_rsa
scp ./inventory.cfg ec2-user@$(terraform output bastion-public_dns):~
We can again use the Terraform output variables, this time to get the bastion IP. Finally, we pipe our install script to the bastion host:
cat install-from-bastion.sh | ssh -A ec2-user@$(terraform output bastion-public_dns)
There's a bug which means you might see ansible-playbook: command not found, if so, just run the script again. The install script clones the installation scripts and runs them, using the inventory we've provided:

This'll probably take about 10 minutes to run. And that's it, OpenShift is installed:
open "https://$(terraform output master-public_dns):8443"
Hit 'advanced' and continue, as we're using a self-signed certificate most browsers will complain:

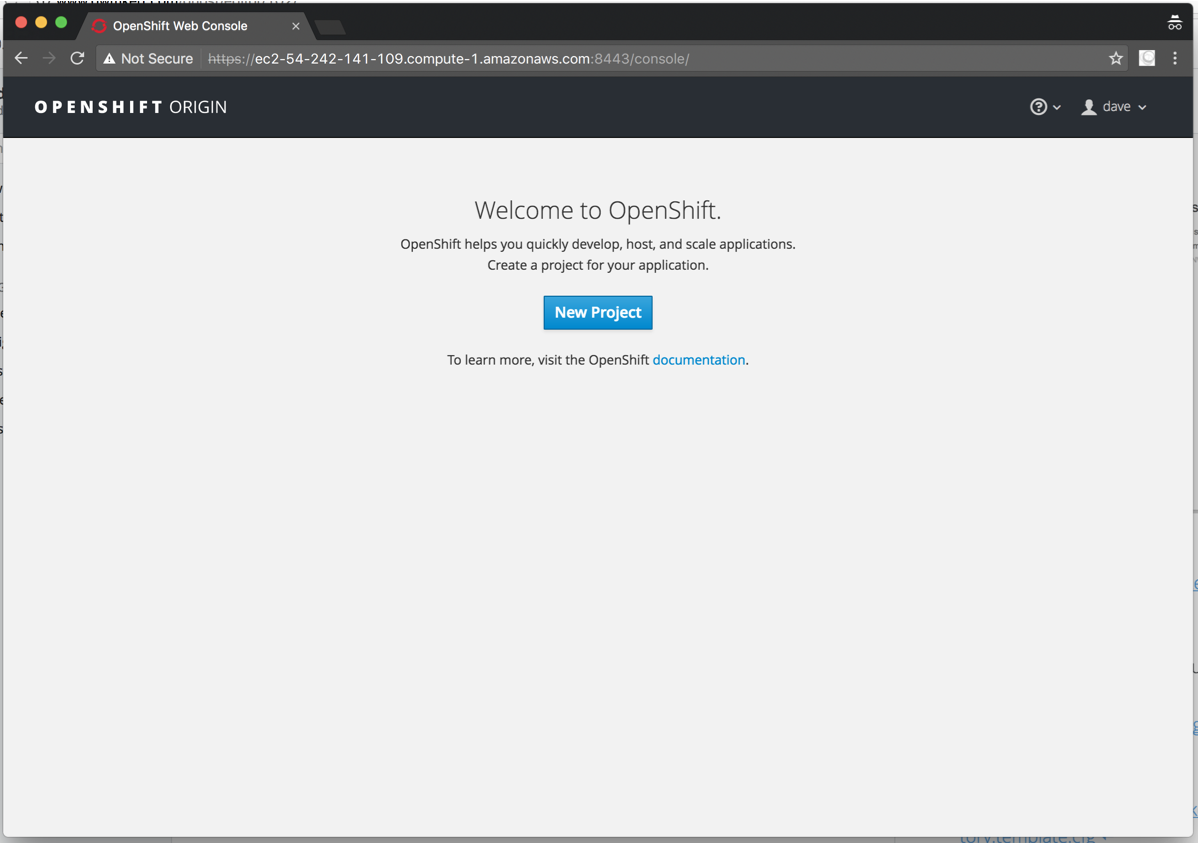
Enter any username and password (the system is configured to allow anyone to access it by default) and you'll be presented with the OpenShift console:

As the setup requires three t2.large instances, which are not available on the free plan, you might want to clean up when you are done with:
terraform destroy
Wrapping Up
Hopefully, you've found this useful, there are more details and references on the README of the github repo:
Comments and feedback are always welcome!
History
- 2nd February, 2017: Initial version
