This is a three part series for setting up and getting started with ReactJS and Typescript. This part of the series will show how to clone the GitHub created in part II of the series to start new development.
The other parts in the series are…
GitHub Repository - https://github.com/manish-patil/react-typescript
Introduction
This is the culmination of the series, where we will pick up from the previous post which created a GitHub repository for our Hello World ReactJS application. This part will use the GitHub repo and show how easy it is to use the code on GitHub to setup a local workspace and start with the development of new ReactJS applications.
Setting Up Local Workspace from GitHub Repo
I – Let's say we need to start development on a Top Secret, Brand New ReactJS application using TypeScript. Please pardon my dramatics.
We can go through all the steps described in Part I of this series to setup our code. Or we can do the following… Clone the GitHub repo, which was created in the earlier post, to your computer and start your new development. We will see how easy it is to clone, setup and run your Hello World application using this GitHub repo.
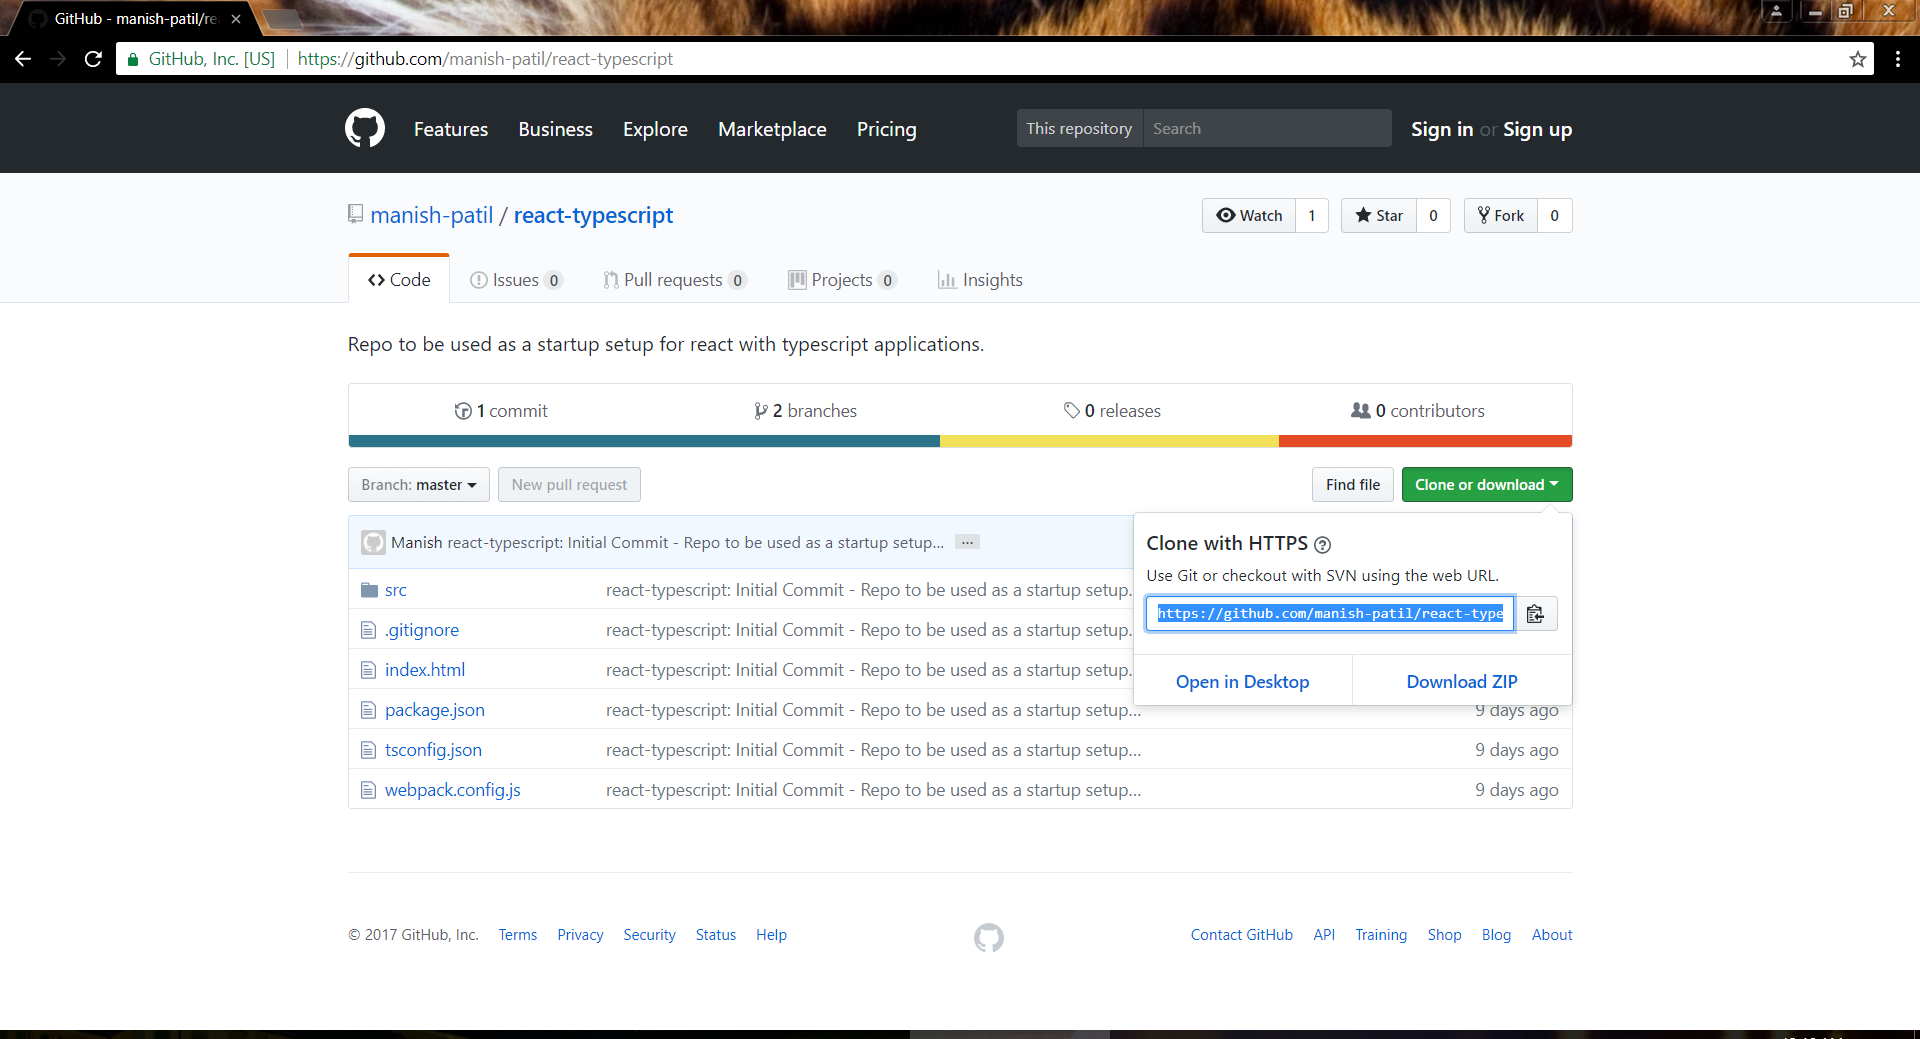
II – Open the URL https://github.com/manish-patil/react-typescript, in your browser. Click on the green button – Clone or download. Copy the URL https://github.com/manish-patil/react-typescript.git from the opened dialog.

III – On your computer, open Git Bash where you wish to create the clone of the GitHub repo. In Git Bash, type the command:
git clone [the copied text from above] [new application name]
So let's say our new application name would be, for lack of imagination, TopSecret, so the command in Git Bash would be:
git clone https://github.com/manish-patil/react-typescript.git TopSecret
This would make Git create a new folder, TopSecret and clone/copy all the code in the GitHub repo to your local computer. As you can see, Git has also checked out the default branch master for you. You may want to change the application “name” in the package.json file from react-typescript.

IV – As you might have guessed by now, though the code is here, there is no dist folder and there are no Node Packages (node_modules) to run our applications, we didn’t commit the dist or the node_modules folder to GitHub. But we did commit the package.json file. To unpack the package.json file and install all the Node Packages mentioned in the package.json file, we need to execute the following command at Git Bash:
npm install
The command will query the package.json and NodeJS will take care of the rest – it will install all the required Packages, mentioned in the package.json file and write them to the node_modules folder.
V – Now once the Node Packages are installed, we can run our build to initiate webpack to transpile our code to the dist/bundle.js file.

Try opening index.html and you will see a running ReactJS application saying Hello World!!!!
So using the GitHub repo, with just few easy steps, we can get our Hello World ReactJS application up and running again. And now, we are free to build our new application!
VI – Before we end here, let me just briefly explain how to checkout the other branch (webpack-dev-server) we had created in our earlier post, which added a webpack dev server to our application and which is available with the GitHub repo.
Locally in Git Bash, enter the following command. This command will create and checkout the webpack-dev-server branch, locally, from our GitHub repo.
git checkout –b webpack-dev-server –t origin/webpack-dev-server

VII – The new branch webpack-dev-server, would have a new Node Package - webpack-dev-server, which needs to be installed by the command:
npm install
VIII – Now let's build and run our development server using the command:
npm run build

As you can see, the server is running on localhost port 8080.
Checking out the webpack-dev-server branch is optional as you can use other development servers for your environment on top of the master branch. This is just to show how to use GitHub, Git Bash and create and checkout specific branches if you need them.
I hope that these posts come in handy to most of you when you start with ReactJS and Typescript.
Happy coding!
