Introduction
This is short write-up inspired by a great Connecting an Arduino to a Breadboard to light up LEDs article published as part of Summer Fun with Arduino Challenge. While taking this challenge and analyzing the source code, I realized that the code can be significantly simplified if we write the full byte into the output port at once, instead of setting individual bits in a loop. If we adopt this approach, we won't need to maintain an array of pin numbers and manipulate this array in the code.
Background
If we connect our 8 LEDs to the first 8 digital pins (pins 0 through 7 aka Port D), then writing a code of 1 (binary 00000001) to the port will light up LED 0 (the rightmost). Writing code 2 (binary 00000010) will turn LED 1 on and LED 0 off. Code 3 (binary 00000011) will turn both LED 1 and LED 0 on and so on, until code 255 (binary 11111111) will turn all LEDs on. This is a simple way to control all LEDs at once rather than setting them individually.

Connecting to the Device
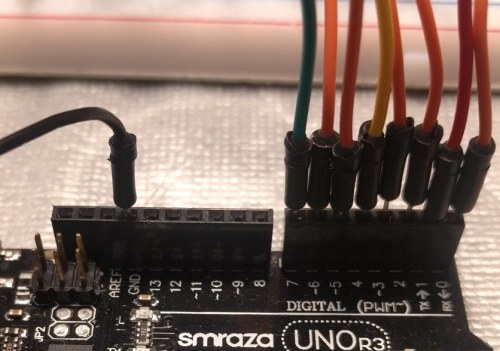
I have made minor changes to the original connection diagram by using individual resistors for each LED. All cathodes (short legs) of LEDs sit on a negative bus connected to Arduino board GND pin. Each anode (long leg) is connected to a resistor and that resistor is connected to the corresponding digital pin of Port D.

The whole system looks like this:

Using the Code
The code now looks very simple. It's a plain C which reads like JavaScript.
We define a byte variable counter which gets incremented every 100 msec. In the setup() method, we configure all pins of Port D as output. In the loop() method, we send current value of the counter to the port and increment it in one statement. Once the counter reaches its max value (255), it resets to 0 automatically.
byte counter = 0;
void setup() {
DDRD = 0xff; PORTD = 0; }
void loop() {
PORTD = counter++; delay(100);
}
And that's it. Happy coding!
