Introduction
In 2018, Python is in the list of most popular languages as per Stack Overflow Developer Survey. Python is a cross-platform and open source programming language for Machine Learning, Web Development and Data Science. There are lots of editors available for Python development but as a Dotnet Developer, you always love Visual Studio and always prefer to work with this IDE. Visual Studio provides lots of features which help us in faster and productive development, due to this, it's the number one IDE. But when you think about Python development, you might think which editor is best for it. But don't worry, Microsoft has added Python development in Visual Studio and now we can use Visual Studio for Python development as well.
Background
This article will help you to understand how to setup Python environment in the existing Visual Studio 2017. If you don’t have Visual Studio 2017 installed and you would like to install it, then you can refer to the below Microsoft article for step by step information.
Set Up Python Environment
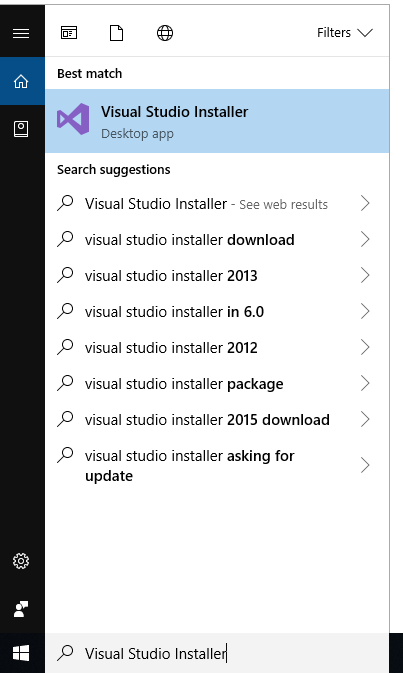
So, before moving forward, please make sure that you should have installed Visual Studio 2017. Let's open Visual Studio Installer from the start menu, if you are not able to find it in the program, then you can search it and open. The Visual Studio Installer is responsible for adding new components, modifying existing components and updating the current components with a new one. So, basically, it is used for maintaining the components for your development environment.

Sometimes, before starting the Visual Studio Installer, it automatically updates the installer and then opens. Next screen will be for your Visual Studio product from where you can update or modify it. I am using Visual Studio 2017 Enterprise Version. If you have not updated your existing Visual Studio 2017 for a long time, then you can see an “Update” option, so let's first update the Visual Studio 2017 and then we will try to add Python environment.

Once your Visual Studio 2017 will be updated through Visual Studio Installer, the "Update" option will convert into "Modify" from where we can modify our existing development environment.

Just click to Modify button and it will open the Workloads installation windows from where you can choose the required components for specific development area. From here, just scroll and you will find the Python Development as you can see in the below image.
Once you select “Python Development”, at the right panel, you can find Installation Details where you can see all components as selected which are going to install. Just select which components, you are willing to install and click to “Modify” button.

It will take some time and it totally depends on your network connection speed and size of data that needs to be downloaded for installation.

Once installation will be completed, you have to do one thing before going to click on the Launch button for opening Visual Studio. Just go to the following location and delete all files inside this folder.
C:\Users\USER_NAME\AppData\Local\Microsoft\VisualStudio\LATEST_VERSION\ComponentModelCache
Now, click on the Launch button and it will open Visual Studio 2017.
So, here, we have successfully added the Python environment with Visual Studio 2017 and it's time to check that we have installed it correctly or not. So, just press "Alt+I" and it will open Interactive Windows. In this window, just select environment as Python and module as "__main__" and type some Python command, for instance, let the sum of two numbers (4+4) or print something as shown in the following image. If it returns output correctly, it means, congrats you are able to set up your Python environment in Visual Studio 2017.

Conclusion
So, today, we have learned how to setup Python environment in existing Visual Studio 2017.
I hope this post will help you. Please give your feedback using comments which will help me to improve myself for the next post. If you have any doubts, please ask in the comment section and if you like this post, please share it with your friends. Thanks!
