Introduction
Have you ever wanted a quick and easy way to add a splash screen to your MFC programs?
I'm going to show you how to add a Splash to your program in less than five minutes.
All you need is a bitmap picture you want to use as your Splash.
This article is designed for Visual Studio 2005, but will probably work in earlier versions.
- Open your projects resource view.
- Expand the tree, right click on the rc file and choose add resource.
- From the pop up, choose bitmap and press the import button.

- Browse to the location of the BMP you want to use as your splash and click open.
Expand the bitmap leaf in the resource view and change the id TO IDB_SPLASH.
- Now right click on the Dialog leaf and choose "Insert Dialog".
- Expand the dialog leaf and if the new dialog is not already open in the resource editor, double click the new
IDD_DIALOG1 to open the new dialog. - Delete the OK and Cancel button.
- Change the following properties for the dialog:
- ID to
IDD_SPLASH - Title bar to
false truetrue
- See the thin blue line? Drag it with the mouse until it is even with the sides of the dialog.
- From the toolbox, drag a picture control into the dialog and place it in the upper left corner.
- Depending on the size of the picture you want for your splash, resize the dialog to be larger than the picture you want to use. You may need to resize the thin blue line again.
Select the picture control. - Change the picture control ID to
IDC_SPLASH and the type to Bitmap.
You will notice that now that the type is bitmap the image property is no longer grayed out. - Change the image property with the dropdown to
IDB_SPLASH.
- Resize the dialog so that the picture just fits.
- Right click on the dialog and choose "Add Class".
- Set the class name to
CDialogSplash and hit finish.
- In the class view, select
CDialogSplash and press the "messages" button in the properties area and scroll down to WM_TIMER. - Use the drop down to add an
OnTimer function to the CDialogSplash class. - Replace the code in the
OnTimer function with CDialog::OnOK();
- In the class view, select
CDialogSplash and press the "overrides" button and scroll down to OnInitDialog. - Use the drop down to add an
OnInitDialog function. Update the code as follows:
BOOL CDialogSplash::OnInitDialog()
{
    CDialog::OnInitDialog();
    CRect rectPic, rectWin;
    GetWindowRect(&rectWin);
    m_pic.GetWindowRect(&rectPic);
    MoveWindow(rectWin.left, rectWin.top,rectPic.Width(),rectPic.Height());

    return TRUE;
}
Ok now let's use the splash we created.
Since most people would like their splash to display before the main program finishes loading, we are going to place our splash call near the top of the InitInstance function in the Application class.
In the class view, click on your application class. For this example, we will use the demo project I created and select CEasySplashApp.
Right click CEasySplashApp and choose Add Variable. Change the access to protected, the type to CDialogSplash and the name to m_splash.
In the class view Double click on the InitInstance function in the CEasySplashApp class and add the following code to the top of the function right after the CWinApp::InitInstance();
m_splash.Create(IDD_SPLASH, this->m_pMainWnd);
m_splash.ShowWindow(SW_SHOW);
m_splash.SetTimer(1,2000, NULL);
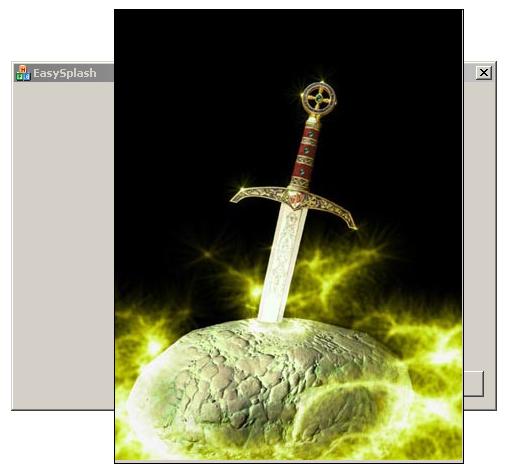
You should have something like this now:
Compile your project and run it. You should see your splash display when your program starts and close after the timer runs out.
In the demo project, I added a button to show the splash again so you don't have to keep restarting the program just to see the splash again.
I hope you found this article useful.
History
- 26th August, 2006: Initial post
I am a contract developer of windows based software written in C++.


 General
  News
News  Suggestion
  Question
  Bug
Bug  Answer
  Joke
Joke  Praise
  Rant
Rant  Admin
Admin 


