System Jobs
AsyncOperation or System Job is an important Dynamcis 365 system entity. Usually we don’t create its records, rather they are created automatically. A record represents a single execution of an asynchronous resource. They include important details about asynchronous operation like name of resource, status (waiting for resources, waiting, in progress, pausing, cancelling, succeeded, failed and cancelled), time of execution and error details in case thing go wrong. We can view system jobs by navigating to Settings > System Jobs. There are 68 (or more) types of system jobs but as a CRM user commonly we use the following asynchronous operations:
- System Event (Asynchronous Plugin)
- Workflow
- Bulk Delete
- Bulk Email
- Import
- Rollup Field
A few system related types are:
- Index Management
- Database Tuning
- Collect Organization Storage Size
- Calculate Organization Maximum Storage Size
- Storage limit notification
For complete details of System Job types see “OperationType” attribute in “AsyncOperation” (System Job) entity.
Why we need to monitor System Jobs?
It is quite common to use asynchronous workflow, asynchronous plugin, rollup field, bulk delete or import features. Since they are asynchronous, most of the time we will not get a notification if they fail until we go and check status.
New To Flow ?
If you are new to Flow, in the following post I have discussed basics of Flow. Please go through it if you need more understanding of Flow basics:
https://crmtechie.com/2018/05/24/create-contact-from-received-email-using-flow/
About demo
We can navigate and see status when we need. It is useful but sort of manual. It will be good to have a piece of automation which may periodically inform power user or admin about failed jobs. In this demo I will use Flow to send a scheduled email (once a day in this demo but of course it can be configured as per requirement), listing the status of failed jobs. This approach can be used in different scenarios.
This solution works in the following 4 steps:
- At a scheduled time flow execution starts
- Filter, sort and read system job records from CRM
- Create HTML table from CRM records
- Finally send HTML table in an email

Let’s begin:
Step 1:
- Sign in to https://flow.microsoft.com/ and click “My flows”
- In next page click “Create from blank”
- Click “Create from blank” again in next screen

- Select or search “Schedule” from connectors
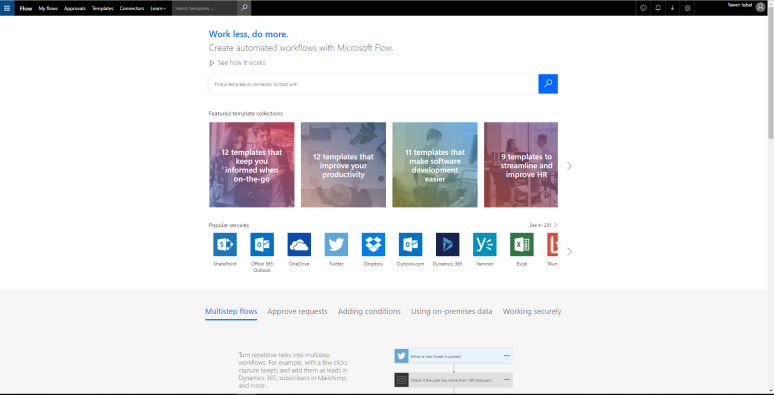


- Click “Schedule – Recurrence” and later configure time zone and start time. I m using “1” as “Interval” and “Day” as “Frequency”
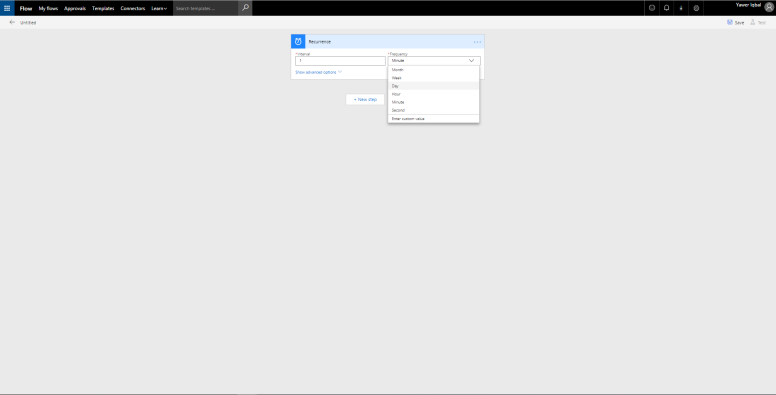
- From “Show advanced options”, select time zone and start time. I m using “(UTC + 10:00) Canberra, Melbourne, Sydney” as time zone and “2018-06-08T10:15:00Z” as the start time.

Step 2:
- Click “+ Add New step” and then “Add an action”
- Search “Dynamics” in the list of connectors and actions and select “Dynamics 365”
- From actions select “Dynamics 365 – List records (Preview)


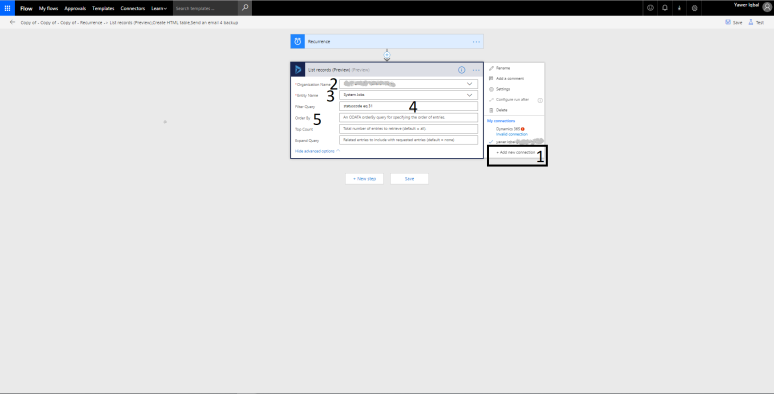
- Click Menu ( … ), and then sign in to your Dynamics 365 instance by pressing “+ Add new connection”
- From “Show advanced options” do the following configurations:
- Select your Organization Name
- “System Jobs” in “Entity Name” field
- “statuscode eq 31” in Filter Query (for details see this)
- “startedon desc, createdon desc” in “Order By” field
Step 3:
- Search and add new action of type “Data Operations – HTML table”
- Click “From” field and select “value” from Dynamic content window
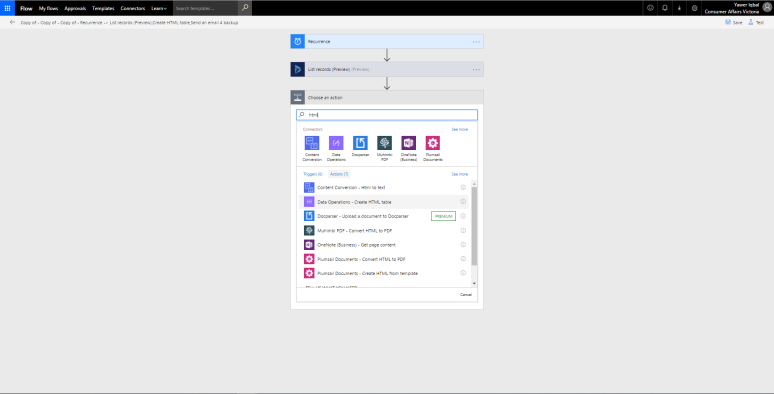

- Clicking “Show advanced options” to add the data columns
- Enter heading, click Value part and select column from “List records” window
- For better spacing between columns, add an empty column between every two columns and use a character or combination (| or . or : or ::) in header
- I have used System Job Type, System Job Name, Status Reason Label and Created On columns for reporting

Step 4:
- Search send email and add Outlook or Gmail connector
- From actions select send an email
- From ( … ) menu sign in and add connection to your mail box if you are not already connected
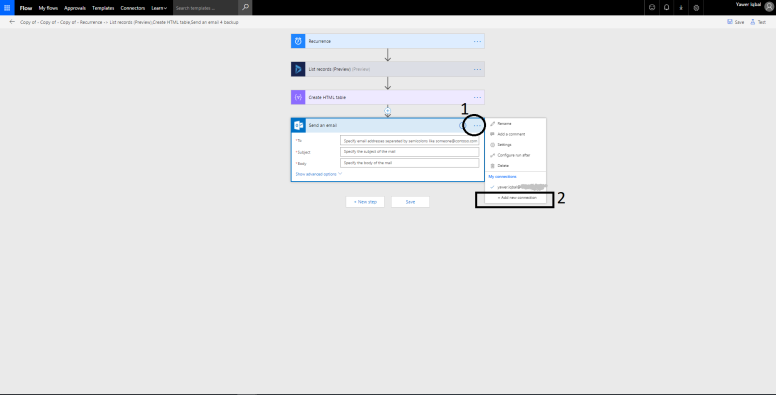
- Enter “To” email address and subject
- Click in “Body” and from Dynamic content select “Output”

- From “Show advanced options” select “Yes” for “Is HTML” field
- Save
- Wait for execution as per time entered or from top right corner click “Test” for testing execution.
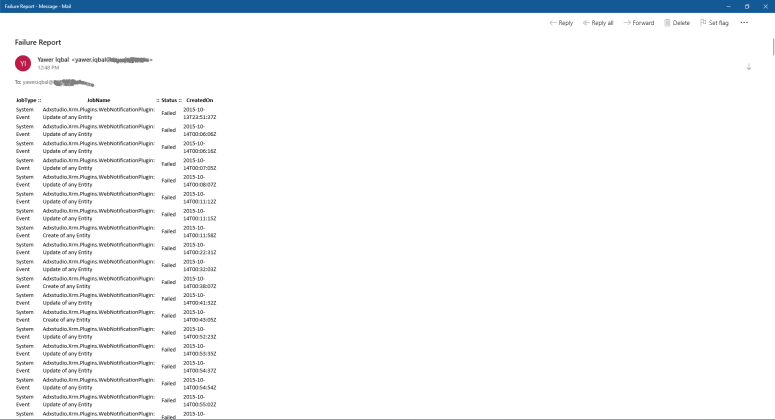
Using Flow for monitoring can be used in interesting scenarios like scheduled monitoring, monitoring a particular async resource or type of resources and even to monitor progress while execution.
I hope you like this solution and Flow overall.
Enjoy your day of 365 life.
About Me 
I m an IT consultant working in Melbourne Australia. I solve business problems using Microsoft technologies (Dynamics 365, Office 365, Azure, Flow, Power Apps, Power BI). I m involved in community activities and I blog at http://www.crmtechie.com/
I love to get connected with people working in IT, providing solutions or who just like Microsoft technologies. To get in touch please follow my blog, and connect through Linkedin, Twitter or Facebook
Blog: http://www.crmtechie.com/
Twitter: @YawerIqbal
Linkedin: YawerIqbal
Facebook: Yawer.Iqbal
CodeProject
