So far, we talked about the basic ingredients to kick start the Windows Azure application. In the last few weeks, we discussed about Service Configuration, Service Definition, Runtime emulators and deployment management portal.
Let's start the first cloud application to move into production. In the New Windows Azure Project dialog of VisualStudio 2010, we need to select ASP.NET Web Role from the list of available roles inside the Roles panel and click the arrow (>) to add an instance of this role to the solution. Before closing the dialog, rename the role as FirstCloud_WebRole. Click OK to create the cloud service solution. It generates the pre defined ASP .NET solution files.
Cloud application has TWO major categories. They are:
- Compute and
- Storage
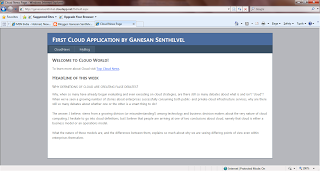
This application is related to compute platform, i.e., not related to any cloud specific storage elements. As the first application, it contains the simple compute cloud app with two UI TABs, filled by static content. The layout is shared in the attached image.
On testing the local development version using Compute Emulator, the first cloud application is hosted in the production environment as defined in the management portal session.
My first cloud application is launched successfully in Microsoft data center.
Production URL is hosted as http://ganesansenthilvel.cloudapp.net/. Hurray!
