This is a very simple step by step guide to install Redmine on Windows server in production. This guide is applicable to IIS 7+ based servers, which include Windows Server 2008, 2008 R2, Windows Vista and Windows 7. Latter two should not be used for production solutions. Please follow these steps:
- Download Microsoft Web Platform Installer, and install it.
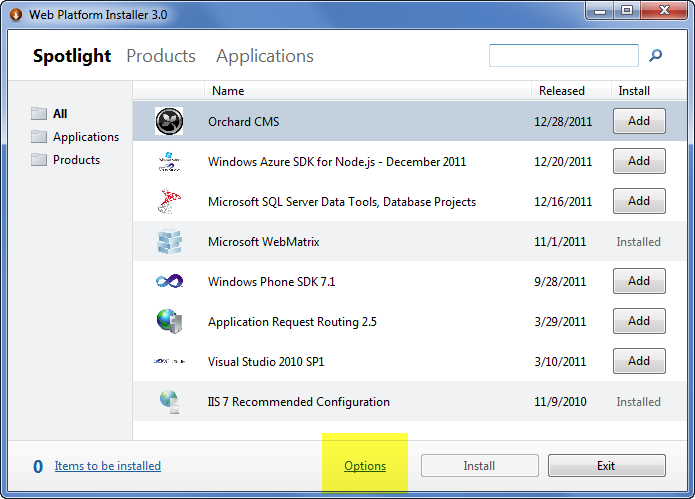
- Run Web Platform Installer and click “Options”.

- Add Helicon Zoo feed into “Display additional scenarios” field: http://www.helicontech.com/zoo/feed. Select “IIS” as a target web server.

A new tab named “Zoo” should appear on the main page of Platform Installer.
- Go to Zoo → Applications and add Redmine, then click install.

This will automatically download and install all required components, including Ruby 1.8.7, Rails 2.3, Helicon Zoo Module and Redmine itself.
- Setup new web-site dialog will appear. Fill it with your server specific values.

- Go to the /admin/ folder on this web-site. Use login “
admin” and password “admin” to enter Redmine Administration panel.

Custom Database
Redmine supports multiple database engines. By default, SQLite is installed, however there are example configuration files for MySQL and PostgreSQL within “config” folder of Redmine application. If you wish to use MySQL, for an instance, take “database.yml.mysql” file; name it as “database.yml” and alter according to your MySQL database settings. Then restart IIS application which contains your Redmine application. All required database migrations will be executed automatically by deploy.rb script.
That’s it, enjoy!
