I am a late-comer to version control in general, and, having grown up teaching myself programming in the Windows/Visual Studio/C# realm, It took the growing prominence of Github to draw my attention to what is currently the most visible Distributed Version Control System (and “social coding” site) in the developer universe.
Once I graduated to using version control for my code, there was no turning back.
Hasn’t All of this been covered somewhere else?
Why, yes it has. In many cases, better than I am about to cover it. The web is chock full of tutorials on using git and Github. Some are better than others, and it is great to get information and opinions from a variety of sources.
I am writing this post as much for myself as my two readers, as a means of increasing my familiarity with the Git/Bash ecosystem (what better way than to explain it to someone else, right?), and so that I will have a reference to my own best thinking on the subject, relevant links, and such.
In this series, plan to walk through the basics of getting started with git in a Windows environment:
- Install and configure Git for Windows (this post)
- Handy Command Reference for the Git Noob (that would include ME, btw – Next Post)
- Working with the Git/Bash Command Line (next post – this is important, dammit!)
- Getting connected – use git with Github and host your code on the web
- Using Git with a GUI, and from within Visual Studio (Last post)
Get Git for Windows
Git is a Unix-based application. In order to use Git in Windows, it is necessary to install the Windows port, msysgit. msysgit is an open source project, freely available for download. As of this writing, the most recent release is version 1.7.11. When you go to the project download page, you will notice that all versions of msysgit are named Git-1.x.xx-preview and are tagged with a little “beta” flag. Don’t worry about this. msysgit is widely used. Below is a link to the downloads page for the “Full Windows Installer” version of the download.
Go get it now at the link below. I’ll wait.
Installing Git for Windows
When you first run the downloaded installer, you may be greeted with a security warning about unknown publisher and such. You can ignore the ominous warning, and click the “Run” button. Click next to move through the “Welcome to the Git Setup Wizard” splash/greeting window, and again to accept the license terms. The next window is the installation components window:
Installation Components

The default values here should be fine, but make sure that the “Windows Explorer Integration” item is checked, and that “Git Bash Here” and “Git GUI Here” are selected. Now click Next again:
Command Line Environment

Of the three options available here, which you choose will depend upon your comfort level with the windows command line. Personally, I prefer to use Git Bash only. I figure, it can only help me as a developer to become fluent with the world of the *nix Bash command line, and the hybrid environment(s) created by the other two options seem more like a potential source of irritation than anything else.
Line Ending Conversion

Unix/Linux systems use a different convention for line endings than Windows. I recommend the default option, which should be “Checkout Windows-style, commit Unix-style line endings.” This option offers the greatest flexibility if you will be sharing your code with others.
Click next, and the installation will start. This should only take a minute or so (or less). Great! You now have Git installed on your windows machine. What next?
Configuring Git on your Windows Machine
Now that Git is installed on your Windows machine, you need to do some basic configuration. Git maintains several configuration files:
- The highest order configuration file contains system-level configuration values for all users, and all repositories on the system. This file is usually created in a directory relative to the msysgit installation directory.
- The global user-level configuration file, which is specific to the individual user, and usually resides in the user’s home folder (Usually, but not always, C:\Documents and Settings\<UserName>). This is where your Username and email address values are generally set up, and will maintain default configuration settings for your repo’s.
- Each repository also contains a configuration file, specific to that repository, which is located in the .git directory of the specific repository or folder.
Note that configuration settings in each more specific level override those in the level above. For example, you can override the global user name and email address values (global here, again, means user-level) within a specific repository by setting them in the repository-level configuration file.
We’ll look more closely at this momentarily.
We are concerned right now with what we call the global configuration, where we provide values for your default user configuration. Open the Git Bash command window though your start menu. You should find it at Start Menu/All Programs/Git/Git Bash.
The Git Bash Command Line Interface
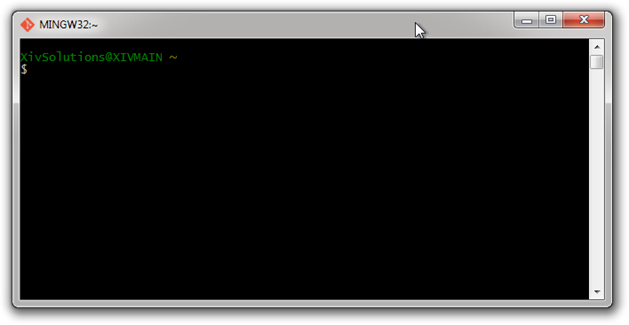
If you are new to command-line interfaces (I was, and still am), overcome your fears. We’re not going to be doing anything scary, and if you are exploring version control, your are likely a developer of some level, or learning to be. We are not to live in fear of the command line anymore! Follow along for now. I will take an introductory look at command line usage in another post. For the moment, note the following:
- You will notice that the window opens with the text "xivSolutions@XIVMAIN ~” then the next line contains a “$” symbol. The xivSolutions@XIVMAIN is my log-in name on the local system and the name of the local computer: LocalUserName@LocalSystemName
- The “$” symbol you see is the default command prompt. Text you type here represents a command which will be executed when you press the enter key.
- Typing into the command prompt can be finicky. Bash is case-sensitive, and every character counts. Placement of spaces count. While you are following along, read the commands carefully, and type exactly into the command line what you are reading here (or from the images of my window).
- Once you hit the enter key, Bash will either:
- Execute an the command and present you with a new command prompt, or
- If the command was one which is supposed to return data or feedback, the requested information will be displayed, followed by a new command prompt.
- Commands tend (with some variation) to adhere to the format CommandName –Option1 –Option2 . . . –OptionN InputValue
The first thing we want to do is set our Global Username and Global User Email. Git uses these two pieces of information to identify us with, and associate us with each commit to the repository. When we want to access the user’s global config file, we supply the –global option with your command.
Again: Bash, like Linux, is case sensitive. Pay careful attention to typing your commands. While you are unlikely to hurt anything by mistyping, the command will fail to execute if you don’t use the proper case. Additionally, the spacing of commands and options is important.
Set the Global User.Name Property
Type the following into the command window, being careful to use the correct case, and note the single space which precedes the double dash in front of the global option. (the “$” symbol is the command prompt, and should already be visible at the beginning of the line):
git config --global user.name “Your Username”
Git Configuration: The User.Name Value:
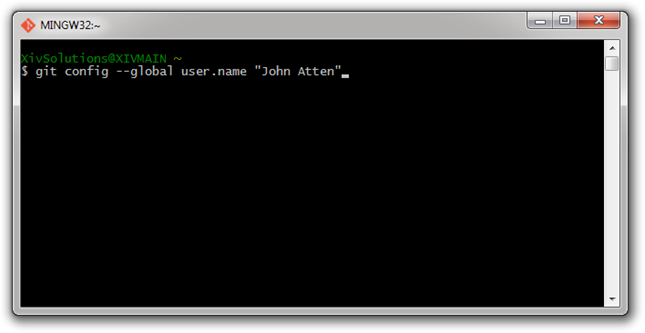
When you hit “Enter",” if you have typed correctly, you should be rewarded with . . . a new command prompt.
Git Configuration: After Entering the User.Name Value:
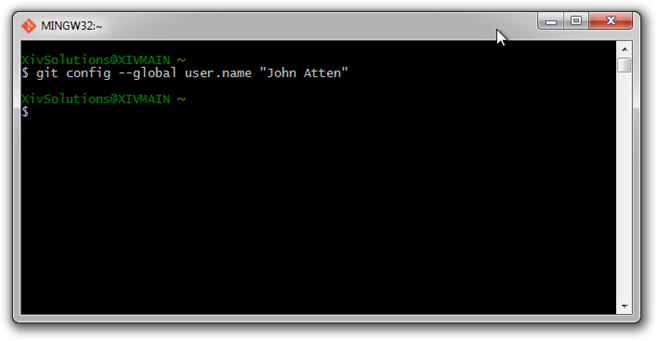
It is a principle of Linux programming that a function or command which executed properly does so silently, unless there is a compelling reason to do otherwise (like when the command is supposed to return data, or report progress). However, we can check to see what happened by typing:
git config –global user.name
Note that this is essentially the command again, but without any input.
Git Config: Confirming User.Name Value – Before Enter:
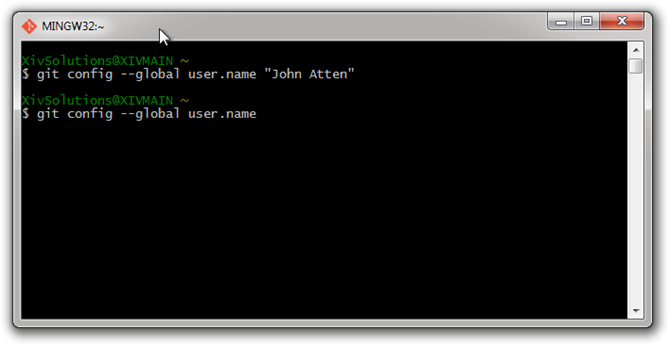
Then hit the Enter key:
Git Config: Confirming User.Name Value – After Enter:
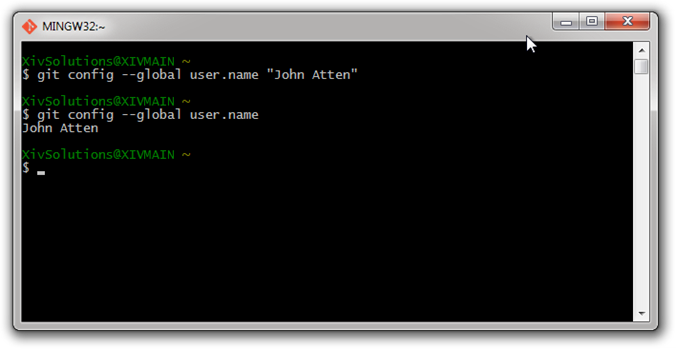
The line immediately following our command represents the return value, in this case, my user name as set in the previous command. Then Bash presents us with a new command line.
Set the Global User.Email Property
Next we will set the global user email. Type the following into the fresh command prompt:
git config --global user.email “yourEmailAddress”
Git Config - Set User.Email Value:
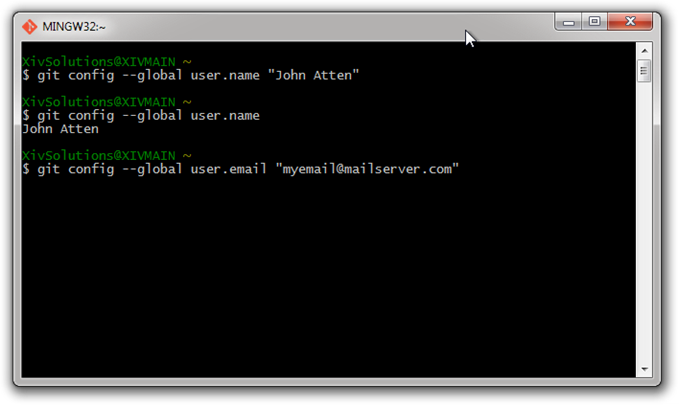
Then hit enter:
Git Config - Set User.Email Value – After Enter Key:
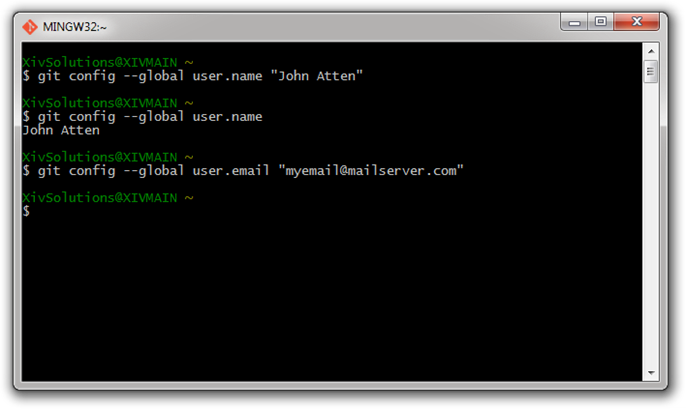
You can check the value of this setting the same as before: retype the command, sans any input value (In an attempt at brevity, I show the entry and the result in one step this time):
Git Config - Check User.Email Value – After Enter Key:
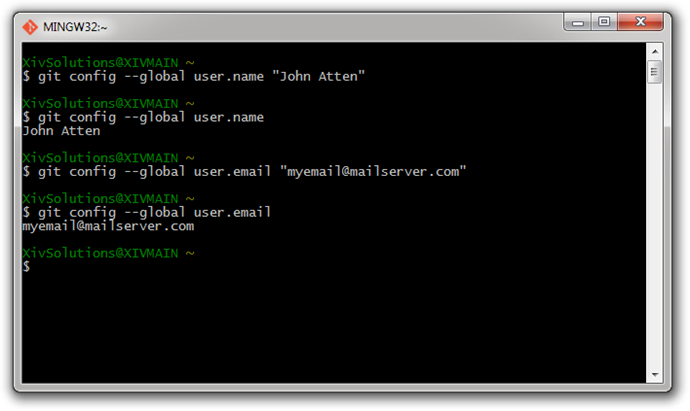
Congratulations! You have now installed and configured Git on your Windows machine. In the next post, We will look at using git to get some things done.
Summary
To this point, we have:
- Downloaded and installed Git for Windows: msysgit
- Walked through the basic installation of git and default set up for your Windows Machine
- Performed the most basic initial configuration of git on your local machine so that you can actually start using git to do meaningful things.
Wow. That seems like a long post just to install an application and do the minimum initial configuration for use. It seems strange to leave this post at this point, because we really haven’t looked at using git for anything useful. But I am trying to break this up into meaningful pieces, of easily digestible length. Next up, we will take a short excursion into using the Bash command line and look at a list of basic, frequently-used git commands.
CodeProject

