I hope the Android Development - Intro helped you in configuring your machine for developing Android apps, in this tutorial we will quick start our first Android app. Here is a stepwise article.
Step 1 – Start the eclipse extracted from the adt-bundle i.e %….%adt-bundle-windows/eclipse/eclipse.exe
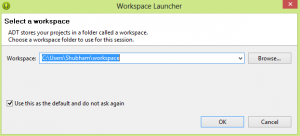
Step 2 – A workspace launcher will popup and you have to define the workspace for your android apps, workspace is the place where all the source files are kept.

Step 3 – Once you have selected your workspace now your IDE is ready for you, Goto File>New>Android Application Project

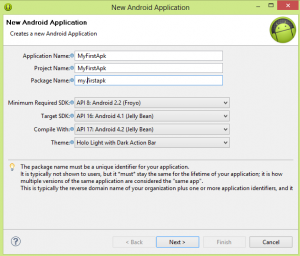
Step 4 – Next step is about configuring your project, it will have options like creating custom launcher and adding activity etc.

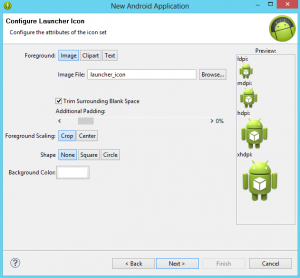
Step 5 – Hence we have checked Create custom launcher icon in the previous screen, this screen allows to add our custom launcher icon. Here I’m using the default icons.

Step 6 – Next we have to decide the activity for our app, there are different types of activity available but for the beginners we will start with BlankActivity.

Step 7 - In this screen you can give name to your activity.

This was all the configuration part, its done now you can start your real coding. After completing the above steps, you will see a designer screen, where you can design and code your app.

Now we have the blank app with the title MyFirstApk and “Hello world!” text in center. This is just a hello world app, lets start Running Android App.
