This article starts by describing PlayFab’s high-level services (Multiplayer, LiveOps, Data & Analytics) and explains important features within each service. At the end, we look at PlayFab Unity SDK and explain how it helps developers integrate their Unity game with PlayFab quickly.
Building a multiplayer game can seem daunting, especially when thinking about building and maintaining servers and databases. Where do we start? How much will it cost? Fortunately, it doesn’t have to be challenging or even expensive. We can get started for free.
This series explores integrating multiplayer features into a Unity game using Microsoft’s Azure PlayFab services. Unity is one of the most popular game engines among studios and indie developers. These Unity developers can find the game-building tools they need using Azure PlayFab, saving time they can use instead to expand their game universe.
In this article, we’ll explore PlayFab Multiplayer Services and demonstrate how to set up a Unity game project with the PlayFab SDK. Later in our six-part series, we’ll enable user registration and login, create a multiplayer server, set up matchmaking, and add a leaderboard and statistics.
We’ll create a new game project based on the FPS Microgame template in Unity. Then, we’ll connect it to our PlayFab account and game title.
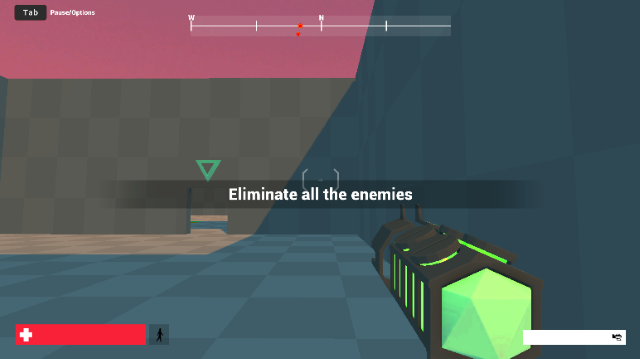
Let’s examine some of Azure PlayFab’s main features that are helpful for game studios and indie game developers. These features help build extensive and scalable multiplayer game experiences. Then, we’ll start setting up a Unity game for PlayFab.
Requirements
Register a PlayFab account if you don’t already have one to follow along with this guide. It’s free to get started with up to 10 games, 100,000 users, 150,000 requests, plenty of compute hours, and PlayFab Party Connectivity and Voice access. Then, just pay as your new multiplayer game goes viral and tops 100,000 users.
You should also install the following software on your computer:
What Does PlayFab Provide?
Azure PlayFab provides backend services for building a real-time multiplayer game at its core. Its SDK makes it easy to integrate with PlayFab. Services include features such as player accounts, leaderboards, and analytics. We’ll highlight the main features that might interest you.
Multiplayer Services
Multiplayer services are PlayFab’s primary group of features that we can use in our games.
Player Authentication and Data
PlayFab provides user account APIs enabling players to create accounts and log in, plus helpful features like resetting passwords. On top of that, if we want to allow players across multiple networks and devices to play together, PlayFab makes this possible. In addition to Windows and Xbox, PlayFab supports third-party authentication through various platforms such as Steam, PlayStation Network (PSN), Facebook, Twitch, and more.
We can also store and retrieve metadata about each player, such as skill level, region, and game settings.
Matchmaking and Parties
Nothing is worse than being the noob playing against highly-skilled players. Storing player data on PlayFab lets us take advantage of PlayFab’s skill-based matchmaking APIs. Our users can find other players who are similar in skill level and in a nearby region. Parties can also match with other groups so friends can play with or compete against each other.
Hosting and Scaling Servers
Even the most experienced DevOps teams may find running a secure backend that can scale to meet player demand at launch challenging. Hosting this gameplay logic on PlayFab enables even solo game developers to launch and scale multiplayer games globally without the security risks and costs of maintaining hardware and 24/7 monitoring.
Leaderboards and Achievements
Most players want to know how well they’re doing (especially if they’re beating their friends). Player scores and progress can become a social competition with just a few PlayFab API calls.
Real-Time Text and Voice Chat
Live chatting with other players can make a game’s experience much more enjoyable and immersive as players interact. PlayFab enables this interaction. Also, PlayFab provides live translation, helping players across the globe talk to each other without language barriers.
LiveOps
After launching your game, maintaining, updating, and tweaking your game requires another set of tools. These tools help measure your game’s performance and quickly push new content to your players. PlayFab offers many features that serve this purpose.
Remote Content and Settings Updates
Releasing new content for players on a specific date or enabling a new feature is traditionally challenging to orchestrate well. It can be as simple as a few clicks on the PlayFab dashboard when your new content is ready to launch.
A/B Experiments
Sometimes you aren’t ready to roll out your features or content to all players. PlayFab’s Experiments feature lets you turn on that new level or adjusted weapon for just a percentage of your players. Then, you can examine actual metrics to understand whether or not the change is desirable for everyone. This experimentation can help drive a large portion of the decision-making process after game launch.
In-Game Currency, Virtual Items, and User-Generated Content
As much as you love creating games, you need to make a living, too. One significant feature that helps monetize content-driven games is PlayFab’s in-game currency and virtual items support. These features take all the complexity from managing a catalog of virtual items and enabling a smooth user purchase flow. PlayFab also gives your players the freedom to exercise their creativity and build their own content for your game.
Data and Analytics
Lastly, PlayFab provides access to your real-time game and player usage statistics. So, you can monitor events, generate reports, and gain critical business insights. Daily game reports keep you informed on how your game is performing.
PlayFab also helps store and manage your data in compliance with government regulations such as the General Data Protection Regulation (GDPR) in Europe and the Children’s Online Privacy Protection Act (COPPA) in the US.
Getting Started: Creating a Unity Game Project
Are you feeling inspired by all those features? Well, it’s time to start building our multiplayer game!
In this series, we'll show you the steps to building a multiplayer game on PlayFab using the Unity FPS Microgame template. However, most of the steps apply to any new or existing Unity game project, too.
First, open Unity and select Create New Project. Then, choose the FPS Microgame template. The screen may prompt you first to download this project template in Unity.

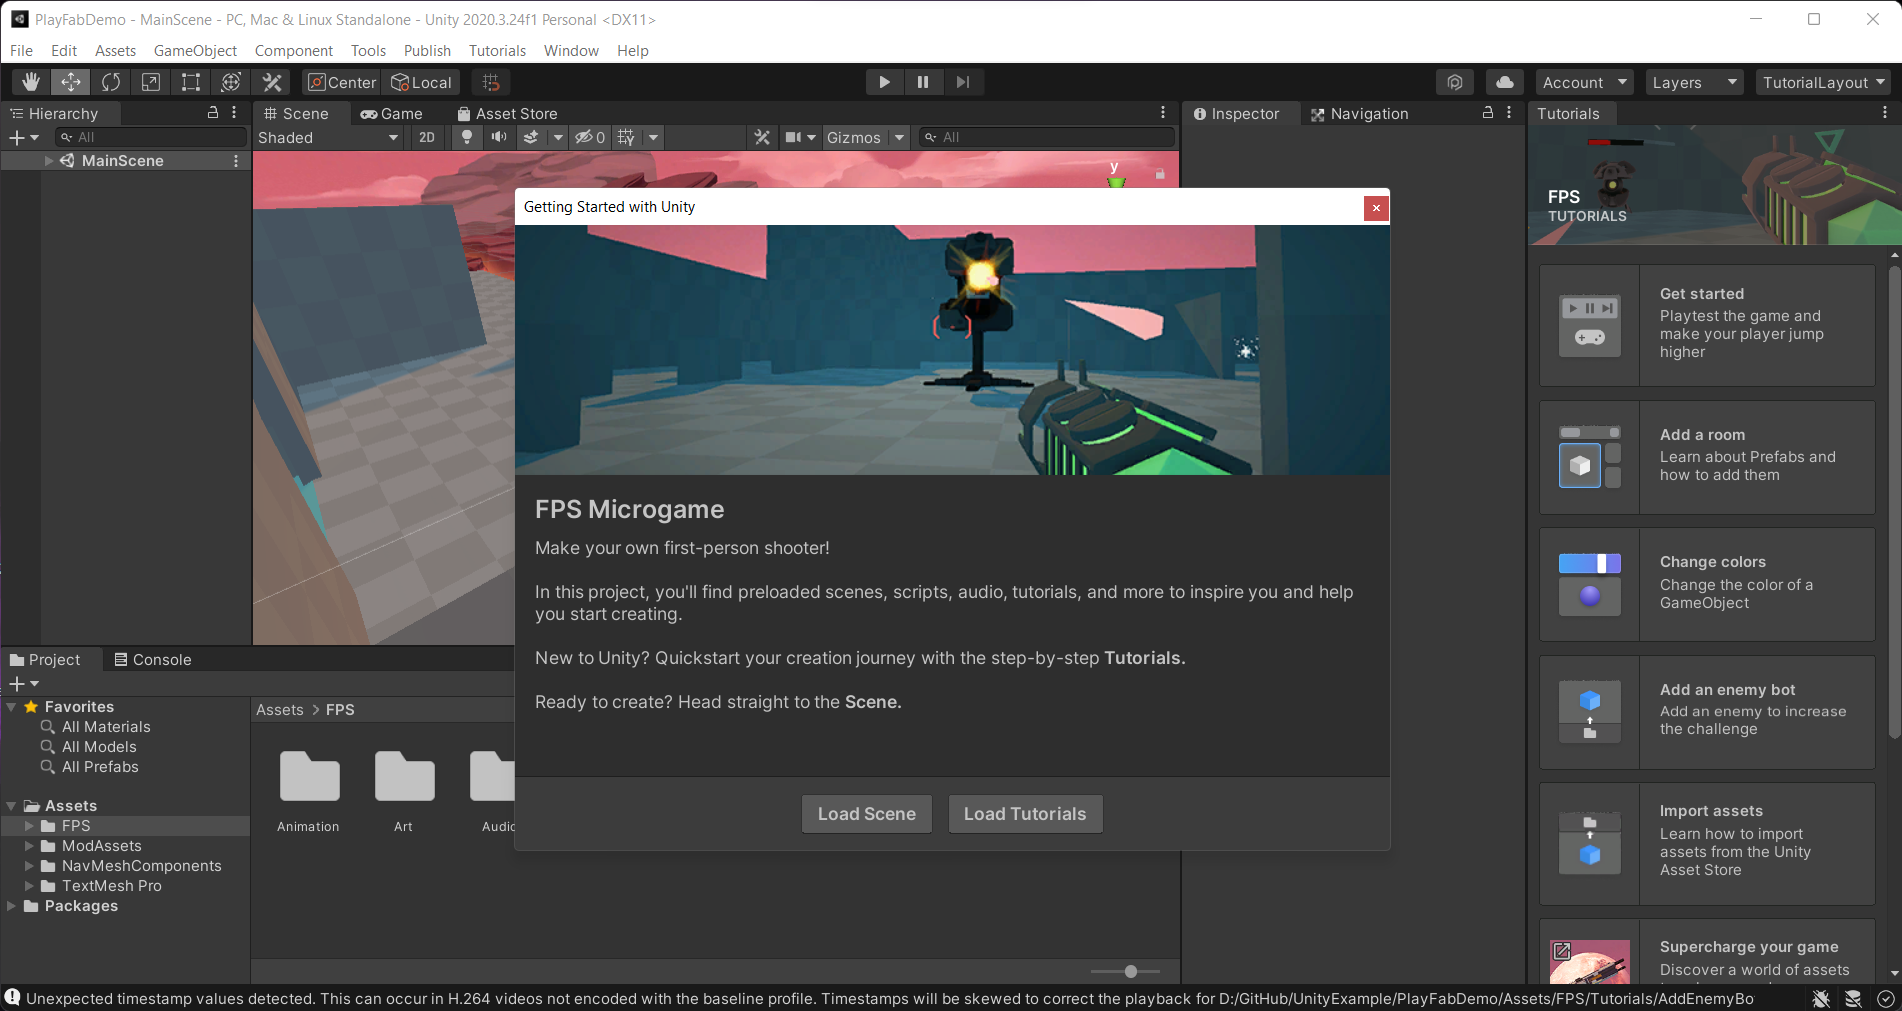
After creating your new project, you can click the Play button to run the game and ensure it runs fine.
Installing the PlayFab Editor Extension and SDK
Note: If you don’t have a PlayFab account yet, create one now.
We must install the PlayFab Unity Editor Extensions Asset Package to the project. Download the Unity package, then double-click to open it while the Unity Editor is open. Then, in Unity Editor, click Import to import all the package’s files into your project.
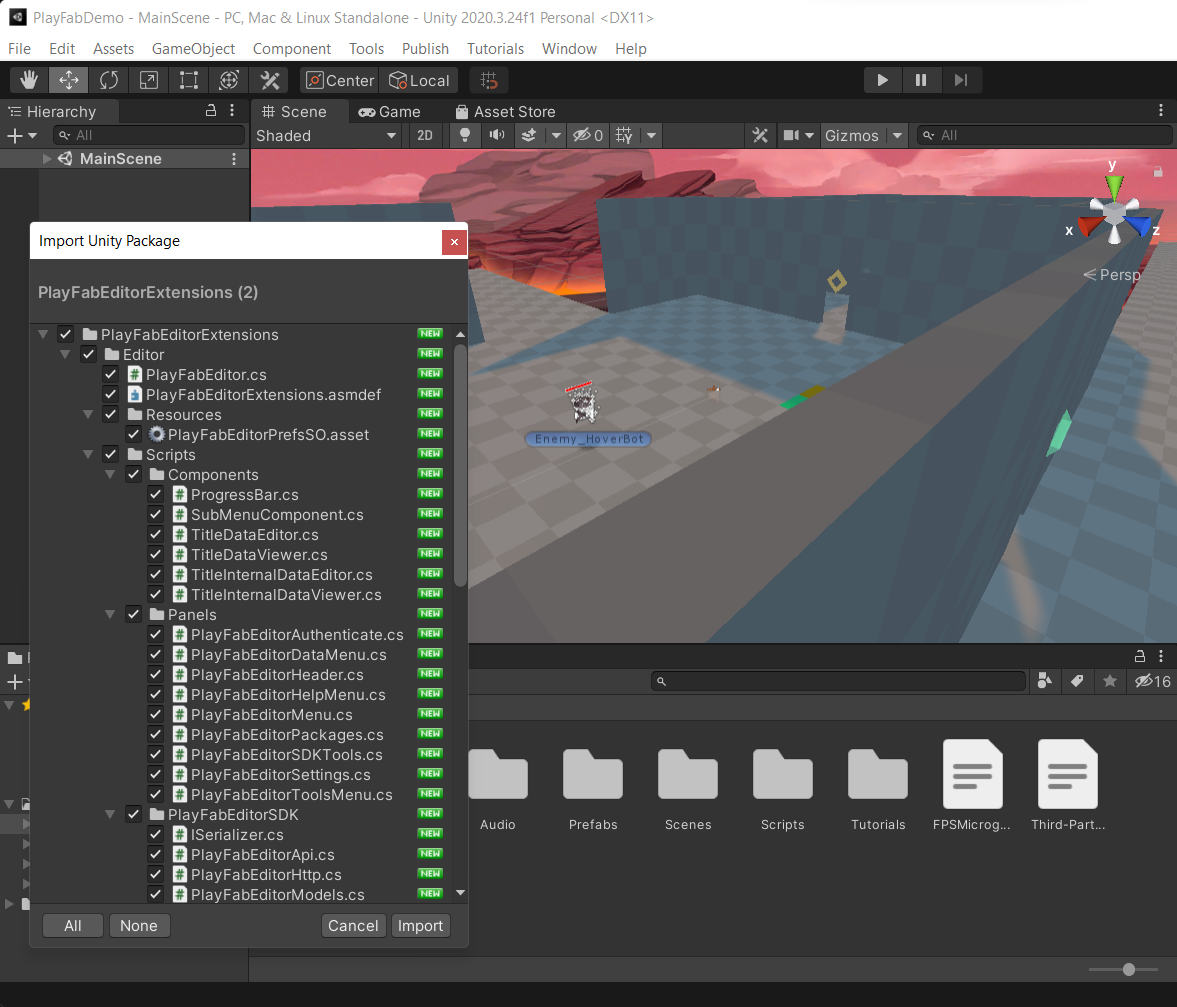
After this step is complete, you’ll see a new PlayFab panel inside Unity. You can now log in using your PlayFab account, and Unity will retrieve your account information and settings. If you haven’t yet created a PlayFab account, you can make it using this interface as well.
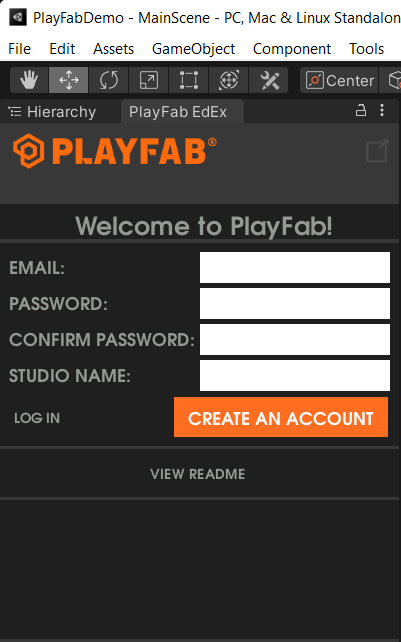
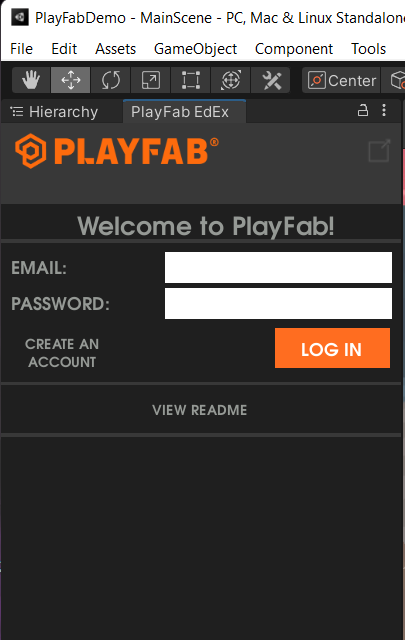
Now, click Install PlayFab SDK to download and add the SDK to your project.
Note that if the extension prompts upgrading to a newer version, and you encounter issues upgrading, don’t worry. You don’t need the absolute latest version of the PlayFab SDK for this tutorial.
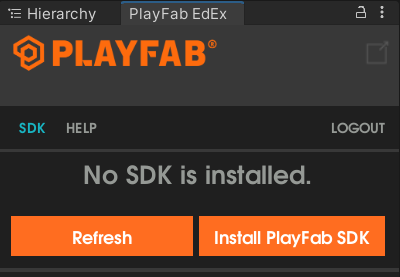
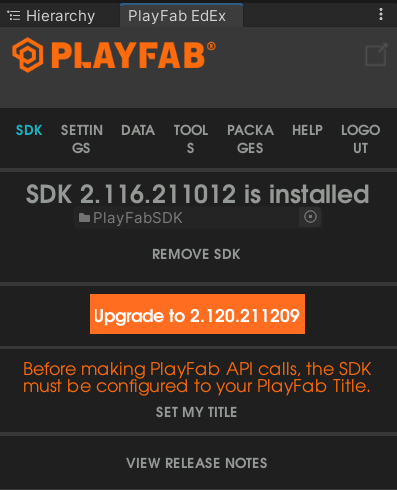
Next, open a web browser and go to https://developer.playfab.com/en-US/my-games to see your current PlayFab studio and game titles. Click the … button in the studio card to create a new title. Fill in the information and click Create Title. This title will be your game’s name within PlayFab.

Next, return to Unity and click Set My Title to switch to the Settings tab. Click _OVERRIDE_ in the Studio value to switch to your Test Studio. Unity will automatically select and fill in the Title ID from the previous step and set the Secret Key information for you.
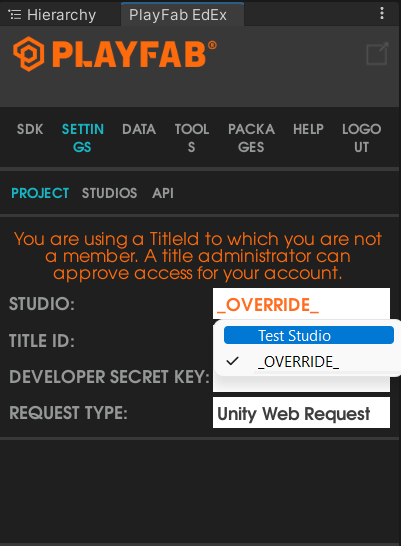
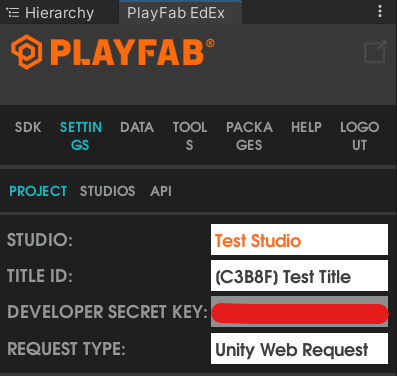
Once again, you can click the Play button to ensure there are no build errors and the game remains playable. Your project is now ready to use Azure PlayFab.
Next Steps
Azure PlayFab offers the services game studios and indie developers need to build multiplayer games on Unity quickly and cost-effectively. Here, you learned how to set up a game project with the PlayFab SDK quickly.
In the following article, we’ll expand this game with helpful features. We’ll add the ability for players to create an account and log into our game through PlayFab’s player account creation and authentication APIs. You can also check out the full project code to see the game in action.
To learn more about the latest roadmap updates for PlayFab, check out PlayFab Roadmap - PlayFab.
