As the programming world continues its rapid advancement, countless types of programming languages and architectures have surfaced and been replaced to keep pace with development needs. With constant language and paradigm shifts, we programmers spend plenty of time rewriting the same scripts, with little time or ability to focus on learning, optimizations, and innovations.
Intel’s oneAPI can be a saving grace for busy developers. The new unified programming model maintains the industry standards while providing cross-platform capabilities and a common experience across architectures. oneAPI enables developers to combine the processing ability of the user’s CPU, GPU, FPGA, and other accelerators to run processes in parallel. Parallel execution can offer better performance, efficiency, responsiveness, and more.
Intel DevCloud enables us to fully harness the potential of oneAPI across various accelerator types. You can access the oneAPI base toolkit right away on the Intel DevCloud or download and deploy it on your local machine.
In this tutorial, we’ll build a DPC++ program that uses oneAPI and then test it with Intel DevCloud. Our program will perform a dot product of two float 32 bit vectors and store the result in a third vector.
We’ll first demonstrate how to sign up for Intel DevCloud. Then, we’ll examine the Data Parallel C++ (DPC++) programming language, based on C++ and SYCL, supports parallel programming across heterogeneous architectures. We’ll perform a dot product multiplication while using various accelerators (heterogeneous architectures such as CPU, GPU, and FPGA) for various workloads.
To follow the tutorial, you should have a sufficient grasp of C++. You can download the complete code to follow along, too.
Creating an Intel DevCloud Account
Our goal is to understand Intel's oneAPI, which uses DPC++ and other domain-specific libraries and debugging tools. Since we’re using the cloud, we just need a browser and a stable internet connection. Alternatively, you could use an SSH connection to unlock oneAPI DevCloud’s powerful interface, although we’ll stick to a browser in this tutorial.
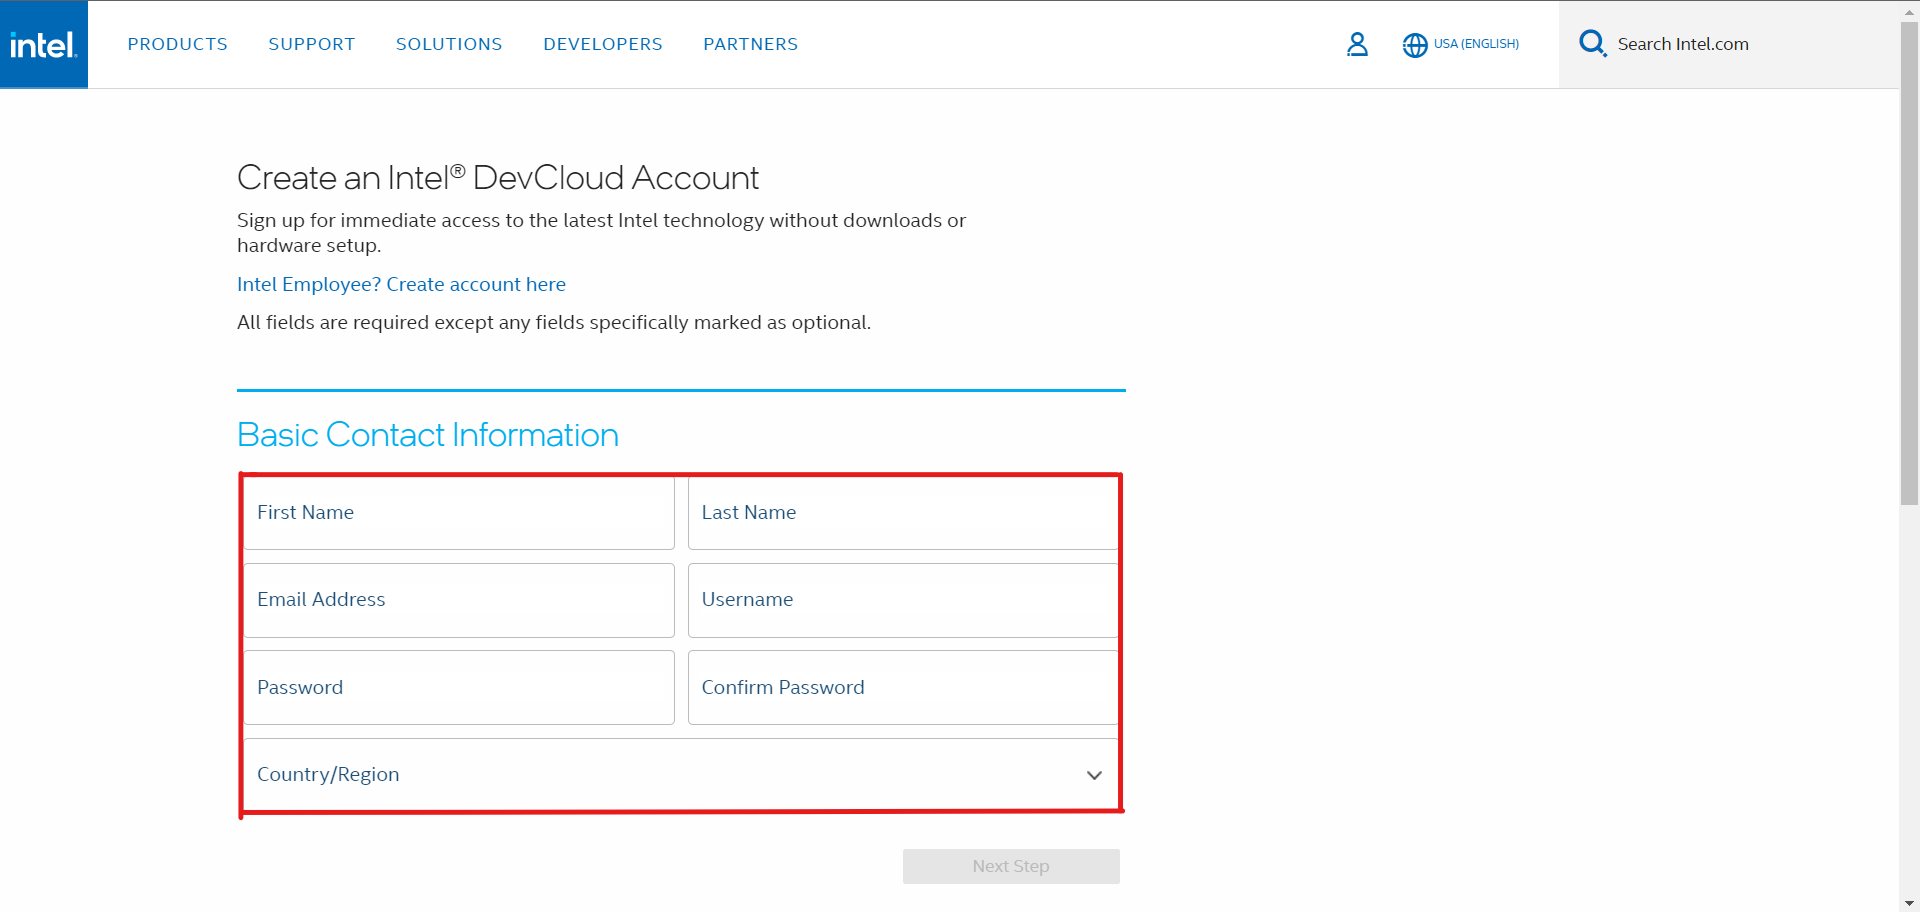
First, go to Intel DevCloud and click the Enroll button. Fill in all the essential details for your DevCloud account.
On the More About you page, enter the required information. Select HPC Workloads as your purpose for using Intel DevCloud.

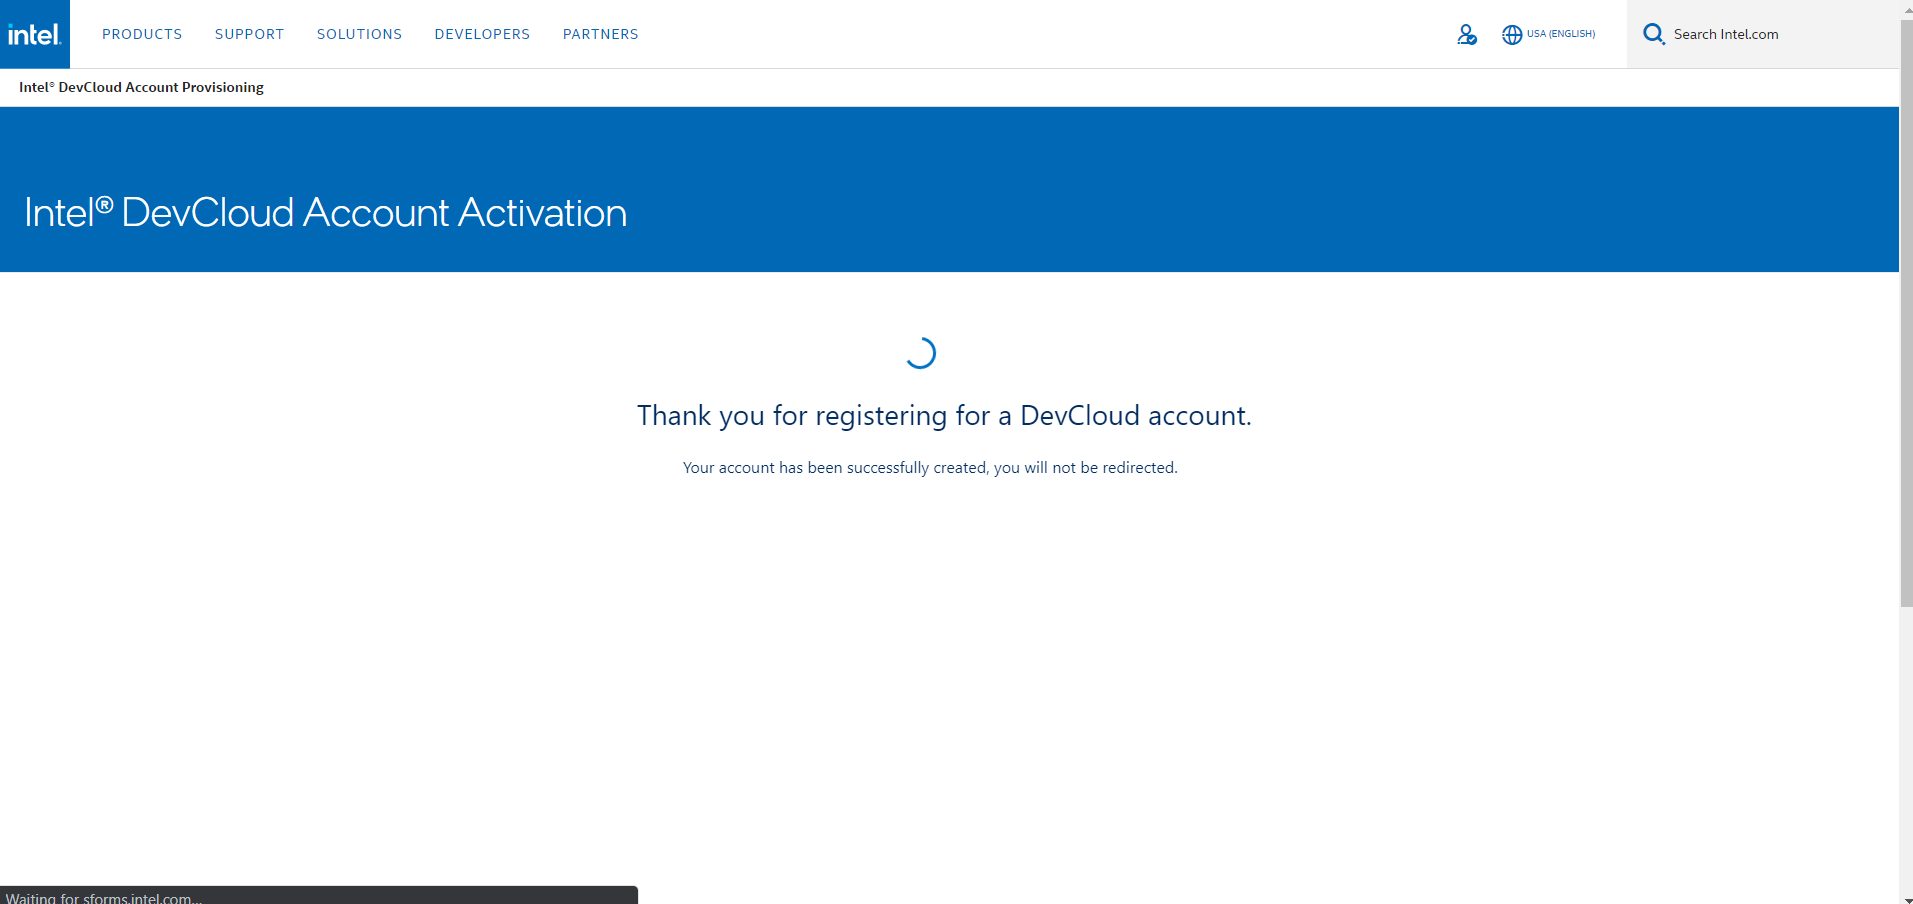
After clicking Next, Intel sends a verification link to your email. Use it to verify your account, then you’ll be redirected to the Sign In page and will see a DevCloud landing page similar to this:
Setting up the Dev Environment
Intel DevCloud provides a choice of three development and execution environments: Secure Shell (SSH) Direct Connection, JupyterLabs, and remote desktop solution for the Rendering toolkit nodes. We’ll be using JupyterLabs to learn oneAPI with DPC++ programming.
First, go to the Working With oneAPI page and agree to the software requirements and terms.
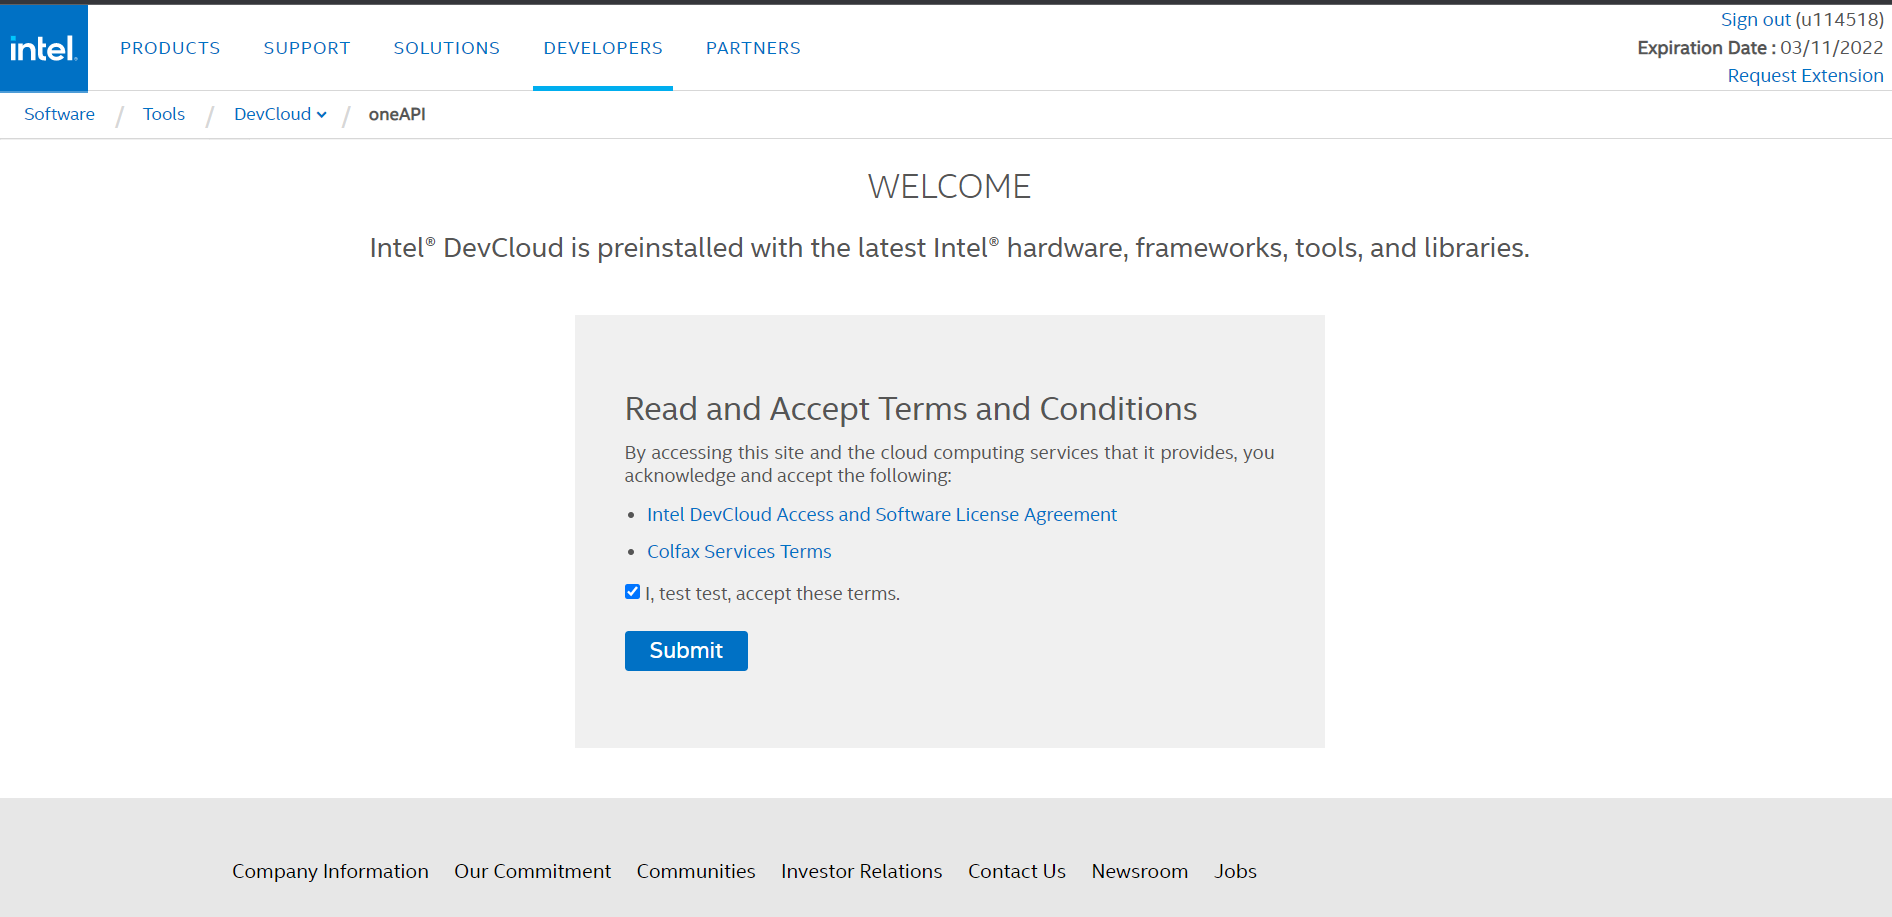
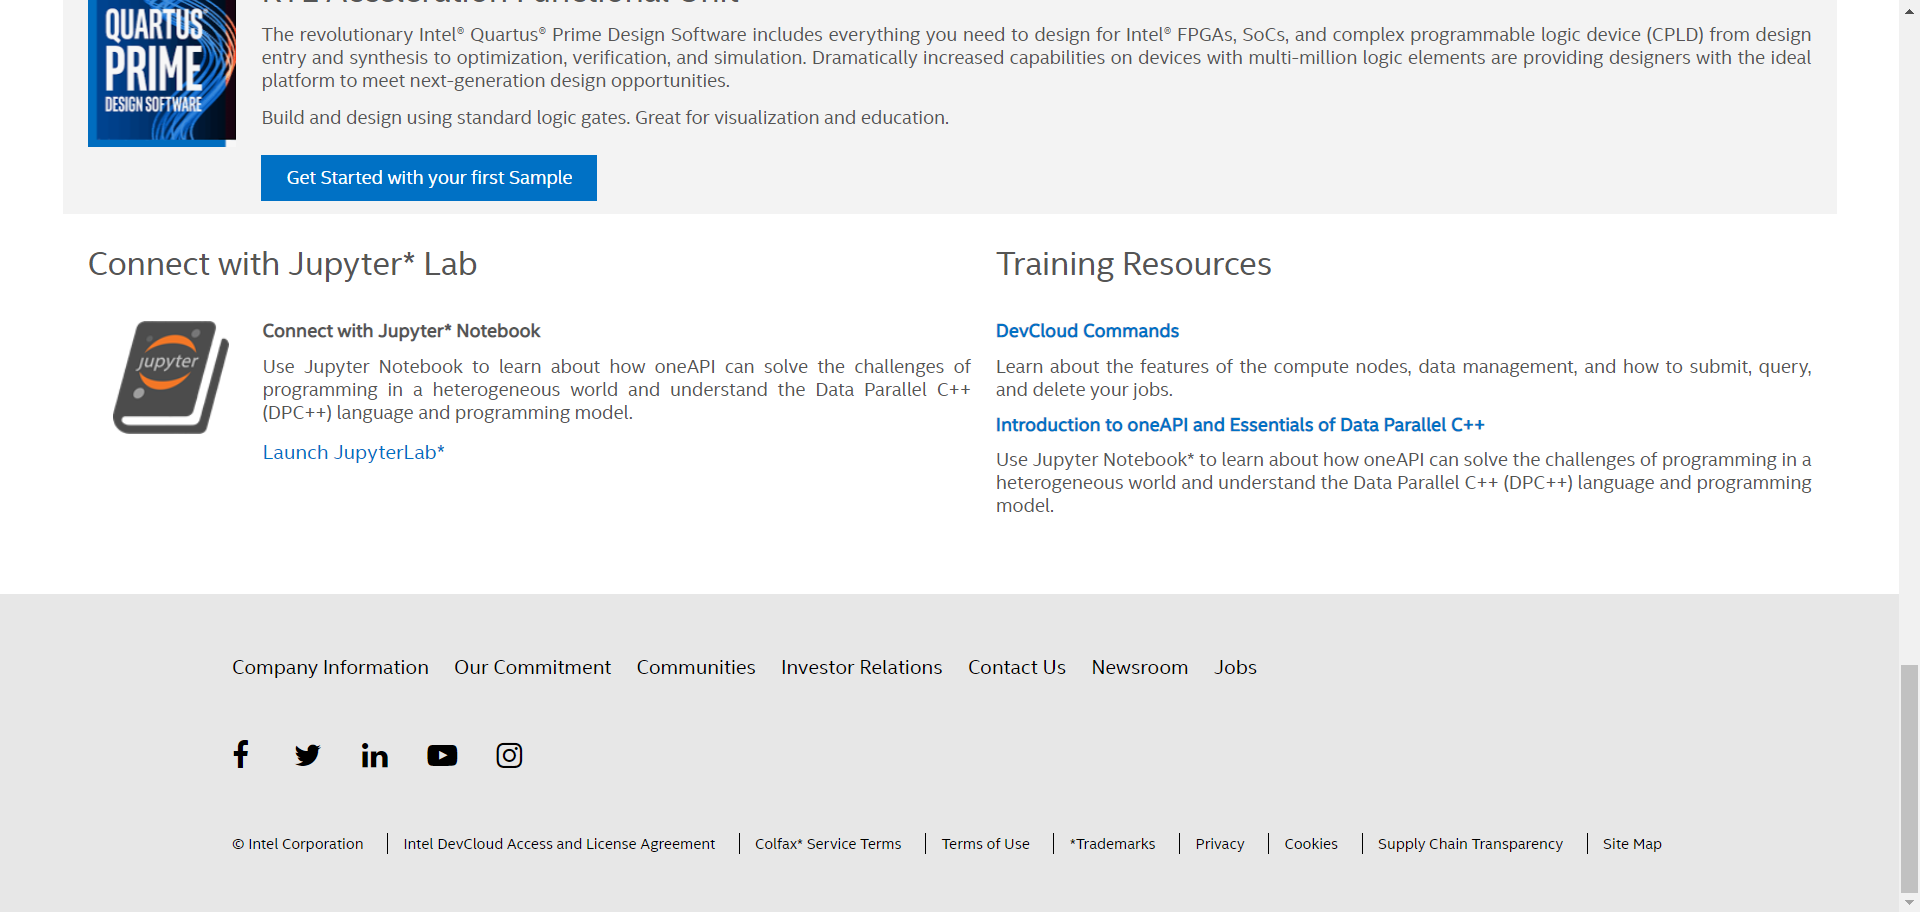
After clicking Submit, Intel redirects you to the oneAPI Get Started page. Scroll to the bottom of the page and click Launch JupyterLab.
When JupyterLab launches, it prompts you to select a kernel. Choose Python 3.7 (Intel oneAPI). A Jupyter notebook with welcome.ipynb then appears with all the documentation needed for oneAPI and DPC++.
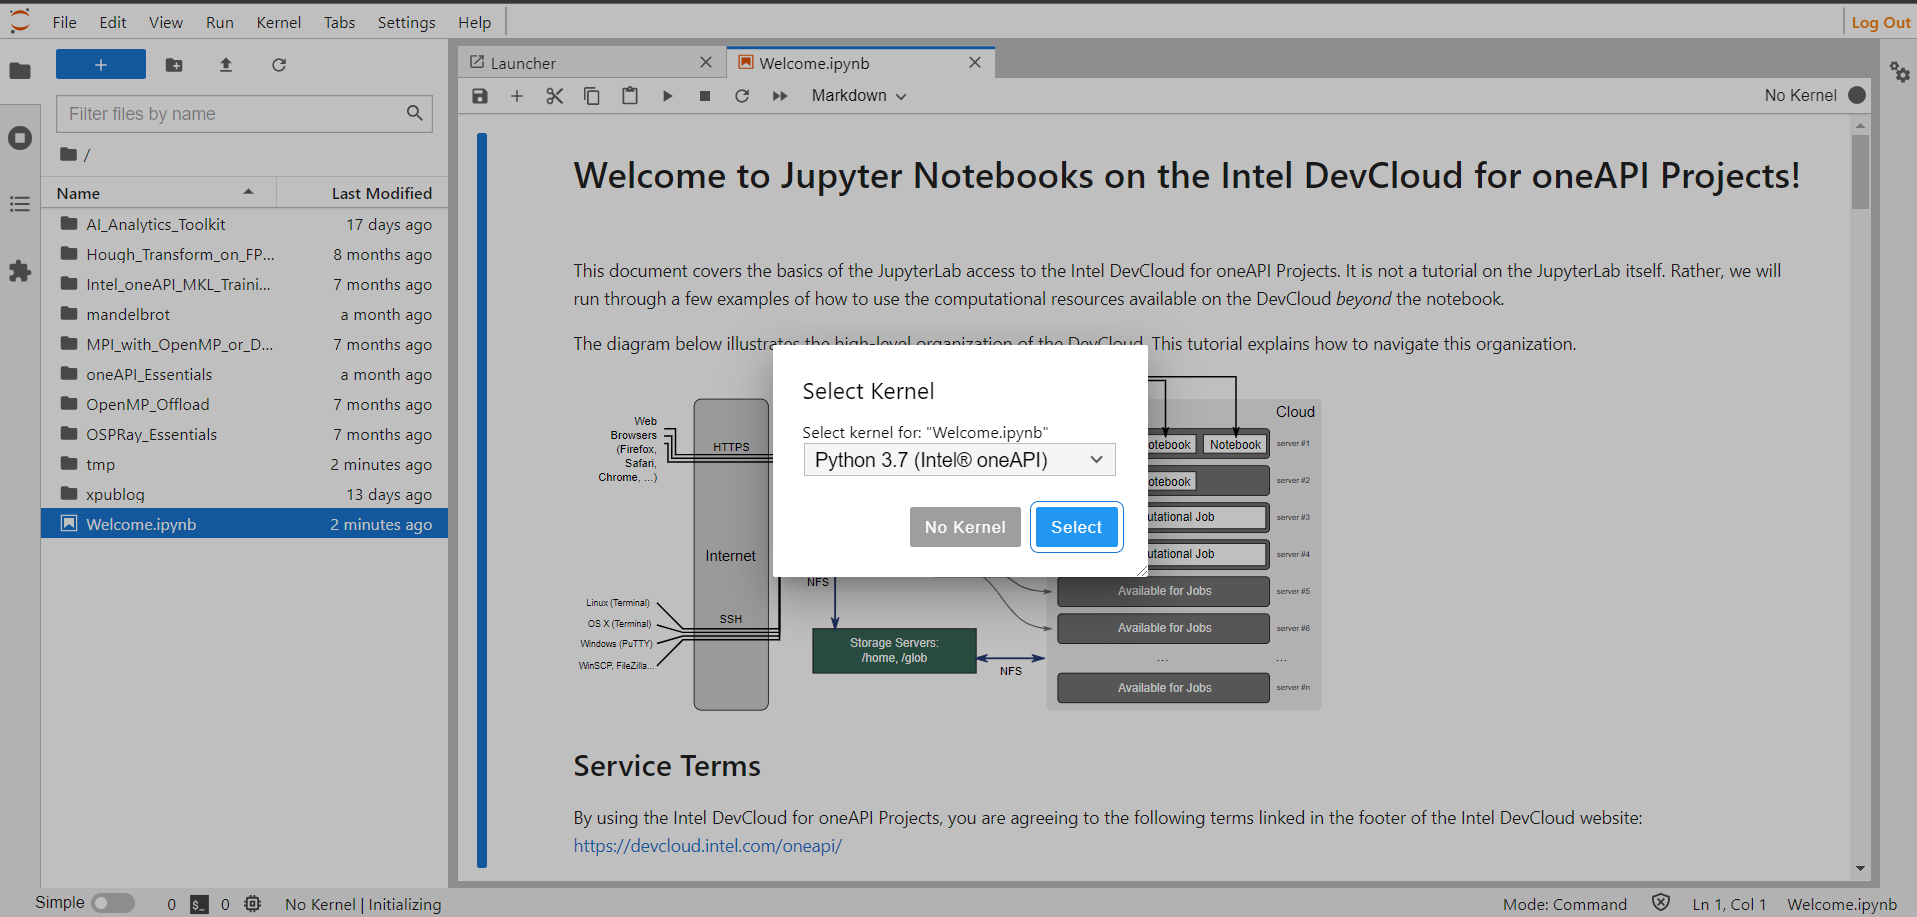
To make things easier, move to the existing path in the Jupyter notebook:
/oneAPI_Essentials/01_oneAPI_Intro/
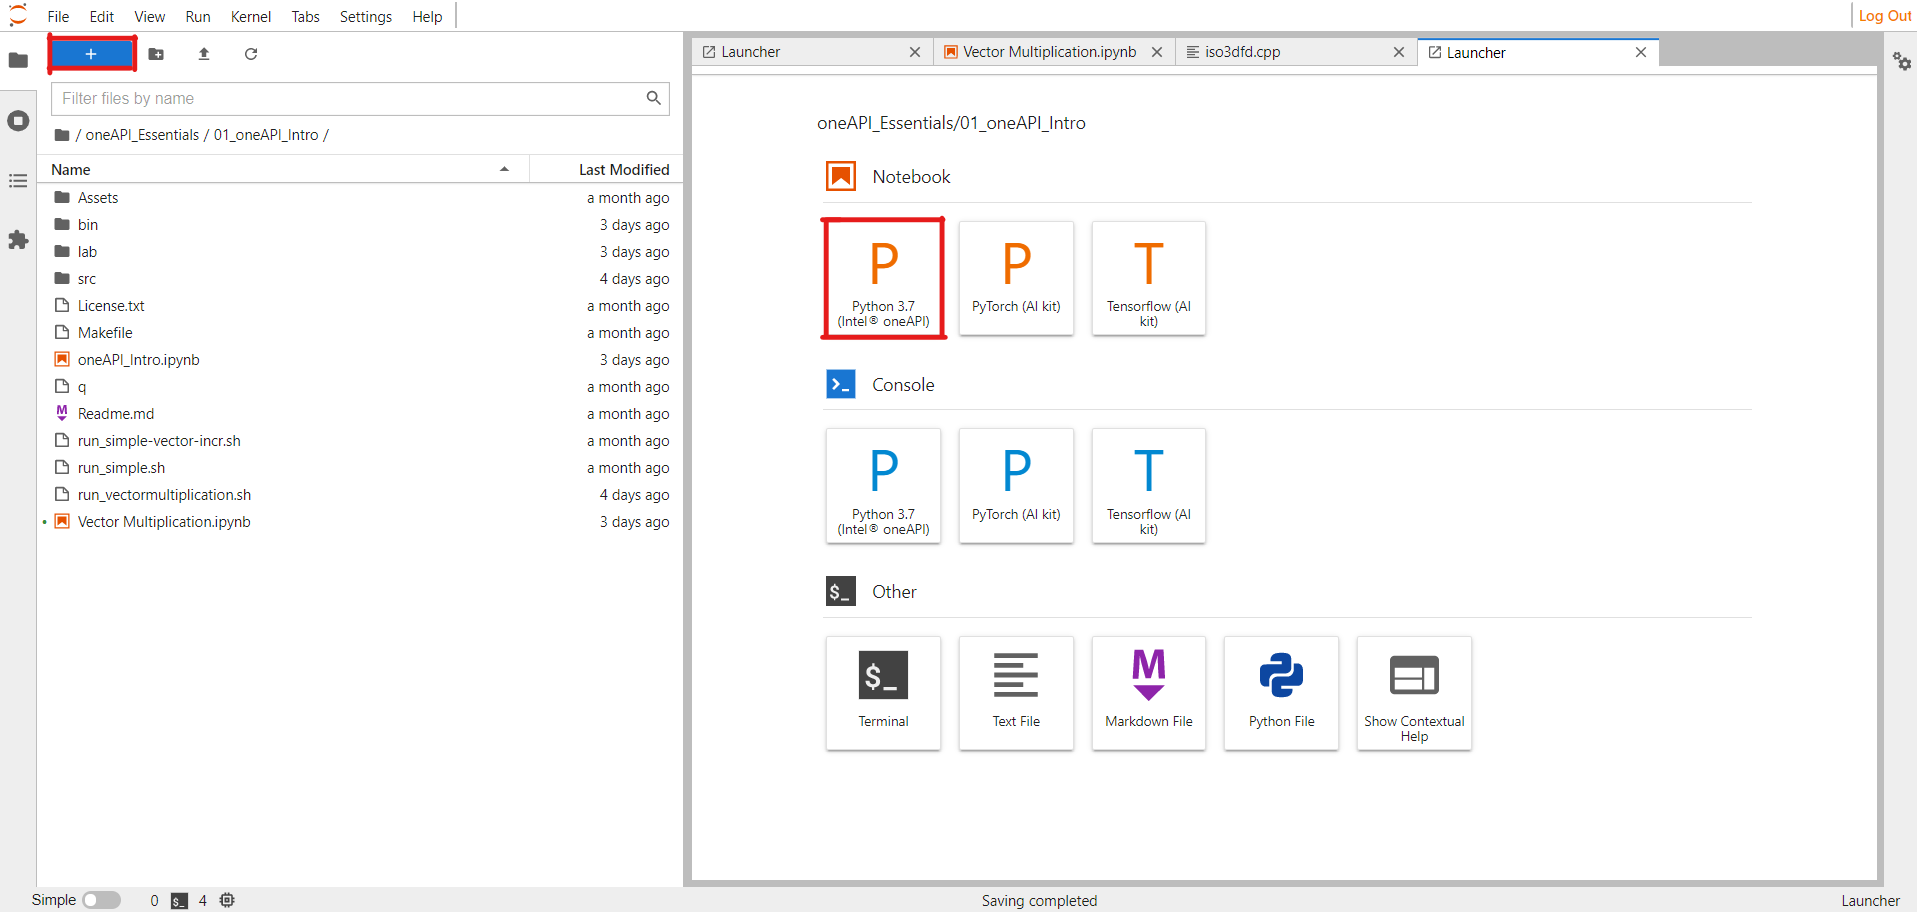
Now we’ll create a new notebook. Click the + button at the top left, then select Python 3.7 (Intel oneAPI).
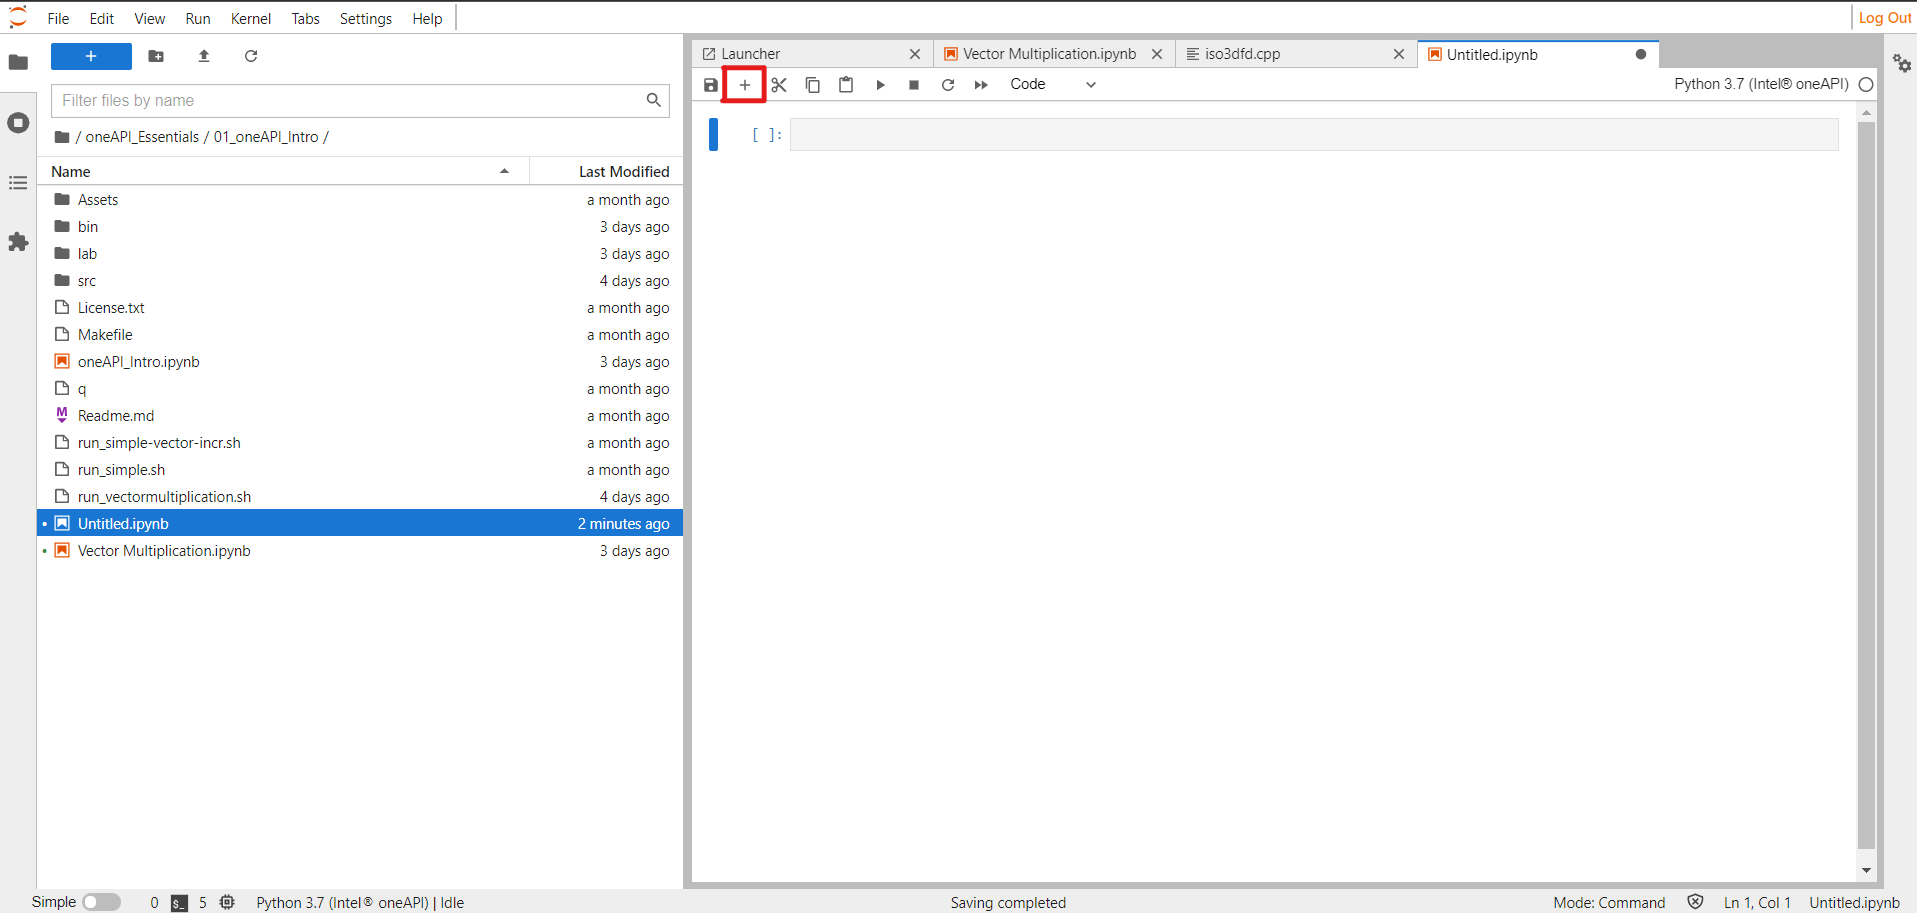
Click the + button on the notebook and create two new cells. The first cell will be for code, and the second cell will be for compiling and posting jobs to DevCloud.
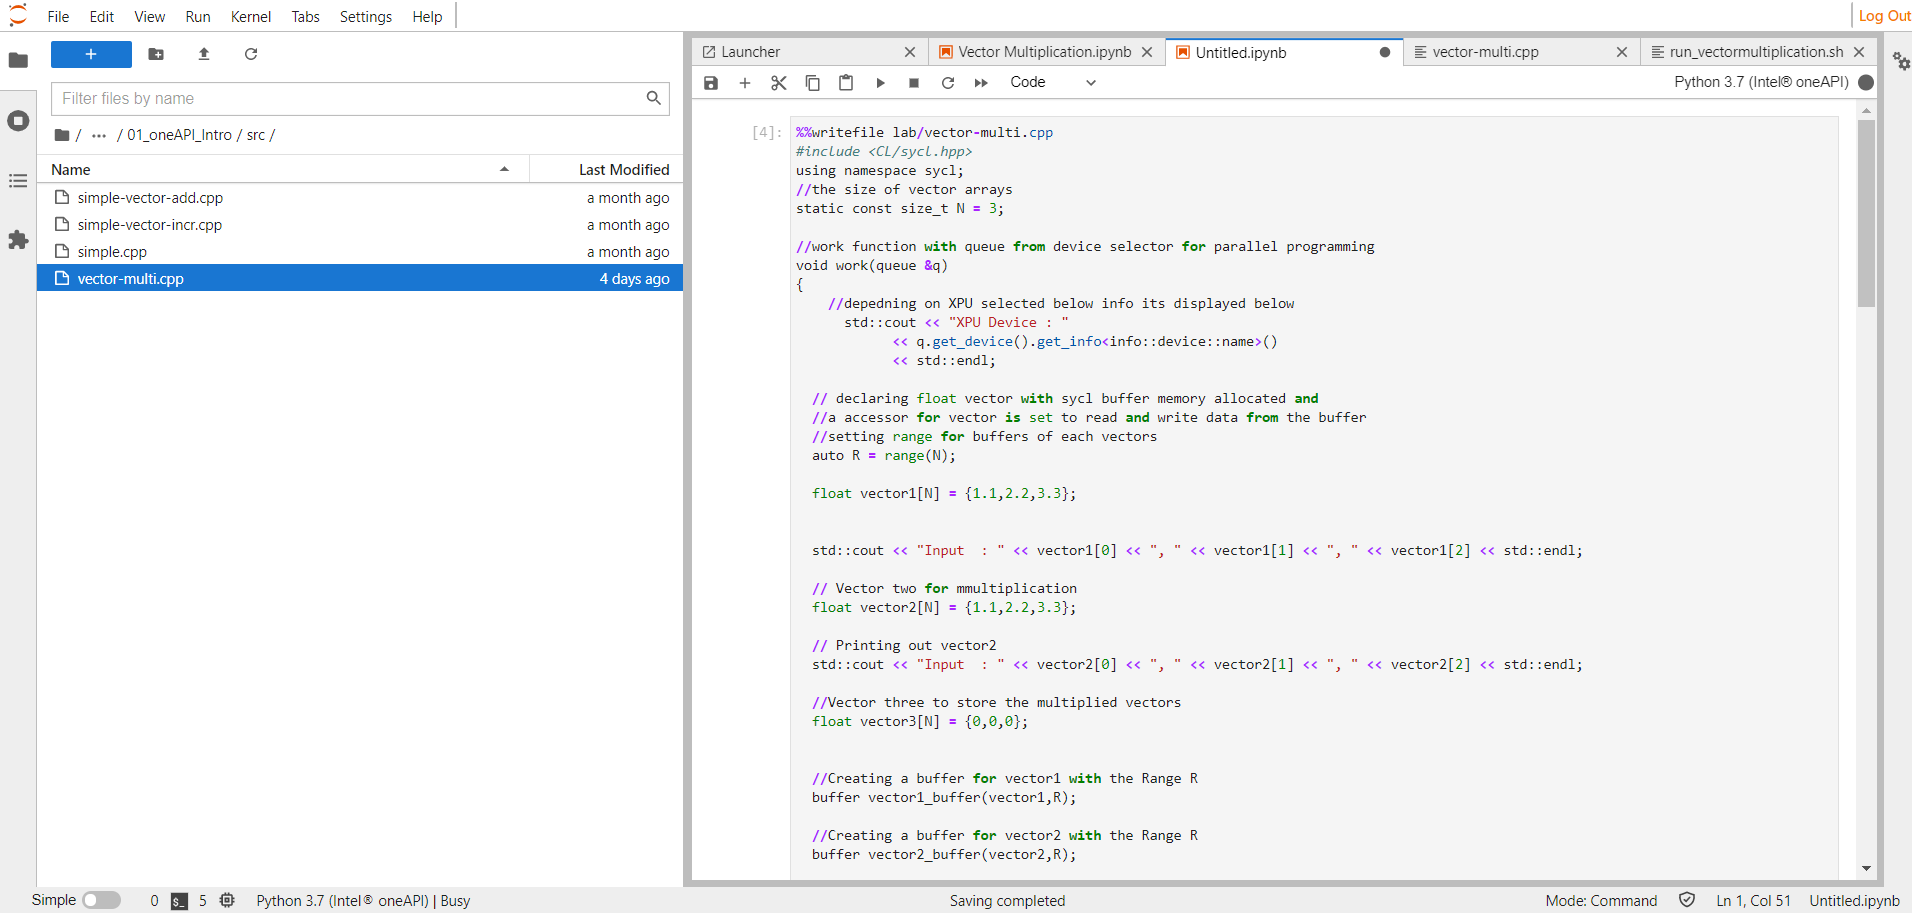
We have created a Python Jupyter notebook, so it only understands Python code. If we try to compile the DPC++ directly, we receive a syntax error from the first line. So, instead, we place the .cpp file into a folder called lab and provide the file location in the cell. When we run the cell, it overwrites the code we have added onto the original .cpp file.
For this example, we’ll make a simple program that performs float vector multiplication on two vectors, then stores the result in a third vector. So, create a vector-multi.cpp file in the lab folder.
Coding a Cross-Platform Program with oneAPI
Now let’s explore how we can implement a oneAPI and DPC++ class and function for our program to achieve cross-architectural capabilities.
Setting up the Header File and Global Variables
Let’s start with the program’s header file and global elements. We use the sycl.hpp file for all the kernel and parallel processing. Also, we declare the constant N for the vector dimension.
%%writefile lab/vector-multi.cpp
#include <CL/sycl.hpp>
using namespace sycl;
static const size_t N = 3;
Declaring the Work Function
Next, we declare the work function that we will call in the main function. (We must declare it before the main function, otherwise, we’ll get an "undeclared identifier" error.)
The code selects the XPU (CPU, GPU, or FPGA) queue from the main function, then passes the queue to the work function, which we’ll use to process these vectors. We create buffers and accessors for each vector, which the handler can easily access and use to perform parallel processing. Additionally, we have the queue submit and wait functions, which send the workload to the kernel for parallel processing and manage the kernel’s wake and sleep cycles.
void work(queue &q)
{
  std::cout << "XPU Device : "
<< q.get_device().get_info<info::device::name>()
<< std::endl;
  auto R = range(N);
  float vector1[N] = {1.1,2.2,3.3};

  std::cout << "Input  : " << vector1[0] << ", " << vector1[1] << ", " << vector1[2] << std::endl;

  float vector2[N] = {1.1,2.2,3.3};
  std::cout << "Input  : " << vector2[0] << ", " << vector2[1] << ", " << vector2[2] << std::endl;

  float vector3[N] = {0,0,0};

  buffer vector1_buffer(vector1,R);
  buffer vector2_buffer(vector2,R);
  buffer vector3_buffer(vector3,R);

  q.submit([&](handler &h) {
     accessor vector1_accessor (vector1_buffer,h,read_only);
     accessor vector2_accessor (vector2_buffer,h,read_only);
     accessor vector3_accessor (vector3_buffer,h);

     h.parallel_for<class multiplication>(range<1>(N), [=](id<1> index) {
        vector3_accessor[index] = vector1_accessor[index] * vector2_accessor[index];
    });
  });

  q.wait();

  host_accessor h_a(vector3_buffer,read_only);
  std::cout << "Vector Multiplication Output : " << vector3[0] << ", " << vector3[1] <<  ", " << vector3[2] << std::endl;

}
Adding the Main Function
The main function can declare various queues depending on the processor. If we want to run it on an Intel GPU, we uncomment it, then comment out the CPU selector queue. The same code will run on different architectures without rewriting it! We also put all the code into a try-catch block to enable any potential error handling.
int main()
{
try {
cpu_selector selector;
queue q(selector);
work(q);
}
catch (exception e) {
std::cerr << "Exception: " << e.what() << std::endl;
std::terminate();
}
catch (...) {
std::cerr << "Unknown exception" << std::endl;
std::terminate();
}
}
Executing the Code in DevCloud
Since the Jupyter notebook runs only Python code, add the code below into the next cell to enable posting your job to DevCloud. It contains chmod to grant read/write permission to the run_vectormultiplication.sh file that we’ll create next.
Code for the cell:
! chmod 755 q; chmod 755 run_vectormultiplication.sh; if [ -x "$(command -v qsub)" ]; then ./q run_vectormultiplication.sh; else ./run_vectormultiplication.sh; fi
Create a run_vectormultiplication.sh file in the same folder as the Jupyter notebook, then add the code below into the file. This code compiles the DPC++ program in the DevCloud and outputs the notebook vector multiplication’s relevant output. It has all the required commands for a DPC++ compiler.
source /opt/intel/oneapi/setvars.sh > /dev/null 2>&1
/bin/echo "##" $(whoami) is compiling DPCPP_Essentials Module1 -- oneAPI Intro sample - 1 of 2 vector-multi.cpp
dpcpp lab/vector-multi.cpp -o bin/vector-multi
if [ $? -eq 0 ]; then bin/vector-multi; fi
The first three lines are commands for cloud user verification and the required environment setup for DPC++ compilation. In line 4, the dpcpp command compiles the given .cpp file and stores the object file in the location the -o option specifies.
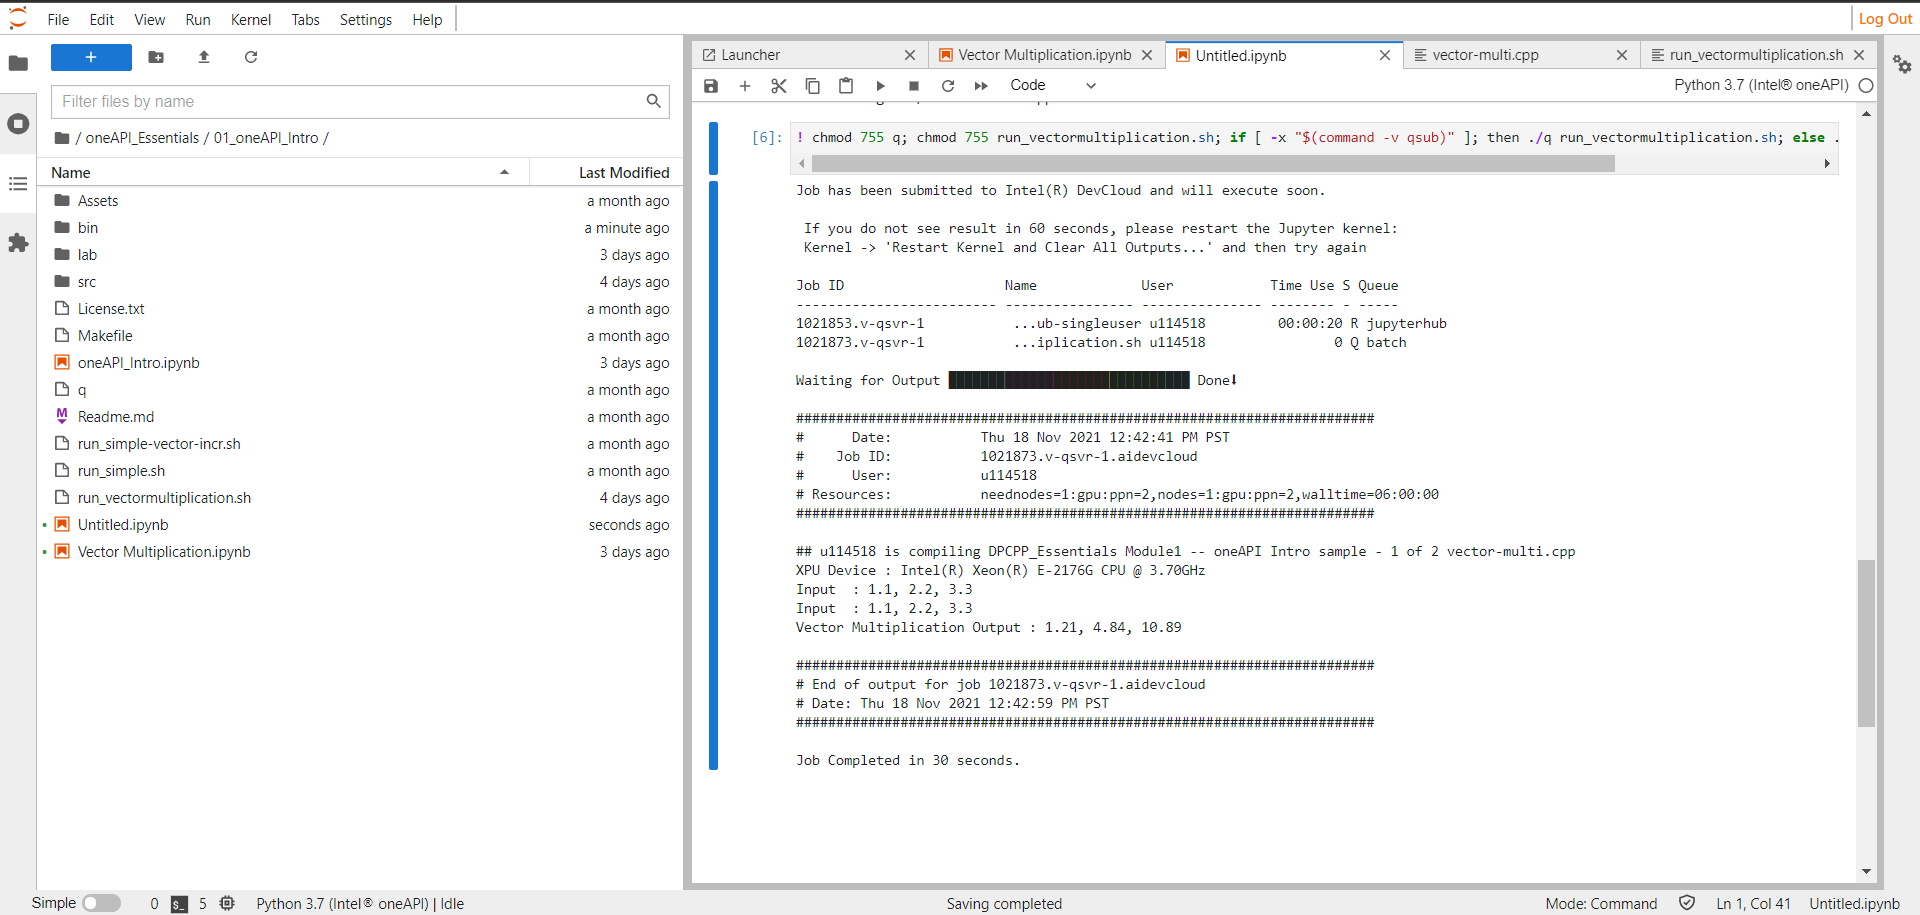
To run the oneAPI/DPC++ code in the DevCloud, follow these steps:
- Create a cell in the Python Jupyter notebook and provide the file location to overwrite the code below it into the file. Save the .cpp file into a folder and provide its location in the cell.
- To compile and execute the code in the Python Jupyter notebook, use the shell script code mentioned above to create a shell script file, using any name relevant to your program. The above code contains the .cpp file location and DPC++ libraries, enabling it to compile and post the job to the Intel DevCloud.
- Create the second cell in the Jupyter notebook and use the
chmod code snippet to give read/write permission and enable job submission to DevCloud. DevCloud can then compile the .cpp code and send the relevant output.
The screenshot above demonstrates that our program multiplied the vectors and stored the results. It did so quickly, in 30 seconds, by combining the processing power of our CPU and GPU.
Next Steps
oneAPI provides the missing components for cross-architectural programming, libraries for more straightforward implementation, and generous room for developer exploration. To move further into using oneAPI, we can try array sorting of all different methods in the CPU, GPU, and FPGA.
Although we ran a simple program here, these same methods can help accelerate more complex tasks, such as longer lists of vectors, machine learning, or high-performance computing (HPC) processes. Try oneAPI to combine the capabilities of all available processors for a faster, more powerful application.
Resources
- Intel DevCloud – oneAPI Public
- Get Started Guides
- oneAPI
- 262 node cluster
- 246 Intel® Xeon®
- 15 Intel® Core™
- DRAM – 32GB -> 392GB
- NO - High speed interconnect
- Multiple oneAPI releases available
- setvars.sh the selection mechanism
- Latest (2021.4) oneAPI release loaded by default
- PBS Torque
- More resources
Intel DevCloud – oneAPI Public
Access
Prerequisites |
- None, anyone can access.
- 120 days with extensions by request
- Register for access Here
|
| Support | Forum - https://software.intel.com/en-us/forums/intel-devcloud |
| Differences |
- SSH and Jupyter interfaces
- SSH key provided
- Standard oneAPI Tools
- Wider range of compute nodes
|

