Here we configure the CLI and set up the Pulumi service to store our configuration and state, build a simple virtual machine in JavaScript, and explore the code differences between JavaScript, TypeScript and C#.
Download Pulumi-Azure-VM-Examples-main.zip
As cloud environments have continued to mature, infrastructure as code (IaC) has gained tremendous popularity. It involves a wide range of practices, but centers upon the building of environments using the same practices as development teams.
This article series will explore the Pulumi platform and use it to build the Azure Cloud resources used in modern web applications — all while using existing programming languages, including TypeScript.
In this article, we’ll examine some of the differences between Pulumi and other IaC tools, as well as set up and configure the Pulumi CLI. Finally, we’ll walk through some examples of building simple virtual machines (VMs) in Azure using JavaScript, TypeScript, and C#.
What Is IaC?
When we traditionally look at building components for hosting applications (for example, servers, databases, or networks), we generally create and configure those items using a manual process. A typical workflow might be to create a virtual machine, specify its size and configuration, install and configure the operating system, and add it to a network using the user interface.
In contrast, IaC approaches this work using configuration files containing our specifications, generally using the same repository and versioning teams used for application source code. This enables us to generate the same infrastructure environment every time our configuration files are applied.
IaC Tools
There are several IaC platforms that enable you to build your infrastructure this way. Terraform, Puppet, and Ansible are all examples of IaC tools that work across cloud providers to build your infrastructure. The major cloud platforms also have IaC tools specific to their cloud environment. AWS has CloudFormation, Azure has Azure Resource Manager (ARM), and Google has Google Cloud Deployment Manager.
Most of these tools, however, use a custom programming language, or are limited to a single language. This is where Pulumi differs significantly. You can leverage a range of imperative languages that are commonly used in development, including JavaScript, TypeScript, C#, and Java. As a result, we can easily integrate common development tools, such as IDEs, reusable code, and testing.
Setting Up Pulumi
All of this sounds great, but let's take a look at building a simple virtual machine on Azure in several different languages to see how Pulumi works.
To start, we need to set up and configure Pulumi. Pulumi is open source and free. It uses a cloud service to provide state and secrets management, source control, and other features. You can also provide a self-hosted service, but that’s out of scope for this article.
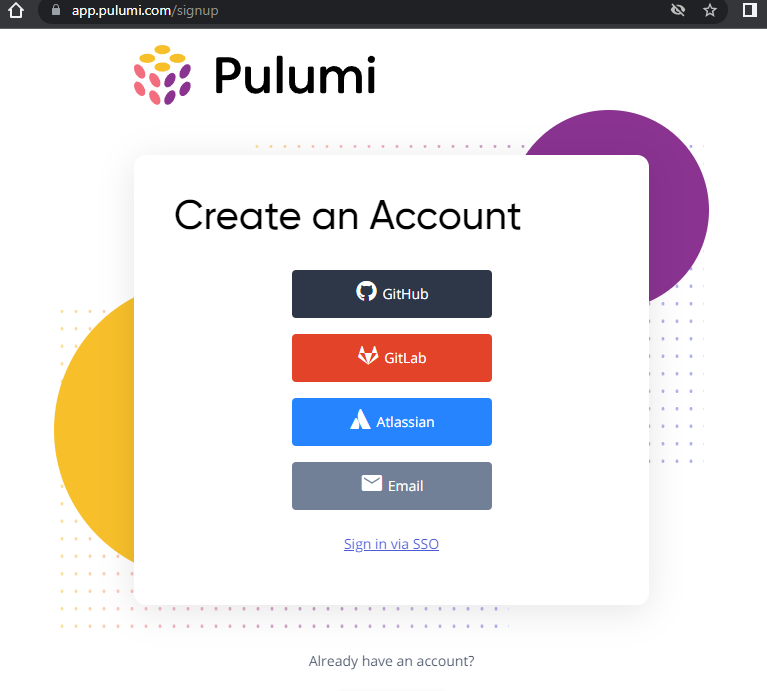
To begin, create an account using GitHub, GitLab, or Atlassian credentials — or register your email address.
Next, we need to install the Pulumi CLI using the documentation provided.
We also need to ensure that Pulumi has access to Azure, either by using the Azure CLI or a Service Principle. The easier method is via the Azure command line, which you likely have set up if you work with Azure regularly.
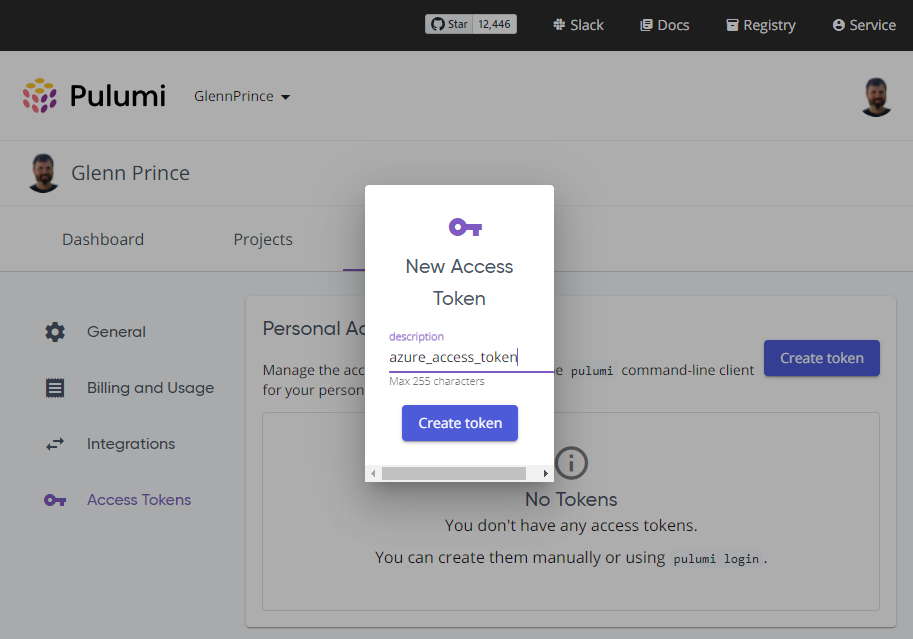
Finally, if you’re using the Pulumi service to store state and configuration, you’ll need to generate an access token in the Settings section of the Pulumi portal. Once you create a new token, you can switch to a command prompt and connect the Pulumi CLI to the service by using the command pulumi login and supplying the token.
Building Virtual Machines with Pulumi
We can now scaffold an Azure infrastructure project and begin building out our infrastructure. Pulumi has several basic templates for the various cloud providers — including Azure — across the languages it supports. Building infrastructure can be sequential, but you should always look for opportunities to run steps in parallel.
To show what Pulumi can do, let’s take a look at a simple Azure VM build across different languages. We’ll first build a VM in JavaScript using Node.js, then look at the same infrastructure in TypeScript and C#.
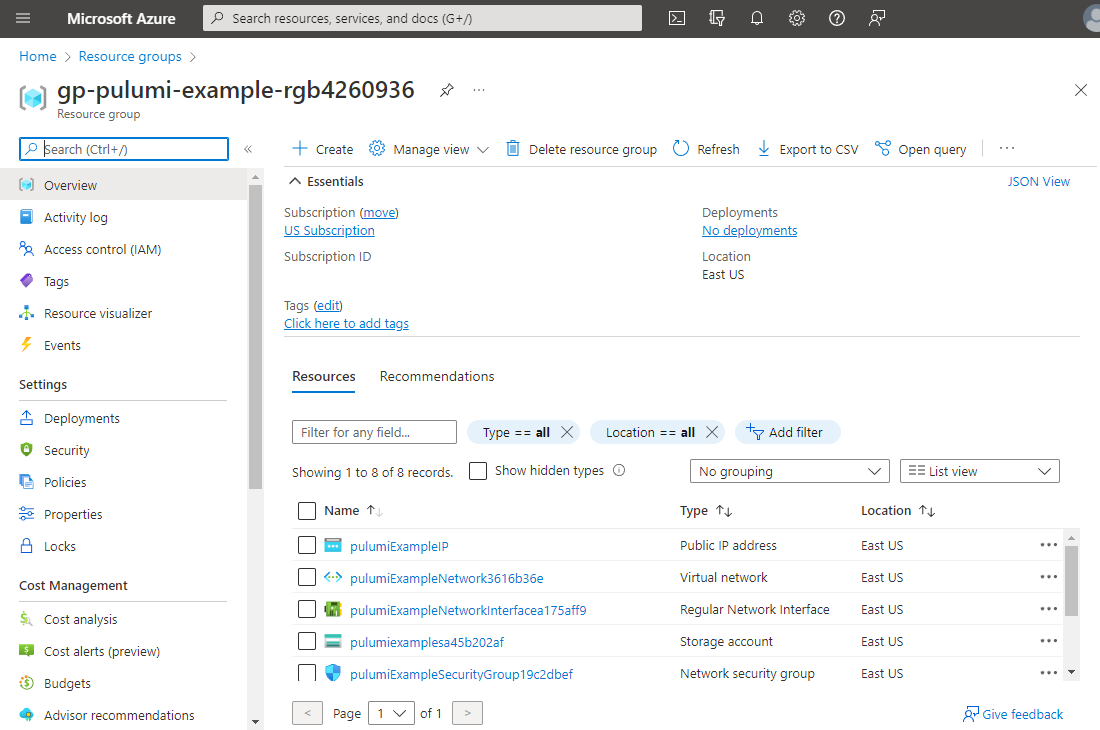
A simple VM in Azure will require the following resources:
- A resource group to contain resources
- A storage account to hold any disks we use in the VM
- A public IP address for network access
- A security group to allow and deny traffic
- A virtual network to contain the IP address of the virtual machine
- A virtual network interface to enable the virtual machine to connect to the network
- The virtual machine
Building a Virtual Machine in JavaScript
The first step to build our infrastructure is to scaffold a project. We do this by creating a directory and using the CLI command:
pulumi new azure-javascript
The CLI will then prompt for a project name, a project description, and a stack. Because we’re using an Azure template, the CLI will also ask us for the default location of our resources in case we don’t specify this in our configuration.
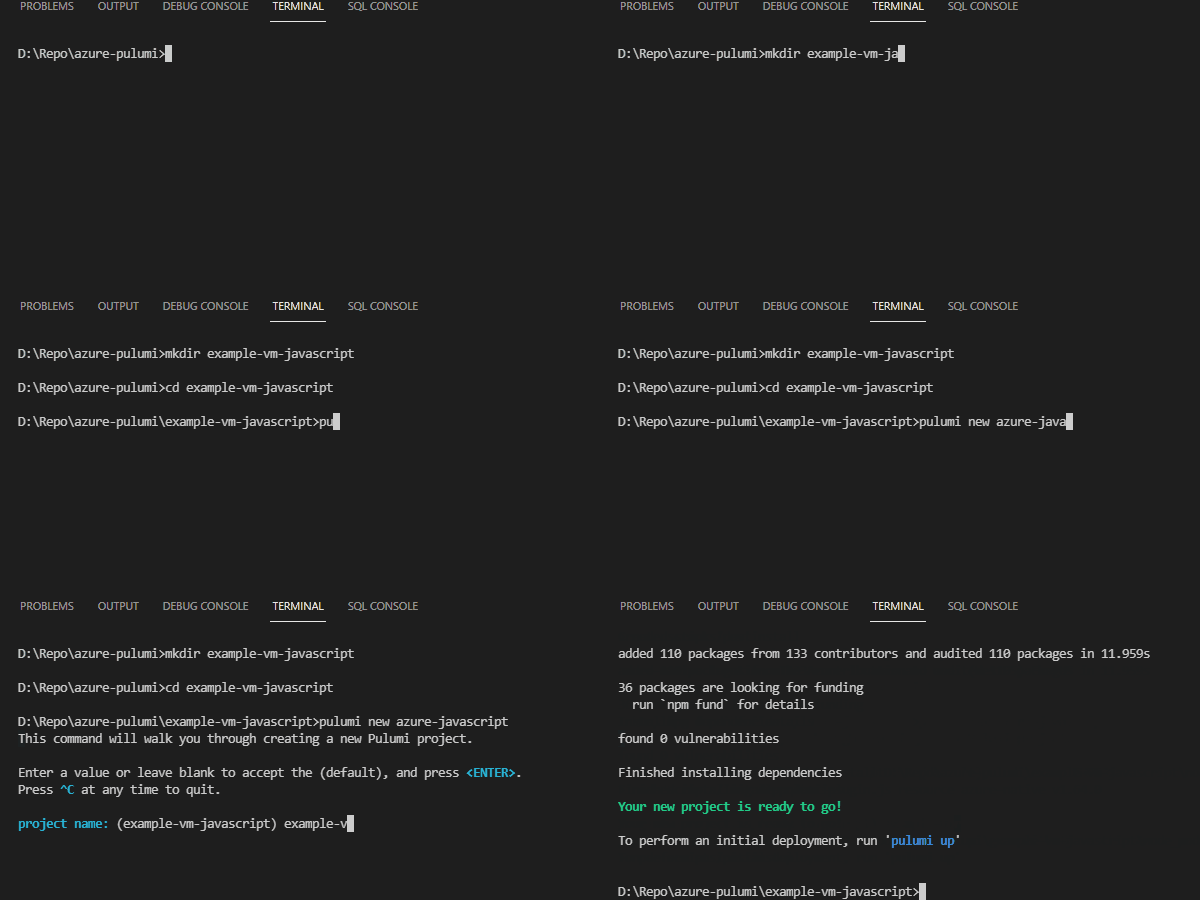
Once this initial project has been set up, there will be a sample infrastructure configuration in the index.js file that creates a resource group and storage account, and retrieves the storage account key. Let’s reduce this default to just creating a resource group:
"use strict";
const azure = require("@pulumi/azure-native");
const resourceGroup = new azure.resources.ResourceGroup("gp-pulumi-example-rg");
This code block initializes the azure-native library in Pulumi, then creates a new Azure resource group to be held within the resourceGroup variable. A great advantage of returning a created resource into a variable is that we can use returned attributes for the configuration of other resources. Pulumi keeps track of dependencies, but we can also specify dependencies using other objects or functions.
Let’s see how both of these work by creating a new storage account using the following code block:
const storageAccount = new azure.storage.StorageAccount("pulumiexamplesa", {
resourceGroupName: resourceGroup.name,
sku: {
name: "Standard_LRS",
},
kind: "StorageV2",
dependsOn: [
resourceGroup
]
});
This code provides more configuration, hard coding in the storage name, SKU, and so on. Note that we’ve also used the name property from the resource group and specified that we depend on the resource group to be created before attempting to create the storage account.
We can repeat this same process to create the public IP address, security group, virtual network, network interface, and virtual machine. The final code for building our entire virtual machine can be found here.
Now that we have all of our virtual machine configurations built, we can use the pulumi up command to create the resources in Azure. Pulumi will first display what we will build before we build the resources.
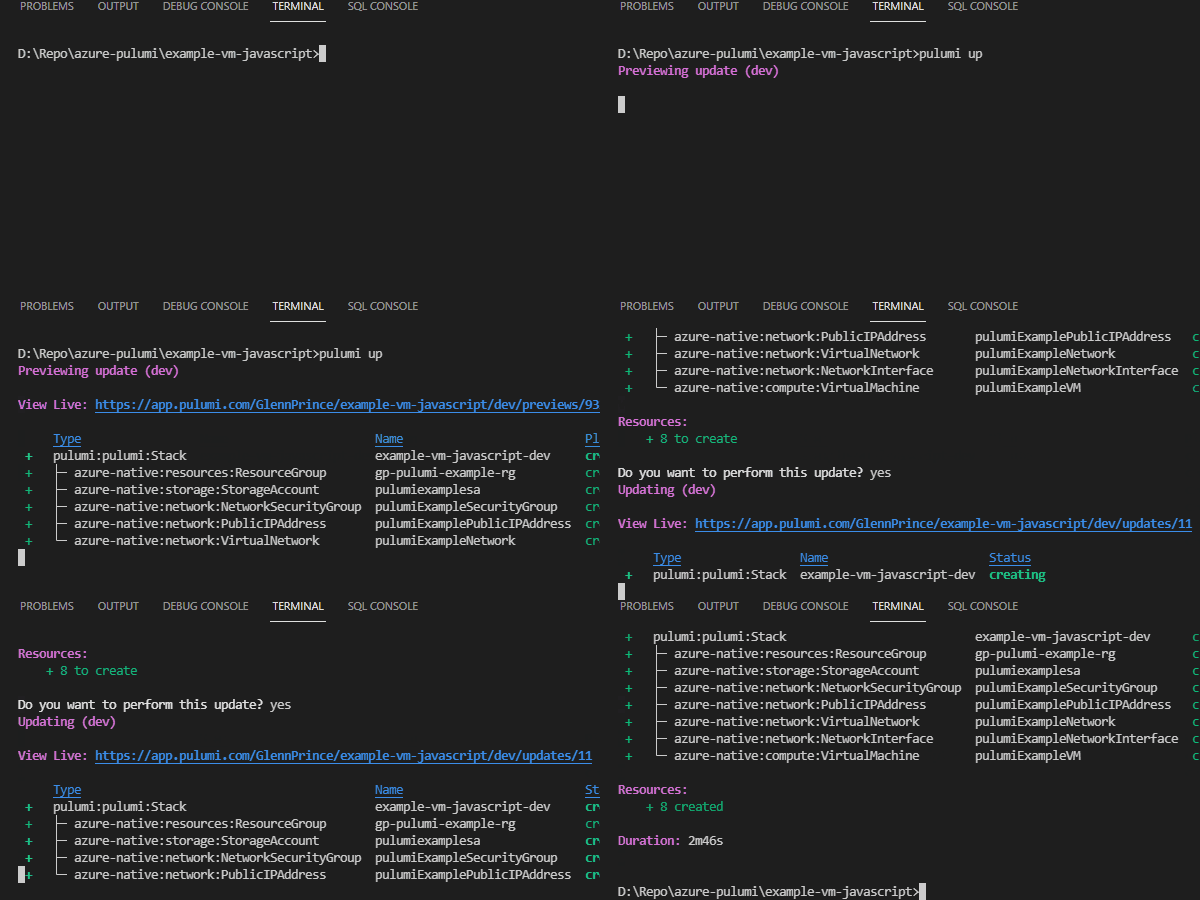
Now, if we check our Azure environment, we should see a new resource group with a virtual machine and other resources within it. To collapse this environment and remove all the resources, we can run pulumi down.
Virtual Machines in Other Languages
Let’s check out the same VM but built in TypeScript and C#. The TypeScript code can be found here.
As you can see, TypeScript is extremely similar to JavaScript when we build out our infrastructure. The primary difference is that the imports are far more specific. Type casting also makes the code a little more verbose.
For example, take a look at line 76 in the code, which looks like this:
const subnet = virtualNetwork.subnets.apply(subnet => subnet![0])
This line specifically retrieves the first subnet of the virtual network so that we can later apply it to the Network Interface.
Now, let’s take a quick look at the C# deployment code here.
This code is quite a bit different. The main program is defined in the Program.cs file with an asynchronous task running the deployment configuration file from MyStack.cs. This is because Pulumi will build the code like any other dotnet application.
Examining the code in the MyStack.cs file, we can see a similar build process to that of the JavaScript file. This one is a bit more verbose because we need to handle C# types and namespaces to ensure consistency.
Next Steps
Coding a simple VM in Azure isn’t an overly complex task, and Pulumi can handle all the nuances of building virtual machines within the language of your choice. While we have only just touched on the basics of setting up and deploying infrastructure with Pulumi, our next two articles will more deeply explore this concept.
Beginning with the next article, we will start to develop a complete web application infrastructure in TypeScript. Later, we will also create tests to ensure our configuration is correctly deployed. Be sure to check out Pulumi’s wealth of documentation and numerous examples on their GitHub repository.
To learn more about Cloud Engineering with Azure Pulumi, check out the resource Cloud Engineering with Azure Pulumi.
