Here we take the code we wrote in the previous article and add unit tests to it that ensure the code isn’t accidentally changed to do something we’d rather avoid – such as provisioning 1000 VMs instead of 10 VMs. We also show how to run the tests and show what it looks like when a test failure occurs.
In the second article of this series, we explored how easy it is to build infrastructure on Azure using Pulumi and TypeScript. But there’s more to infrastructure code than just writing and running it.
Like application developers, we should also test our code, and because Pulumi uses common development languages, we can use language-specific testing frameworks. In this article, we’ll create some unit tests for our infrastructure to ensure that we’re building it correctly. We’ll also build some property tests using CrossGuard to ensure security compliance for our resource.
Setting Up for Unit Tests
For our unit tests, we’re going to be setting up the recommended Mocha testing framework. You can use other frameworks, such as Jest, Puppeteer, or Storybook if you’re more familiar with them.
Before beginning, ensure you have your Pulumi example application from the last article and navigate to the base folder.
We’ll install the Mocha framework by running the command:
npm install mocha @types/mocha ts-node --global
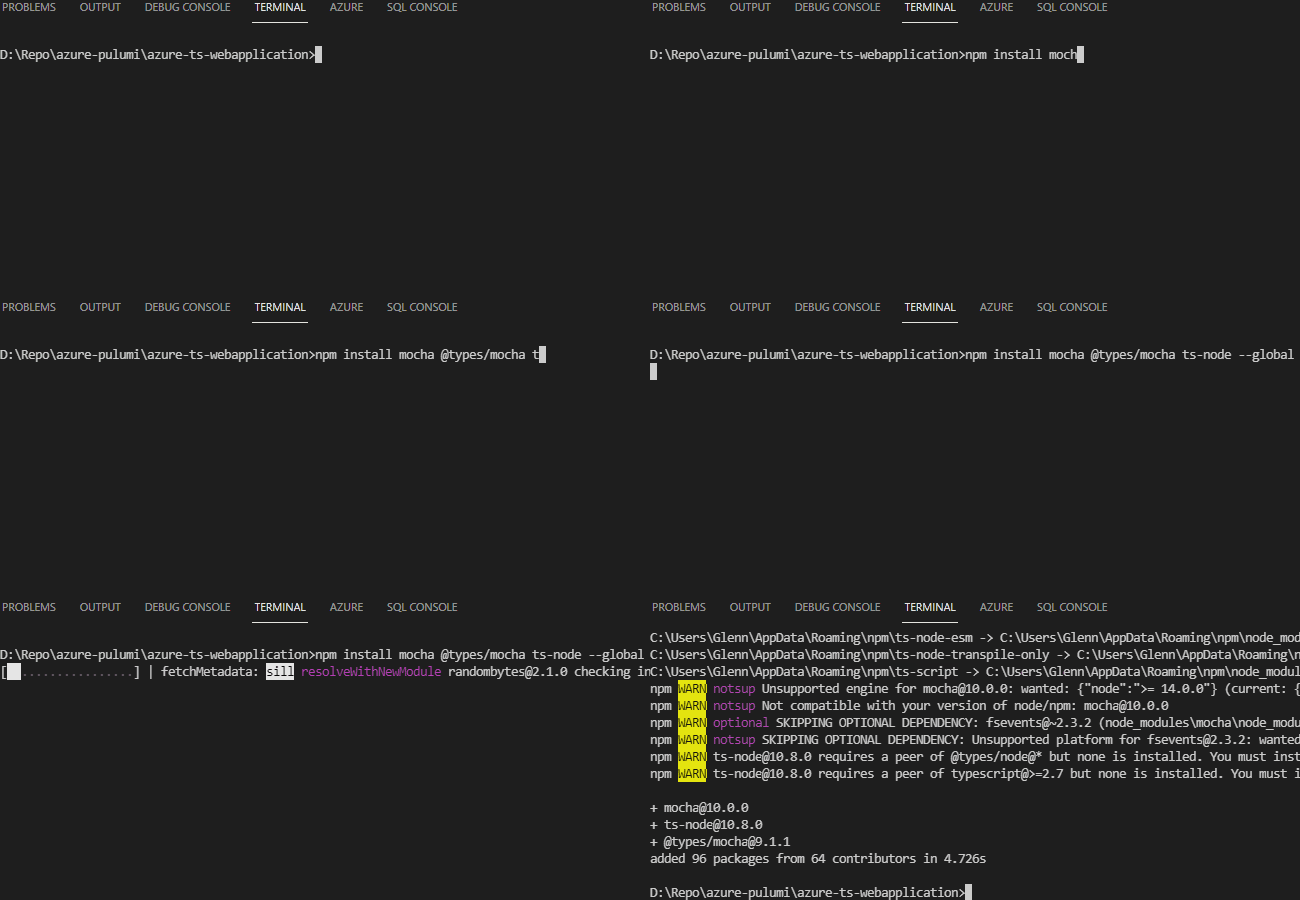
This installs the Mocha framework globally so we can access it from anywhere. We can test that this works by running mocha --version.
Additionally, we need to set our configuration as an environment variable, as Mocha can’t access the normal configuration variables set using the Pulumi command line. To do this on a Windows machine, you can create a new command file with the following at the top:
set PULUMI_CONFIG={ "project:appInsightsKind" : "web", "project:appInsightsName" : "pulumi-insights", "project:appInsightsType" : "web", "project:appServiceKind" : "app", "project:appServiceName" : "pulumi-app", "project:appServiceSKUName" : "B1", "project:appServiceSKUTier" : "Basic", "project:configStorageKind" : "StorageV2", "project:configStorageSKU" : "Standard_LRS", "project:cosmosAccountName" : "pulumi-dev-cosmosdbaccount", "project:cosmosContainerName" : "pulumi-dev-cosmosdbcontainer", "project:cosmosDBName" : "pulumi-dev-cosmosdb", "project:frontEndName" : "pulumiFrontEnd", "project:location" : "EastUS", "project:resourceGroupName" : "gpDevPulumi", "project:storageKind" : "StorageV2", "project:storageName" : "pulumistorage", "project:storageSKU" : "Standard_LRS", "project:webAppName" : "pulumi-webapp" }
Linux and MacOS work a similar way, but to create environment variables for these operating systems check out Digital Ocean’s tutorial. The key difference is to basically drop the set command.
This sets the configuration you’re currently using to build the environment so Mocha can correctly run Pulumi.
Setting Up Mocks for Pulumi
Let’s set up our basic test structure and mocks for Pulumi. With any testing scheme, you’ll need to pass specific states and inputs into the testing framework. However, Pulumi handles most of this for our current environment configuration, meaning we can use a more generic mock structure for our tests.
First, create a new file called environmentTests.ts and add the following code block:
import * as pulumi from "@pulumi/pulumi";
import "mocha";

pulumi.runtime.setMocks({
    newResource: function(args: pulumi.runtime.MockResourceArgs): {id: string, state: any} {
        return {
            id: args.inputs.name + "_id",
            state: args.inputs,
        };
    },
    call: function(args: pulumi.runtime.MockCallArgs) {
        return args.inputs;
    },
});
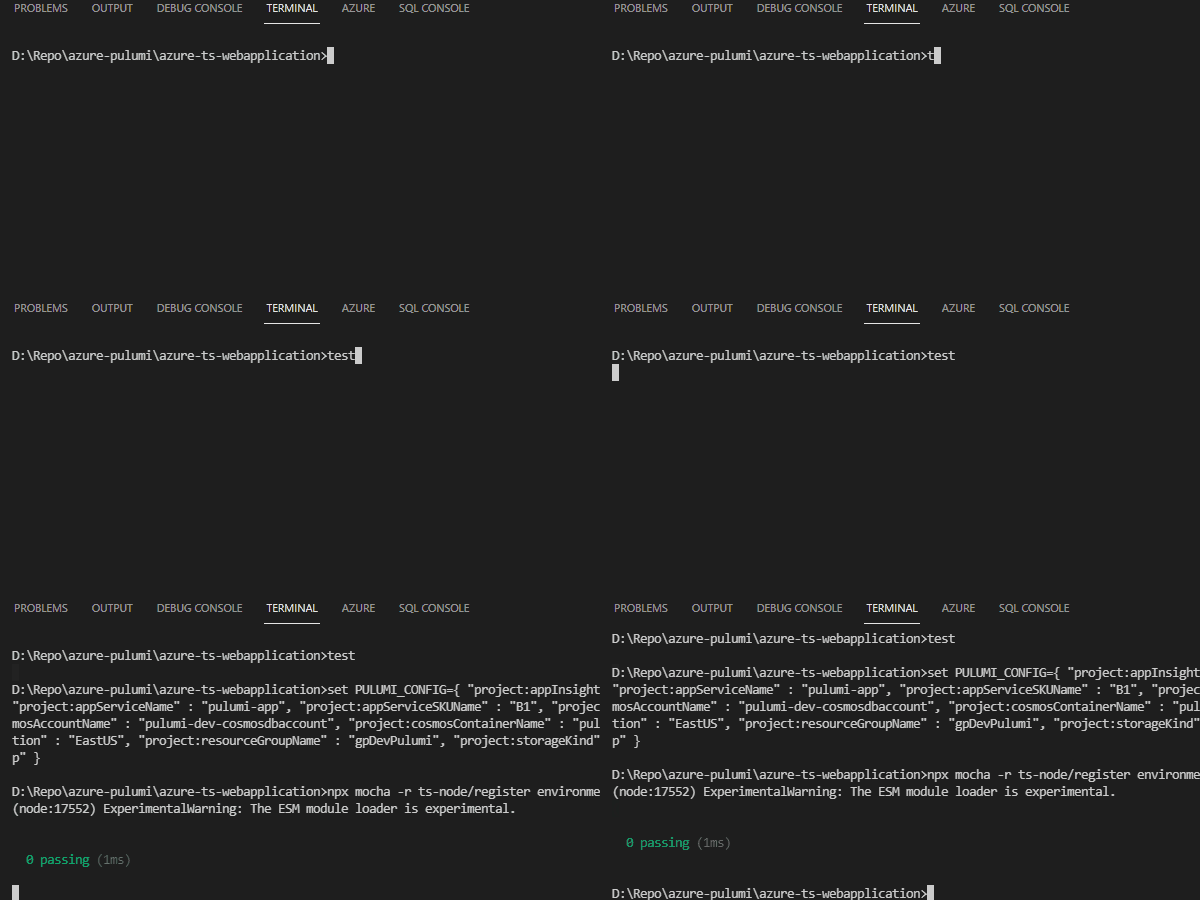
This adds the basic mocking functionality we need, but we also need to update our command file to run Mocha. Open the command file and, under the environment setting line, add the following command:
npx mocha -r ts-node/register environmentTests.ts
Save this command file. Technically, we can now run our test suite, but there’s nothing to test but the mocks. So, let’s look at creating some tests and testing our environment build.
Building Unit Tests
Normally, when we build unit tests, we build them to fail, then write code to make them pass. Because we already have our infrastructure built, let's build a simple test to ensure that our location is set to EastUS. First, we need to build the initial test environment by importing our environment script. To do this, create the following code block under the initial mock:
describe("Environment", function() {
    let environment: typeof import("./index");

    before(async function() {
        this.timeout(6000);
        environment = await import("./index");
    });
});
This imports the index script that contains our environment build and waits for that import to complete before we run our tests. We also set the timeout value for the before statement to a value that’s higher than the default. This is because Pulumi takes time to build out our rather large environment.
This code establishes our test environment, but we still don’t have an actual test. Let’s create it by adding the following code block after the before function:
describe("Resource Group", function() {
        it("must have a name set", function(done) {
            pulumi.all([environment.resourceGroup.name]).apply(func => {
                if(environment.resourceGroup.name == null){
                    done(new Error('Resource Group does not have a Name set'));
                } else {
                    done();
                }
            })
        })
    });
After entering the code, you’ll likely notice an error with the resourceGroup property of our environment. This is because the test framework can’t access any of the internal variables we created when we built our environment.
The easiest way to fix this is to add export in front of anything we want to test against. This exposes our created resources to outside libraries. For example, the resource group line will now become this:
export var resourceGroup = new resources.ResourceGroup(configRG, { location: configLocation, resourceGroupName: configRG });
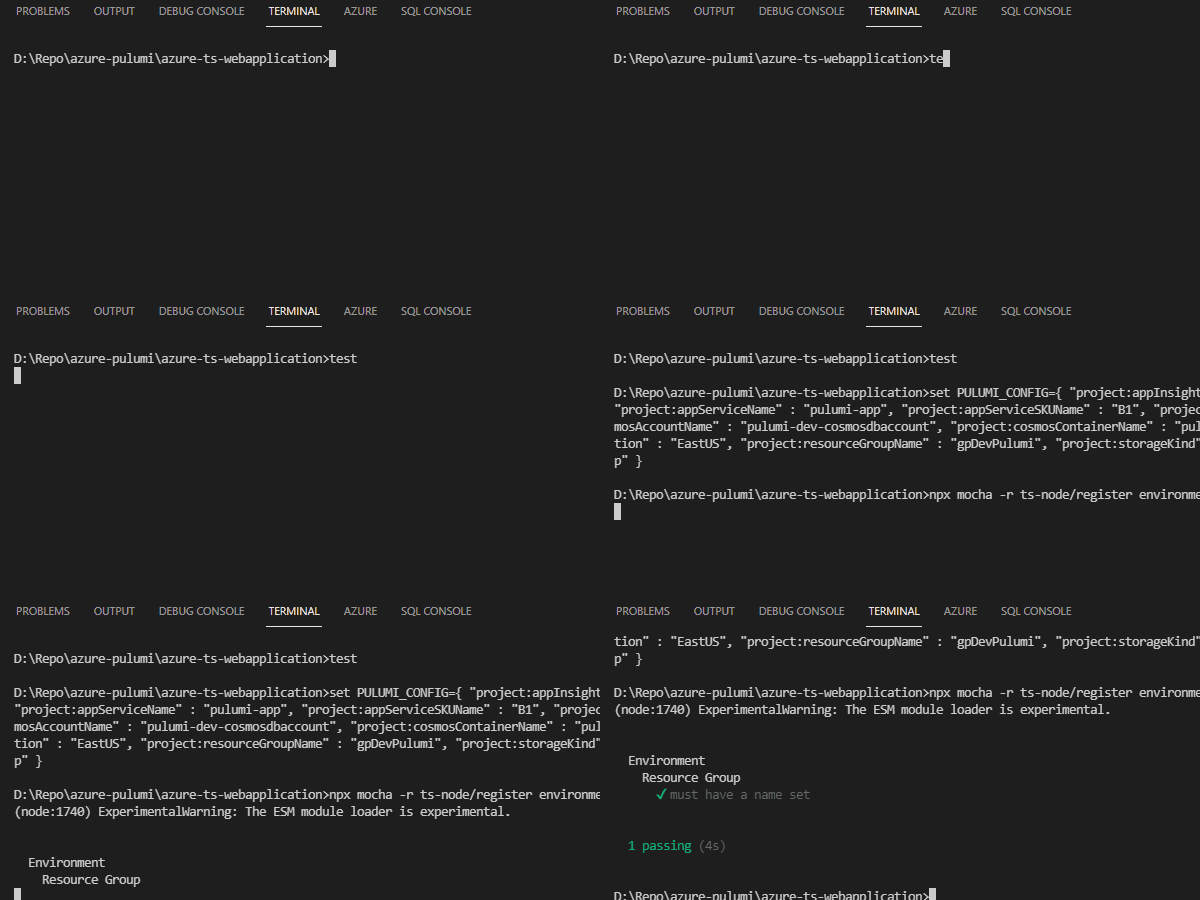
Let’s do this for all of our resources. Now, when we run our test suite, we get one test passing.
Let’s create one more test that looks through our configuration and makes sure everything is tagged with a value. Enter the following code block to check all of the items:
describe("All Resources", function() {
        it("Resource Group must be tagged", function(done) {
            pulumi.all([environment.resourceGroup.tags]).apply(([tags]) => {
                if(!tags){ done(new Error('Resource Group does not have a Tag')); } else { done(); }
            });
        })
        it("CosmosDB Account must be tagged", function(done) {
            pulumi.all([environment.cosmosdbAccount.tags]).apply(([tags]) => {
                if(!tags){ done(new Error('CosmosDB Account does not have a Tag')); } else { done(); }
            });
        })
        it("CosmosDB Database must be tagged", function(done) {
            pulumi.all([environment.cosmosdbDatabase.tags]).apply(([tags]) => {
                if(!tags){ done(new Error('Cosmos Database does not have a Tag')); } else { done(); }
            });
        })

        it("Storage Account must be tagged", function(done) {
            pulumi.all([environment.storageAccount.tags]).apply(([tags]) => {
                if(!tags){ done(new Error('Storage Account does not have a Tag')); } else { done(); }
            });
        })
        it("App Insights must be tagged", function(done) {
            pulumi.all([environment.appInsights.tags]).apply(([tags]) => {
                if(!tags){ done(new Error('App Insights does not have a Tag')); } else { done(); }
            });
        })
        it("Service Plan must be tagged", function(done) {
            pulumi.all([environment.appServicePlan.tags]).apply(([tags]) => {
                if(!tags){ done(new Error('App Service Plan does not have a Tag')); } else { done(); }
            });
        })
        it("Web App must be tagged", function(done) {
            pulumi.all([environment.webApp.tags]).apply(([tags]) => {
                if(!tags){ done(new Error('Web App does not have a Tag')); } else { done(); }
            });
        })
    });
Now when we run our test script, we’ll see that we have seven items under all resources failed.

Let's fix this by adding the tag attribute to all of our relevant resources using the line:
tags: { "Project" : "PulmiExample" }
So, for example, our resource group will now look like this:
export var resourceGroup = new resources.ResourceGroup(configRG, { location: configLocation, resourceGroupName: configRG, tags: { "Project" : "PulmiExample" } });
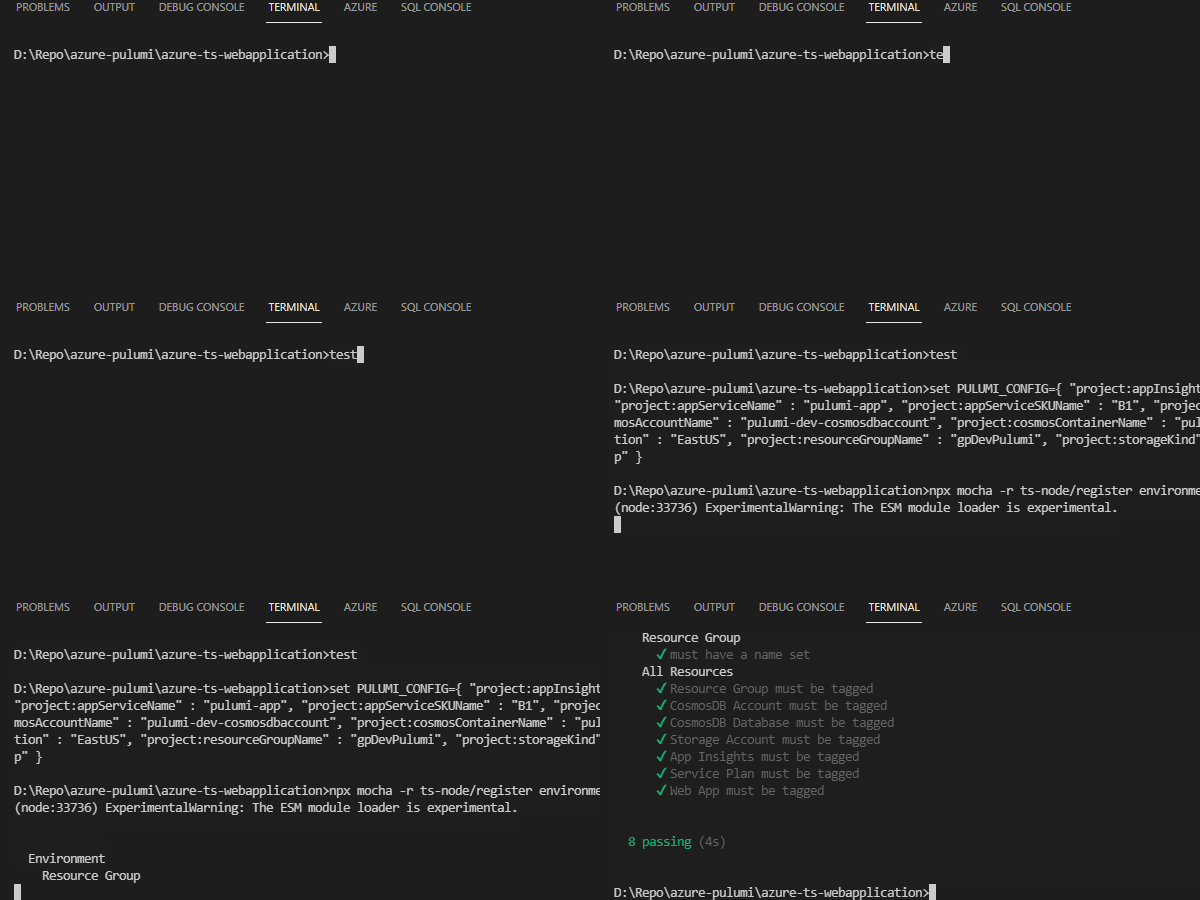
Now when we run our tests, they all pass.
Pulumi Policy Packs
The other way we can test our infrastructure is by using property testing through CrossGuard policy packs. Policy packs differ from unit testing in that the preview or full environment is built before the infrastructure properties are tested for compliance.
Let’s build a simple policy pack to enforce our storage accounts to only be in WestUS. First, we need to create a policy pack in a new directory (the example uses azure-policy) with the command pulumi policy new azure-typescript.
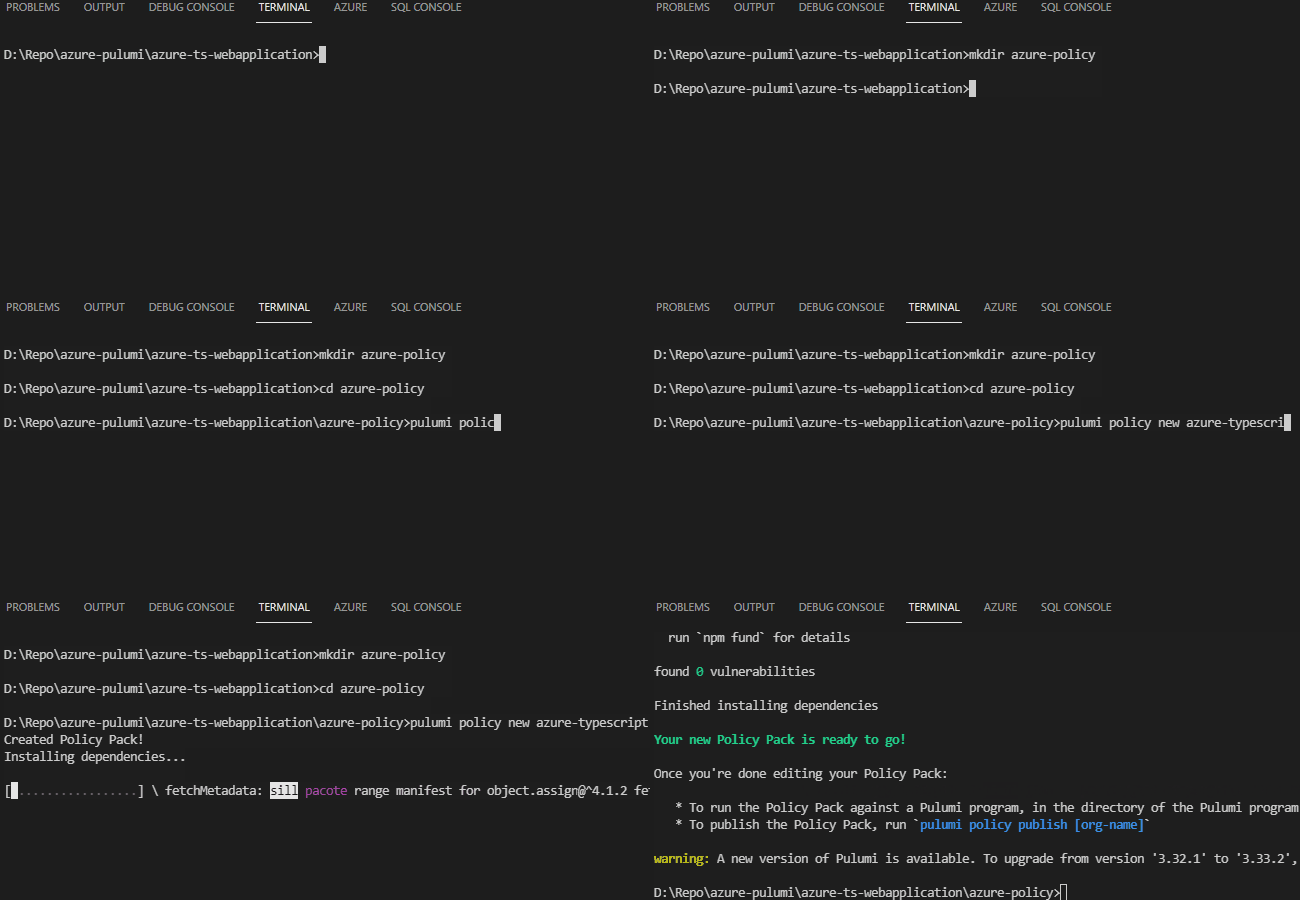
This process will create a new Pulumi application, with its own index.ts file. The example policy created tests to ensure blob storage isn’t publicly accessible, but let’s modify that code a bit to the code block below:
import * as azure from "@pulumi/azure-native";
import { PolicyPack, validateResourceOfType } from "@pulumi/policy";

new PolicyPack("azure-typescript", {
    policies: [{
        name: "storage-container-location",
        description: "Prohibits Azure Storage Containers being located anywhere else but WestUS.",
        enforcementLevel: "mandatory",
        validateResource: validateResourceOfType(azure.storage.StorageAccount, (storage, args, reportViolation) => {
            if (storage.location != "WestUS") {
                reportViolation("Azure Storage Accounts must be in WestUS");
            }
        }),
    }],
});
This code block uses both Azure’s native SDK and the Pulumi policy SDK. It creates a new policy pack with a single mandatory policy.
Then, we use the validateResource method that checks any StorageAccount resource to ensure that its location is set to WestUS. We could expand on this policy pack and add any number of policies focused on different resources, but let’s run this and see what happens when a policy fails.
We do this by running pulumi preview --policy-pack azure-policy (replacing azure-policy with the name of your policy pack folder) from the base directory that contains our infrastructure. This will run our infrastructure in preview mode and ensure that our policies are met.
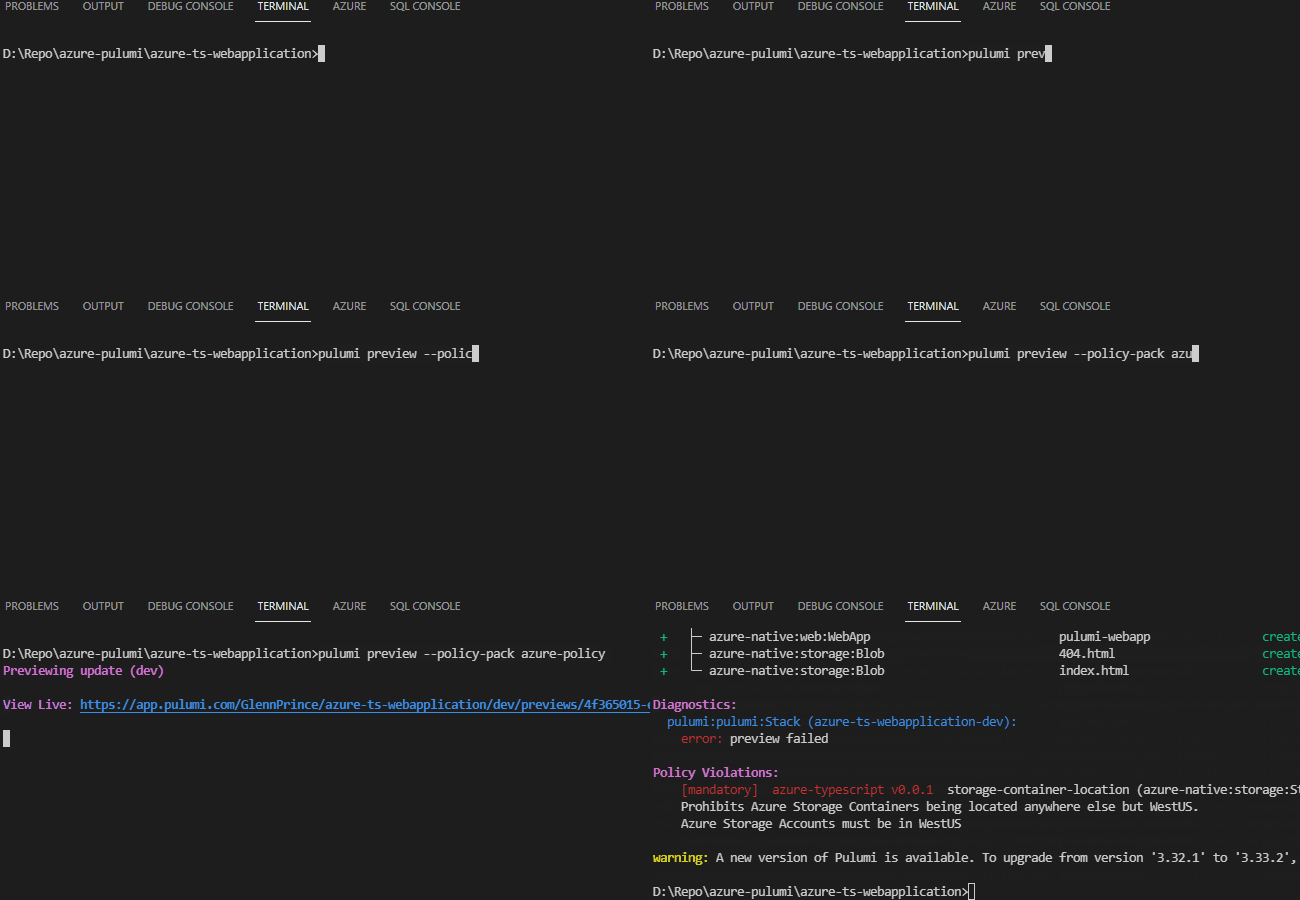
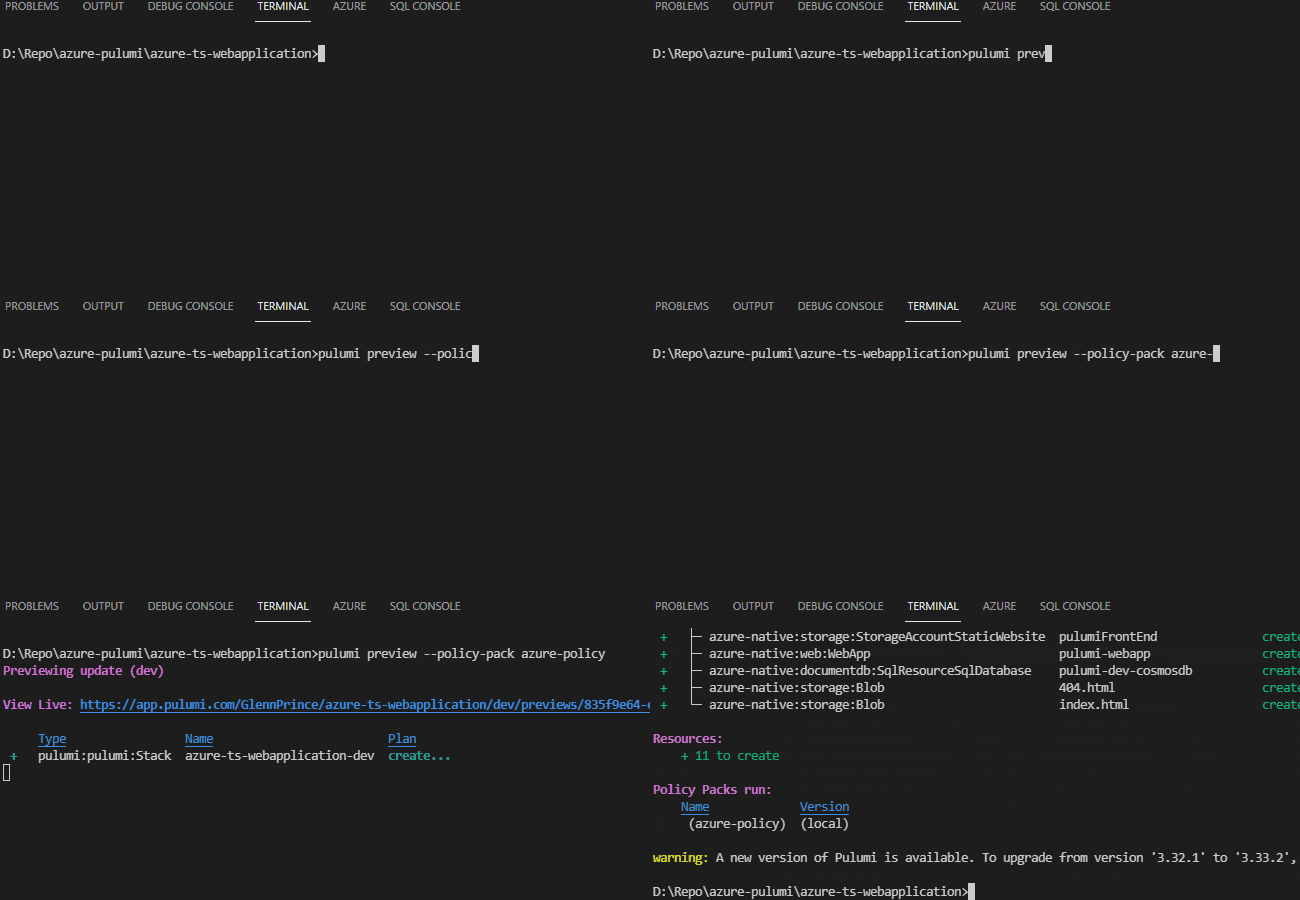
If we go through now and hard code our storage account to have a location in WestUS, then rerun our policy checker, we don’t receive any errors. We do, however, receive a confirmation that our policy pack was checked.
Summary
In this article, we looked at ways we can test our infrastructure code through language-specific testing frameworks like Mocha. We also explored property testing using Pulumi’s built-in CrossGuard library.
Pulumi offers strong IaC functionality built into languages you already know. This series has only just scraped the surface of what Pulumi can do. You can learn even more about how to build consistent Azure infrastructure by visiting their website.
To learn more about Cloud Engineering with Azure Pulumi, check out the resource Cloud Engineering with Azure Pulumi.
