A quick tutorial on creating an AWS Lambda.
Introduction
Serverless computing is pretty cool.
You need something done in the cloud. It might be storing a GPS location. Or pulling some from a DB based on a few query parameters.
But building a complete server instance would be overkill. You just need an API endpoint to accept a query and spit back a result.
You need a serverless function.
Building serverless function is easy. Let's create one in AWS in five minutes.
AWS calls their serverless functions Lambdas, so I'll be using those terms interchangeably throughout this tutorial.
AWS Account
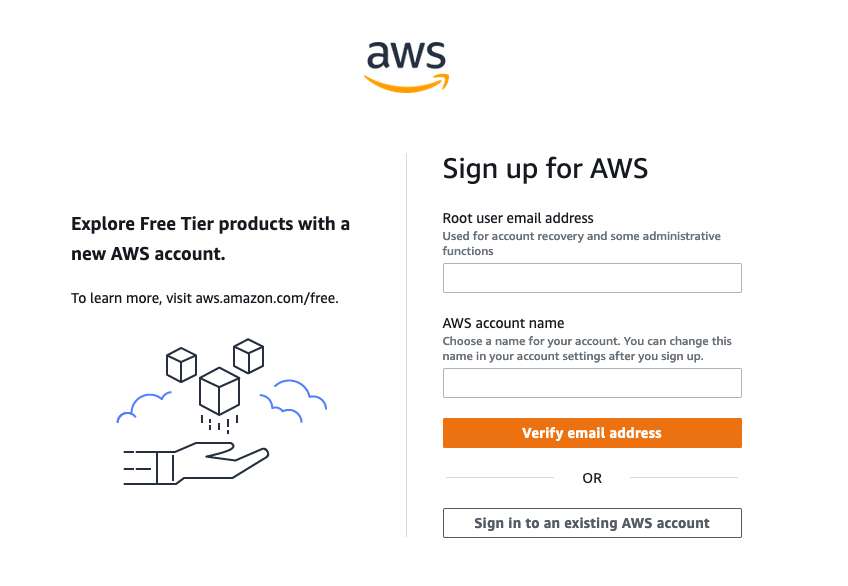
First, you need an AWS account. If you don't have one, don't start your timer yet. Creating the account may be harder than creating a Lambda.
Start here and follow the instructions.

Login to the AWS Console
If you're up and running with an AWS account, you can go right to the console.
On my console, Lambda appears near the top because I recently used it.

But, you can click on View all services* to find it if you need to.
It'll be right near the top, under Compute.

Click on Lambda, and let's create a service.
New Lambda
This will take you to your list of Lambdas.
Here's what mine looks like:

I've got an old function from an Alexa skill hanging around. If you've never created a Lambda before, you'll see an empty list.
Click the Create function button.
Now, it's finally time to define a function.

Here are your choices:
- Select Author from scratch
- Give your function a name.
- Pick Python 3.9 from the Runtime drop down.
So, this will give us a single Python function. AWS will call it when a web client calls our Lambda.
But, we need to set up one more thing to make the function callable from standard web clients.
So, click Advanced settings.

Check the box for Enable function URL. This gives you function of a web address.
Next, select NONE for Auth type.
As the warning says, this is not a secure configuration, and you shouldn't use it with functions that access secure data, or can be used as a vector for attacking other services. Since this will only be a demo app, it's fine for now.
Click Create function and we'll look at our creation and take it out for a test drive...
Here's what your function info page should look like:

Test Drive
On the right hand side, you can see your function's public URL. Click it.
This sends a GET request to your function from the browser:

Technically, we could stop the clock here. You've created a serverless function.
But let's take it one step further and make it process a more complicated request.
Postman
I'm going to use Postman for this next part. If you don't have an account yet, go ahead and create it. Everything we'll do here works with a free login.
Let's point Postman at the new function:
Create a new request. Paste your function URL in the URL section and click Send.

Postman displays the result at the bottom. So, we've used Postman to make the same request as the browser.
Now let's have some fun.
Posting JSON Data to a Lambda Function
If we want to make our function do something interesting, we need to send it some data.
So, switch your request type to POST and give your request a body.

Now, if we send this, nothing will change. We need to make some code changes.
Here's the code:
import json

def lambda_handler(event, context):

    request = event['body']
    request_obj = json.loads(request)

    return {
        'statusCode': 200,
        'headers': { 'Content-Type': 'application/json' },
        'body': "{}, {} {}!".format(request_obj['Greeting'],
         request_obj['Title'], request_obj['Name'])
    }
When you call a Lambda from a function URL, the request data is included in the event object as the body field. Since it's a raw string, we need to pull it out of the event and convert it to an object with json.loads.
Then we can access the fields and use them to build a new string.
Paste this code in and Deploy it.

Now, send the new request.

It works! You built a Lambda.
So, you can see that serverless functions in AWS in five minutes are easy to build.
In the next tutorial, we'll see what else they can do.
History
- 2nd October, 2022: Initial version
