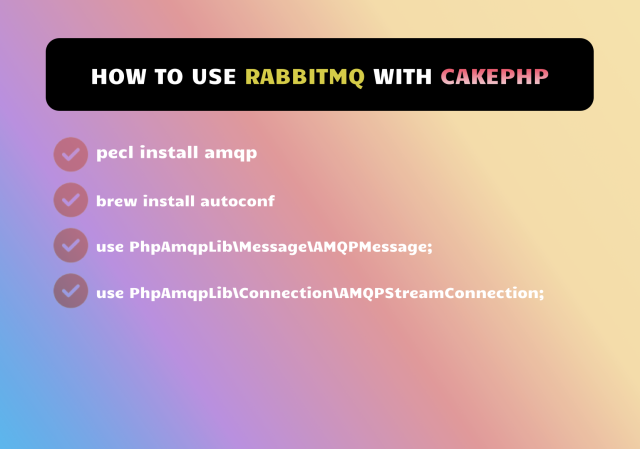
CakePHP allows building web applications that interact with RabbitMQ using the PhpAmqpLib library for sending and receiving messages through a configured RabbitMQ connection.
CakePHP is a PHP web application framework that can be used to build web applications that interact with RabbitMQ. Here's an example of how to use CakePHP with RabbitMQ.
1. Install the PHP AMQP Extension
The PHP AMQP extension provides a PHP interface for interacting with RabbitMQ. You can install this extension using PECL by running the following command:
pecl install amqp
If you get error "Zend Extension Api No: 320190902 Cannot find autoconf"

Run more command.
brew install autoconf
brew install rabbitmq-c
Composer requires php-amqplib/php-amqplib.
2. Configure the RabbitMQ Connection
In your CakePHP application, you can configure the RabbitMQ connection in the app/config/bootstrap.php file. Here's an example:
use Cake\Core\Configure;
use PhpAmqpLib\Connection\AMQPStreamConnection;

Configure::write('RabbitMQ', [
    'host' => 'localhost',
    'port' => 5672,
    'username' => 'guest',
    'password' => 'guest',
    'vhost' => '/',
]);

$connection = new AMQPStreamConnection(
    Configure::read('RabbitMQ.host'),
    Configure::read('RabbitMQ.port'),
    Configure::read('RabbitMQ.username'),
    Configure::read('RabbitMQ.password'),
    Configure::read('RabbitMQ.vhost')
);
This code sets the RabbitMQ connection parameters in the Configure object and creates a new AMQPStreamConnection object.
3. Send Messages to RabbitMQ
To send messages to RabbitMQ, you can use the PhpAmqpLib\Channel\AMQPChannel class. Here's an example:
use PhpAmqpLib\Message\AMQPMessage;

$channel = $connection->channel();

$exchangeName = 'my-exchange';
$queueName = 'my-queue';

$channel->exchange_declare($exchangeName, 'direct', false, true, false);
$channel->queue_declare($queueName, false, true, false, false);
$channel->queue_bind($queueName, $exchangeName);

$messageBody = 'Hello, RabbitMQ!';
$message = new AMQPMessage($messageBody);

$channel->basic_publish($message, $exchangeName);

$channel->close();
This code declares an exchange and a queue, binds the queue to the exchange, creates a new message, and publishes the message to the exchange.
4. Receive Messages from RabbitMQ
To receive messages from RabbitMQ, you can use the PhpAmqpLib\Channel\AMQPChannel class and define a callback function to handle incoming messages. Here's an example:
use PhpAmqpLib\Message\AMQPMessage;
$callback = function ($message) {
    echo 'Received message: ' . $message->body . PHP_EOL;
};

$channel->basic_consume($queueName, '', false, true, false, false, $callback);

while (count($channel->callbacks)) {
    $channel->wait();
}
This code sets up a callback function that simply echoes the message body to the console. It then sets up a consumer on the queue and waits for incoming messages.
Overall, using CakePHP with RabbitMQ involves configuring the RabbitMQ connection and using the PhpAmqpLib library to send and receive messages. There are many other features and configurations available in RabbitMQ, and the CakePHP framework has many other features and capabilities as well.
Thank you for reading this post. I hope you found it helpful and easy to follow. If you have any feedback or questions about CakePHP plugin for usage of RabbitMQ, please share them in the comments below. I would love to hear from you and discuss this topic further.
