Introduction
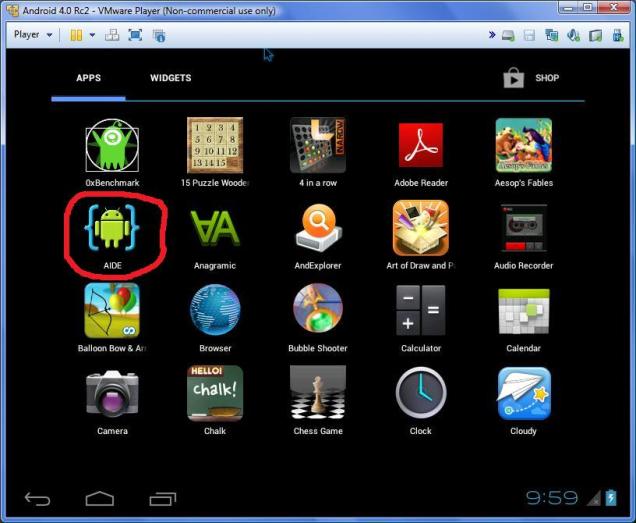
The most common problem faced by people new to Android is setting up the Android environment. Still more difficult is the process of offline Android installation. For large applications, you still require setting up the Android environment on a PC along with the Eclipse IDE, but for smaller and simple applications you can use AIDE, which runs directly on your Android phone or tablet and allows you to compile your Android app without leaving your device. Also, AIDE is fully compatible with Eclipse.
AIDE is not just an editor. It comes with some very cool features like code completion, syntax highlighting, code refactoring, formatting and compilation.
AIDE can be freely downloaded from the Android Market Place.
To demonstrate the use of AIDE, I have developed an Android app which takes a user name as input and displays a welcome message. I have used the Android 4.0 Rc2 emulator (Android x86) running on VMware Player to test AIDE.
Background
After starting AIDE on your device, the following screen appears which accepts the location and name of your app.

After clicking the Create button, the following screen is displayed which shows the files of your project in explorer style in the lower frame and allows you to edit files in the upper frame.

After completing coding, you can compile your project using the Run command from the menu as follows:

If the compilation is successful, you get the following screen to install your newly compiled app:

After installation, the app is displayed in the list of installed apps as follows:

Following is the output of the program:

Using the Code
Since the main intention of my article is to explain the use of the AIDE IDE and not Android Programming, I have deliberately created a simple application so that the reader remains focused on using the IDE.
Following is the code of the res/layout/main.xml file which defines the graphical interface of the application:
="1.0"="utf-8"
<LinearLayout xmlns:android="http://schemas.android.com/apk/res/android"
android:layout_width="fill_parent"
android:layout_height="fill_parent"
android:orientation="vertical" >
<TextView
android:layout_width="wrap_content"
android:layout_height="wrap_content"
android:text="Enter your name: " />
<EditText
android:id="@+id/txtName" />
android:layout_width="wrap_content"
android:layout_height="wrap_content"
<Button
android:id="@+id/btnOk" />
android:layout_width="wrap_content"
android:layout_height="wrap_content"
android:text="OK" />
<Button
android:id="@+id/btnCancel" />
android:layout_width="wrap_content"
android:layout_height="wrap_content"
android:text="Cancel" />
</LinearLayout>
The above code creates a linear layout with a vertical orientation. The layout consists of a TextView to display the static text "Enter your name: ". An EditText is used to accept input from the user. The OK and Cancel buttons are created to either process the input or clear the EditView contents.
Following is the code for the main Activity of the application (src/com/azim/MainActivity.java):
package com.azim;
import android.app.*;
import android.os.*;
import android.view.*;
import android.widget.*;
import android.app.AlertDialog.Builder;
public class MainActivity extends Activity implements View.OnClickListener
{
EditText txtName;
Button btnOk,btnCancel;
@Override
public void onCreate(Bundle savedInstanceState)
{
super.onCreate(savedInstanceState);
setContentView(R.layout.main);
txtName=(EditText)findViewById(R.id.txtName);
btnOk=(Button)findViewById(R.id.btnOk);
btnCancel=(Button)findViewById(R.id.btnCancel);
btnOk.setOnClickListener(this);
btnCancel.setOnClickListener(this);
}
public void onClick(View view)
{
if(view==btnOk)
{
Builder builder=new Builder(this);
builder.setTitle("Welcome to Android");
builder.setMessage("Hello "+txtName.getText()+"!!!");
builder.setCancelable(true);
builder.show();
}
if(view==btnCancel)
{
txtName.setText("");
txtName.requestFocus();
}
}
}
The above code gets references of the controls from the main.xml file and defines the event handler function for the click events of the buttons.
Points of Interest
The main advantage of the AIDE IDE is that it allows you to quickly create an Android application on your device without the hassle of setting up the Android environment on your PC and deploying it later to your device.
