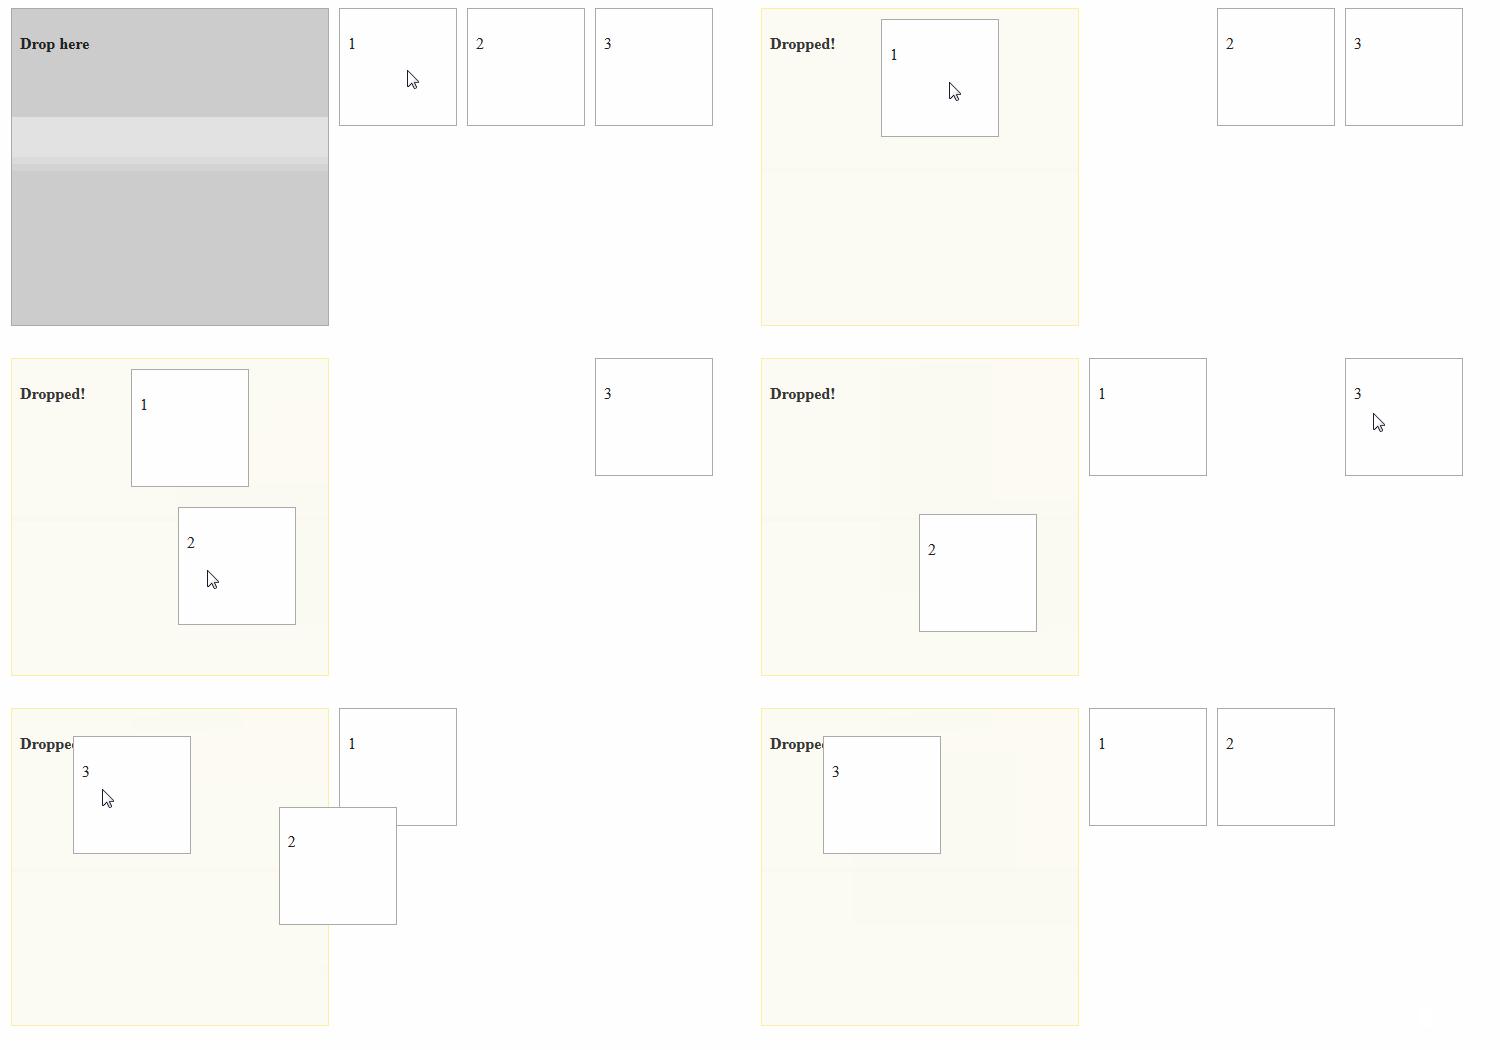
You might be looking for a solution something like a radio button but don’t want to use the old school HTML input types, you want something interactive like dragging and dropping objects in a certain location. Since it should work like a radio button, you want that certain location to hold one object and only the latest object chosen, well you’re in luck as I have to create something similar and here is how I executed it.
By using a draggable and droppable interactions from jQuery UI life becomes easier as animation and interactions are handled by jQuery and jQuery UI, all you need to do is use them. All we need to do is create some functions to restrict the droppable interaction to accept only one draggable and only the latest one. If it has some draggable already inside then we need to remove them and place them back to its original position. If you also want to empty everything inside the droppable, then the draggable positions should also reset to its original location.
Now have you ever imagined doing this only with JavaScript? Well, that will make you crazy specially if that’s not your main language used in your coding, doing this with jQuery is being smart because using it makes document traversal, document manipulation, event handling and animation much simpler but if you want to be even more smarter use jQuery UI which makes common web interactions easier hence making your web application even more interactive.
Now enough with the talking and let’s do some coding.
<html>
<head>
<meta charset="utf-8" />
<title>Raymund Macaalay's Demo</title>
<link rel="stylesheet"
href="http://code.jquery.com/ui/1.10.3/themes/smoothness/jquery-ui.css" />
<script src="http://code.jquery.com/jquery-1.9.1.js"></script>
<script src="http://code.jquery.com/ui/1.10.3/jquery-ui.js"></script>
<style>
#draggable1, #draggable2, #draggable3
{ width: 100px; height: 100px; padding: 0.5em; float: left; margin: 10px 10px 10px 0; }
#droppable { width: 300px; height: 300px; padding: 0.5em; float: left; margin: 10px; }
</style>
<script>
$(function () {
var pastDraggable = "";
$("#draggable1").draggable({
start: function () {
Positioning.initialize($(this));
},
});
$("#draggable2").draggable({
start: function () {
Positioning.initialize($(this));
},
});
$("#draggable3").draggable({
start: function () {
Positioning.initialize($(this));
},
});
$("#droppable").droppable({
drop: function (event, ui) {
$(this).addClass
("ui-state-highlight").find("p").html("Dropped!");
var currentDraggable = $(ui.draggable).attr('id');
if (pastDraggable != "") {
$("#" + pastDraggable).animate
($("#" + pastDraggable).data().originalLocation, "slow");
}
pastDraggable = currentDraggable;
},
out: function (event, ui) {
var currentDraggable = $(ui.draggable).attr('id');
$(ui.draggable).animate($(ui.draggable).data().originalLocation, "slow");
}
});
});
var Positioning = (function () {
return {
initialize: function (object) {
object.data("originalLocation", $(this).originalPosition = { top: 0, left: 0 });
},
reset: function (object) {
object.data("originalLocation").originalPosition = { top: 0, left: 0 };
},
};
})();
</script>
</head>
<body>
<div id="droppable" class="ui-widget-header">
<p>Drop here</p>
</div>
<div id="draggable1" class="ui-widget-content">
<p>1</p>
</div><div id="draggable2" class="ui-widget-content">
<p>2</p>
</div><div id="draggable3" class="ui-widget-content">
<p>3</p>
</div>
</body>
</html>
Simple as that!
For live demo, visit the JSFiddle link below:
Filed under: CodeProject, Programming Tagged: HTML, JavaScript, jQuery, jQuery UI 

