Visual Studio has many hidden gems and most of us usually overlook it until we need it in some work/project. One of the less used but extremely useful features is Schema & Data comparison of two databases. Moreover, we can generate scripts for updating the schema/data from Visual Studio itself.
Note: Schema & Data comparison are possible only in Visual Studio Ultimate & Visual Studio Premium and not in most-popular professional edition or free express edition.
Let us see how it works. First, I have two different databases – one is local copy before deployment & the other one is copy of same database after new release.
- First, start Visual Studio, in the main menu, select “SQL,” then “Schema Compare,” then “New Schema Comparison”.

- This will open a new schema comparison file (.scmp):
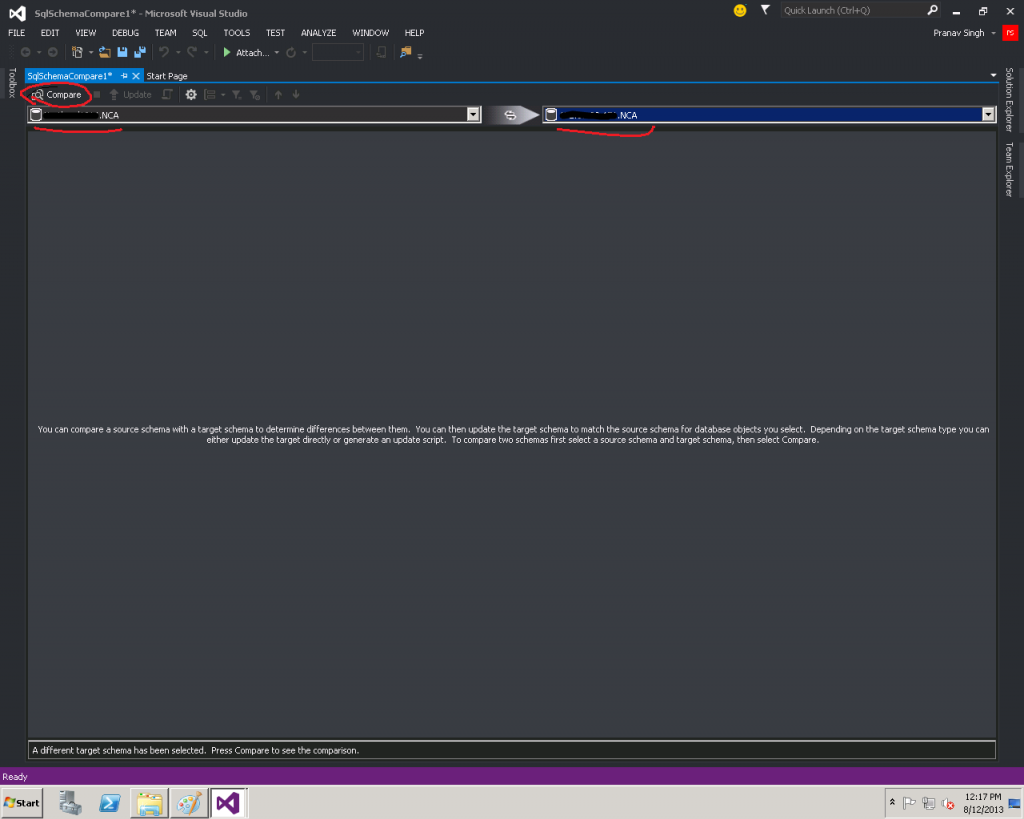
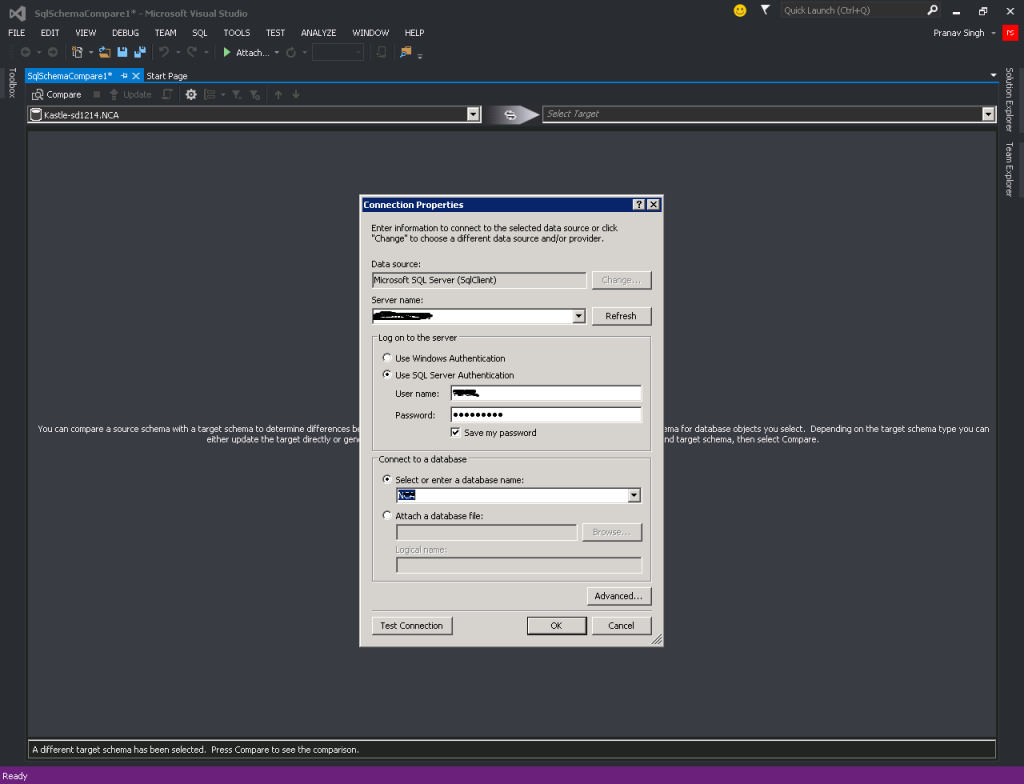
- In the schema compare file, we have two drop-down, one for source database & another for destination. Select the two databases to be compared.
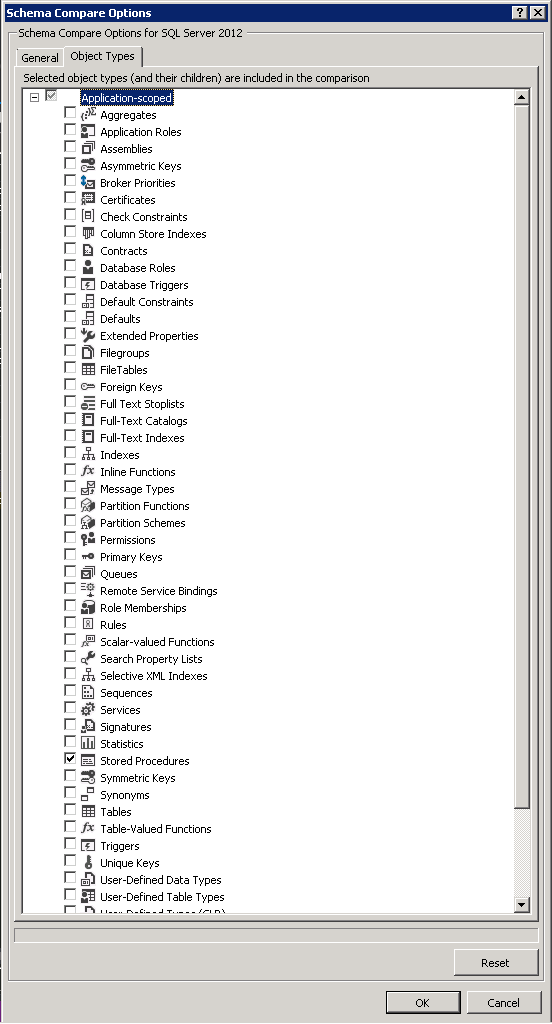
- After selecting database, you can have various options like filtering based on Object types (Tables, stored procedures keys, etc.).
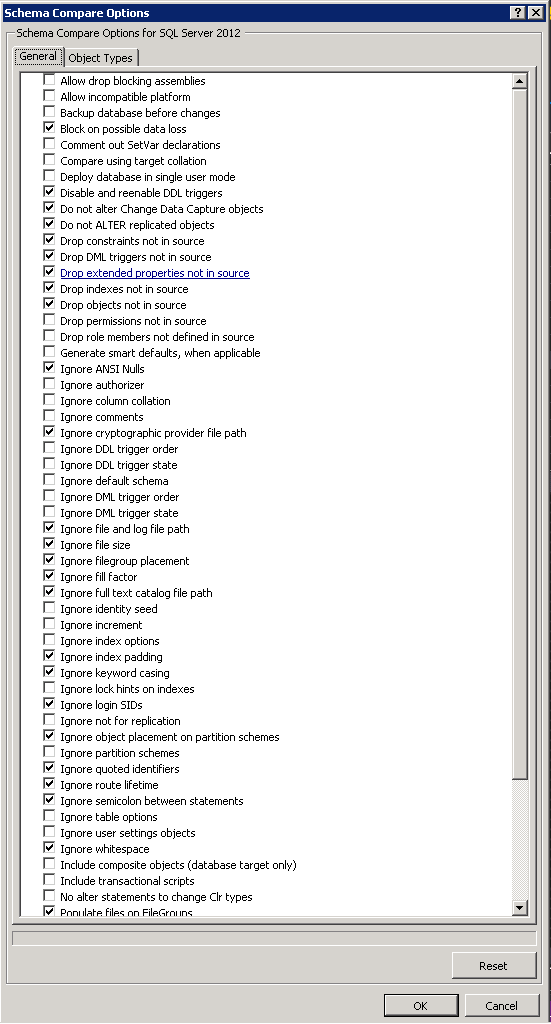
- You can also check various useful options in “General” tab.
- Now compare the database schema.
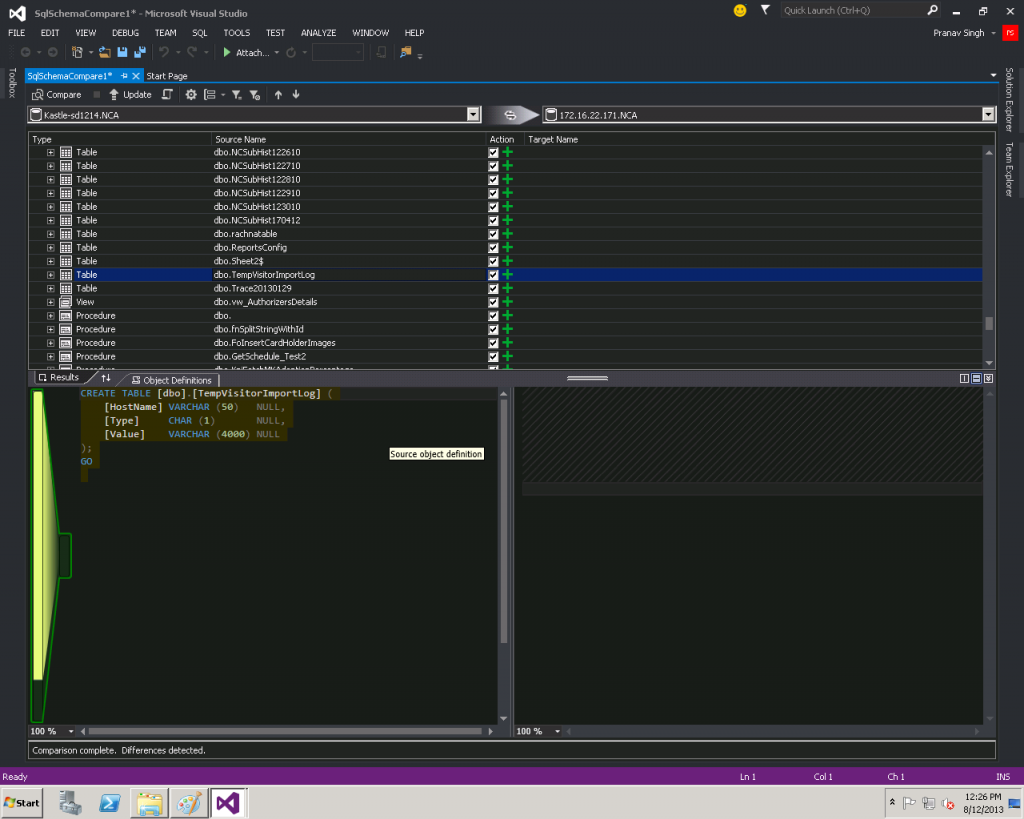
You can find objects added, removed or edited and what’s the difference.
In a similar way, you can use Data Comparison:
- In Visual Studio, select SQL menu, then Data Compare, then new Data Comparison.

- In New Data Comparison,
- First select Source Database & Target Database.
- For data comparison, you have the following database options for Records to compare:
- Different Records
- Only in Source
- Only in Target
- Identical Records
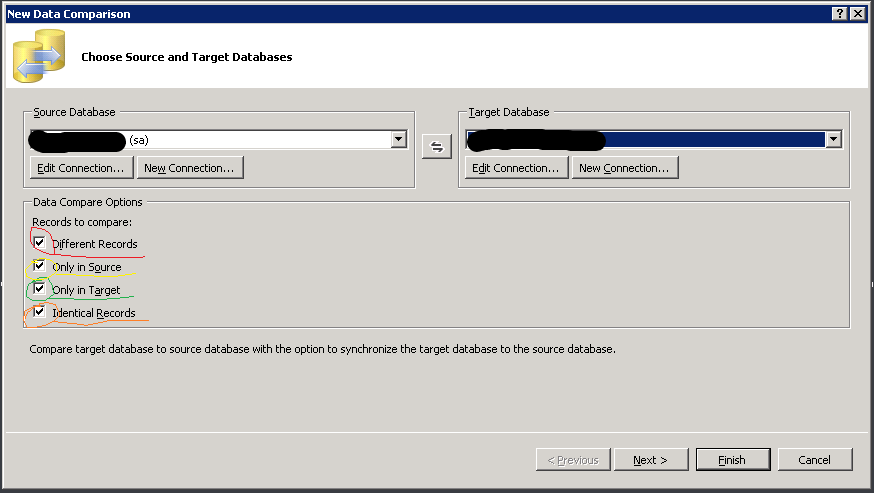
- Based on your requirements, select any combination of aforementioned data comparison options.
One very important thing to notice here is to explore the various options available to tweak your comparison. You have different options like:

Most important features are:
- Compare: Compares the schema or data. Shortcut is Shift+Alt+C.
- Update: Can update changes (schema or data) from source database to destination database. Shortcut is Shift+Alt+U
- Generate Script: Can generate script for the difference in schema or data.
- Filter options: Can filter results based on object types like Tables, functions, stored procedures, etc. This option comes in very handy when you want to filter data for some tables in case of data compare and when you want to compare only few stored procedures/any other object type or all stored procedure/ any other object type.
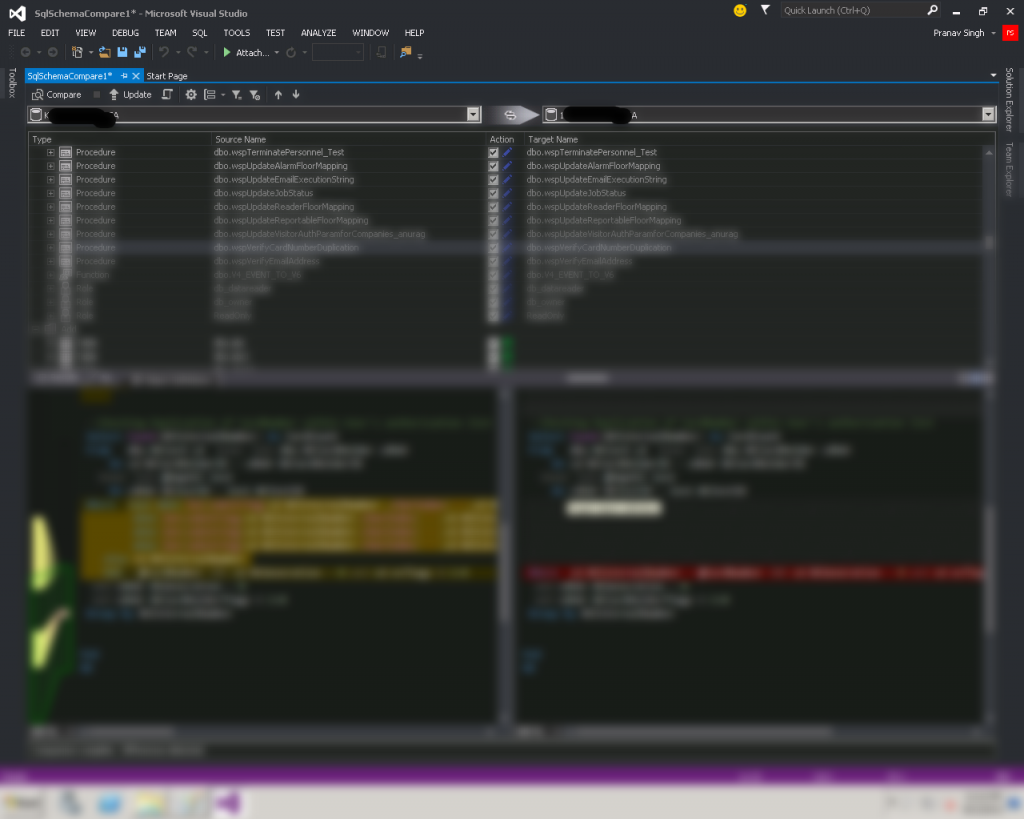
Here is a screen-shot of schema compared.
Note: I have deliberately blurred the picture so that the actual schema mustn’t be visible.
Both Data Comparison & Schema Comparison is very easy & you need no prior SQL experience.
These options come in very handy when you have application development environment on many servers like Development Servers, Staging Servers, QA/ Testing Database & many distributed Production Servers and they need to be synchronized after some builds/releases.
CodeProject
www.HyperSmash.com
Filed under:
C#,
CodeProject,
SQL,
Uncategorized,
Visual Studio,
Visual Studio 2012,
Visual Studio 2013 Tagged:
Data Compare,
Data Comparison,
schema compare,
Schema Comparer,
Schema Comparison,
SQL compare,
SQL Server,
Visual Studio,
Visual Studio 2012,
Visual Studio 2013 


