Introduction
Create a simple Hello world android project with Android Studio run in emulator and depoly on Mobile Device
it can be created by using Android Studio 0.8.0.
Creating a Simple Hello World Android Project
To create a simple Hello World Android project can be done either with Eclipse or Android Studio. Here I am going to explain how it can be created by using Android Studio 0.8.0.
Android Studio:
Studio can be downloaded from the below link.
http://tools.android.com/download/studio/beta
Pre-requisite:
Ensure appropriate JDK version is installed.
Download appropriate Android SDK based on the version we are developing.
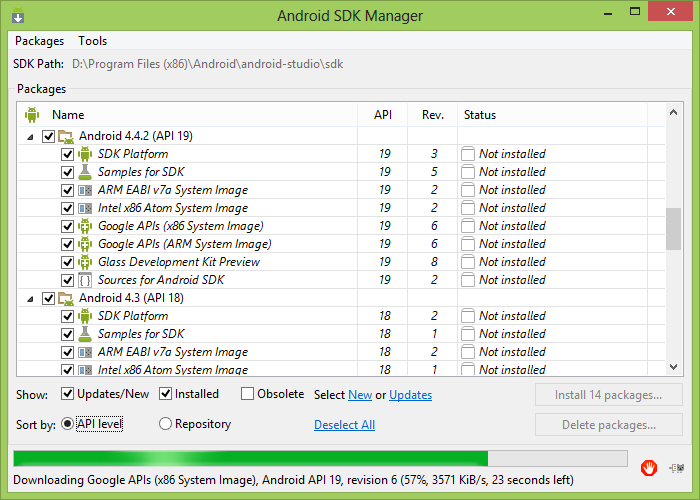
Create new project
First step load Android Studio. Click on the New project…

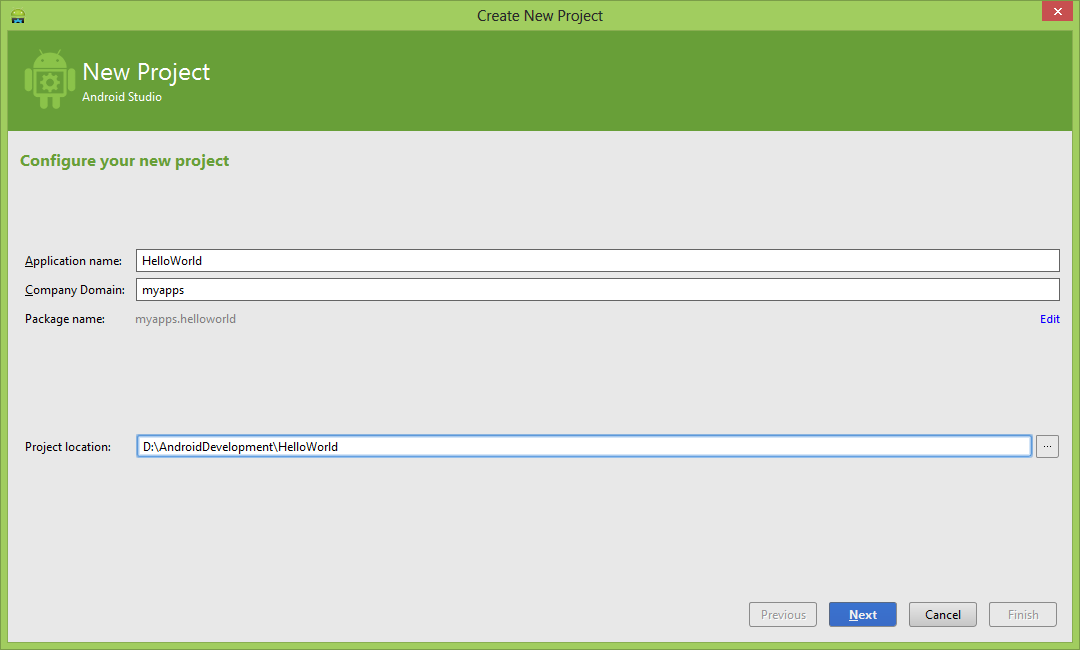
Configure the New Project
Enter the application and company domain and select the project location as shown below and click on Next button.
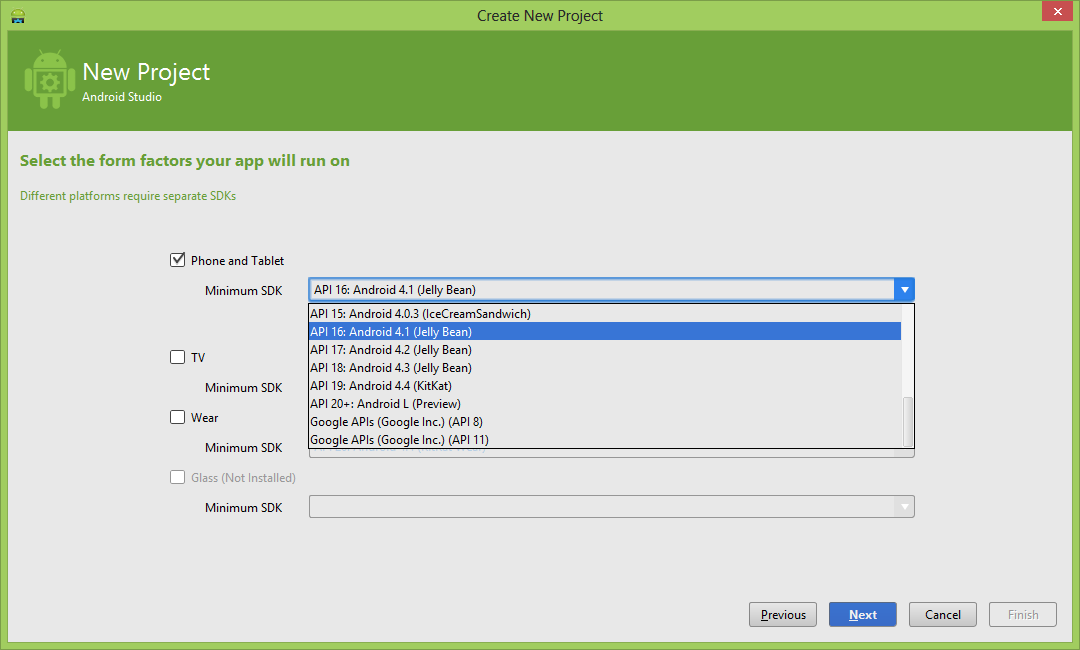
Select form factor
Select the appropriate minimum version of android we are going to target as shown in the list as below
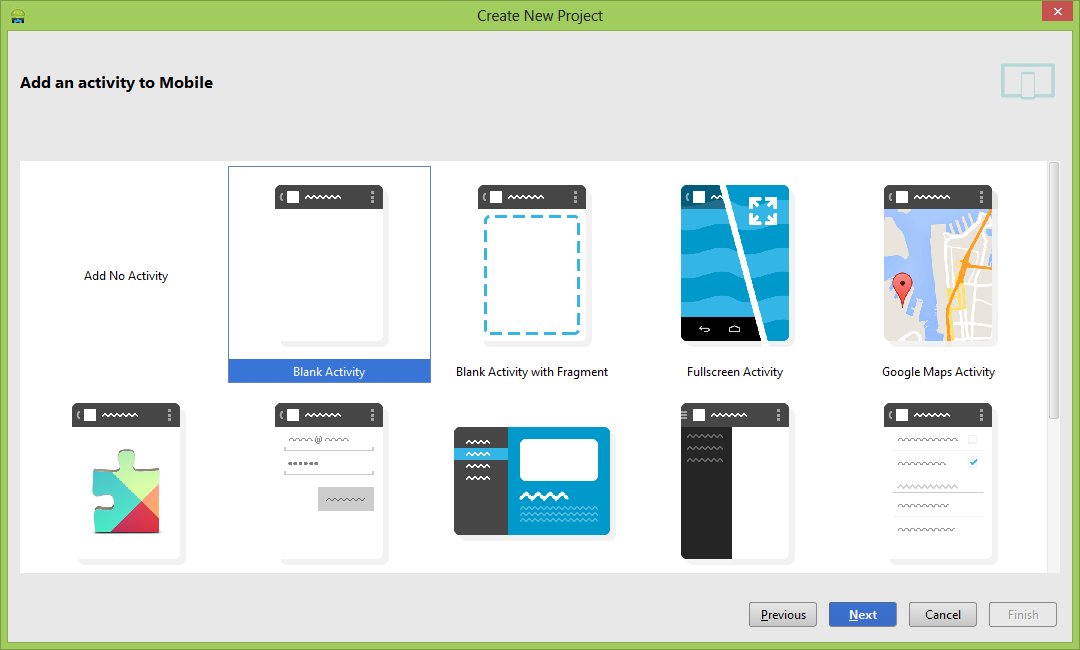
Select the Activity
Select the template need as pre requirement. I have selected the blank activity.
The class will be created based on the Activity Name entered.
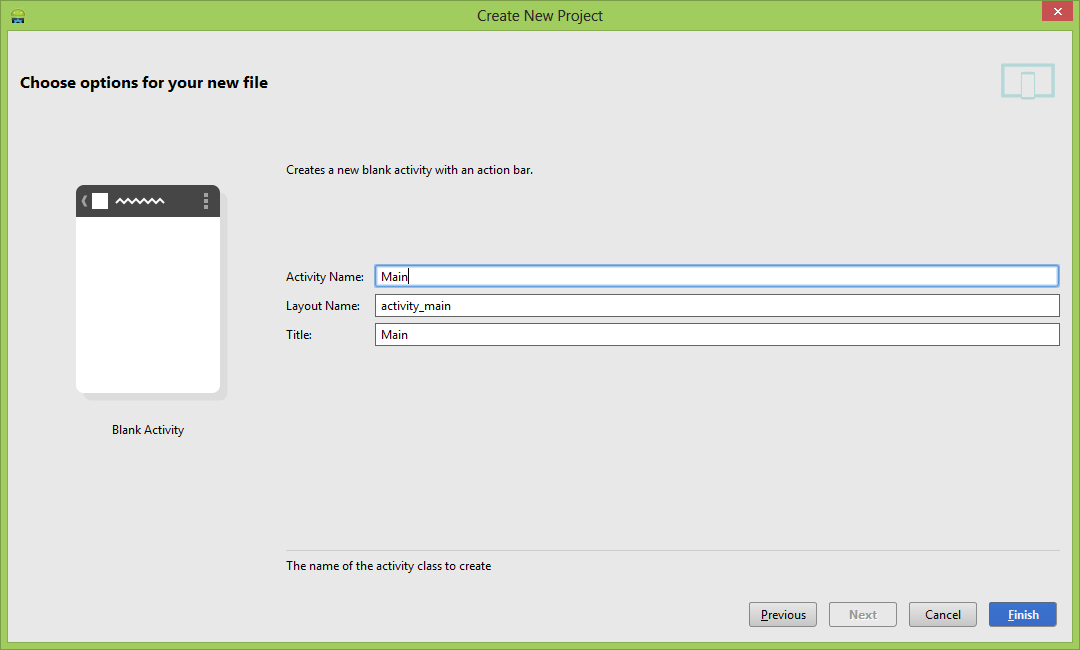
Click on the finish button. The project gets created and will be shown as below
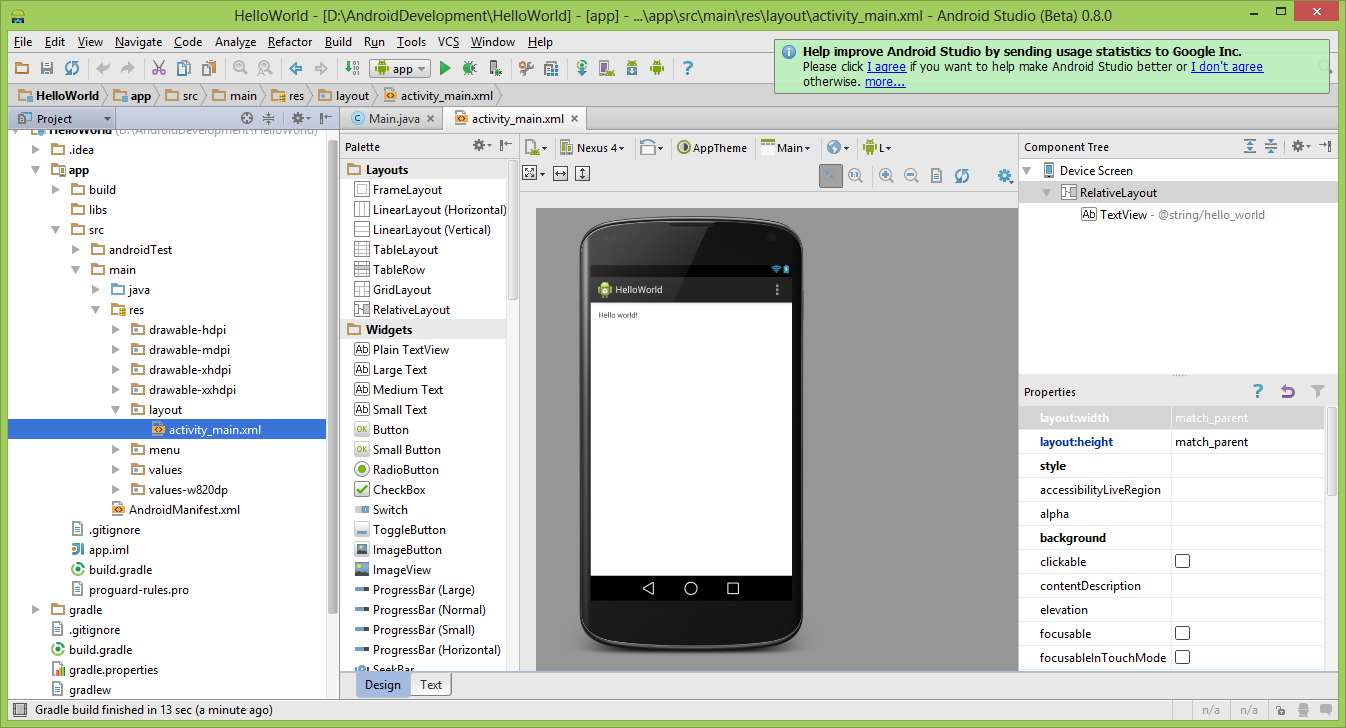
Files / Components
Important files and directory of Android project to be known and their purpose
- src - This contains the .java source files for your project. By default, it includes an MainActivity.java source file having an activity class that runs when your app is launched using the app icon.
- generated - This contains the .R file, a compiler-generated file that references all the resources found in your project. You should not modify this file
- bin - This folder contains the Android package files .apk built by the ADT during the build process and everything else needed to run an Android application.
- res/drawable-hdpi - This is a directory for drawable objects that are designed for high-density screens.
- res/layout - This is a directory for files that define your app's user interface.
- res/values - This is a directory for other various XML files that contain a collection of resources, such as strings and colors definitions.
- AndroidManifest.xml - This is the manifest file which describes the fundamental characteristics of the app and defines each of its components.
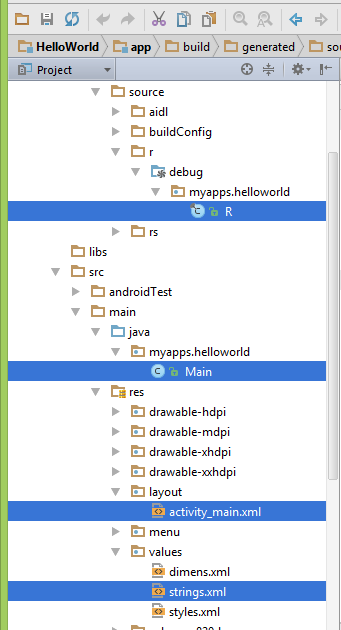
String file
The strings.xml file is located in the res/values folder and it contains all the text that your application uses. For example, the names of buttons, labels, default text, and similar types of strings go into this file. This file is responsible for their textual content. For example, a default strings file will look like as following file
R file
The gen/myapps.helloworld/R.java file is the glue between the activity Java files like Main.java and the resources like strings.xml. It is an automatically generated file and you should not modify the content of the R.java file. Following is a sample of R.java file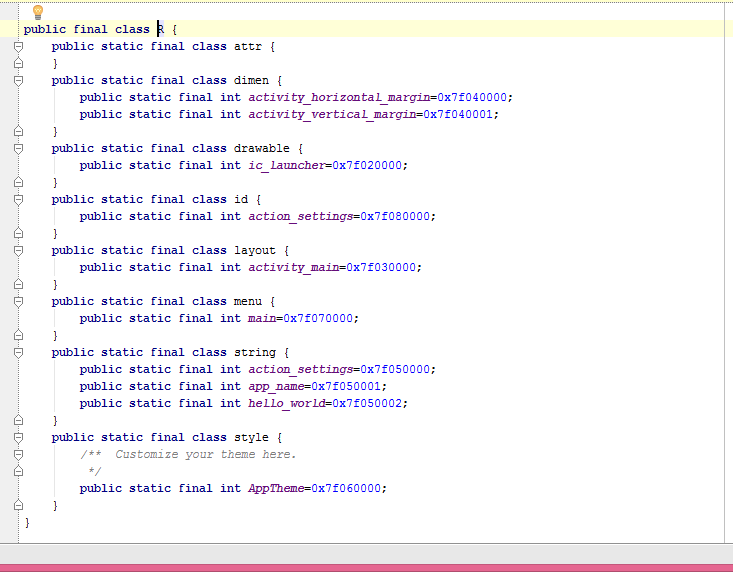
Layout File
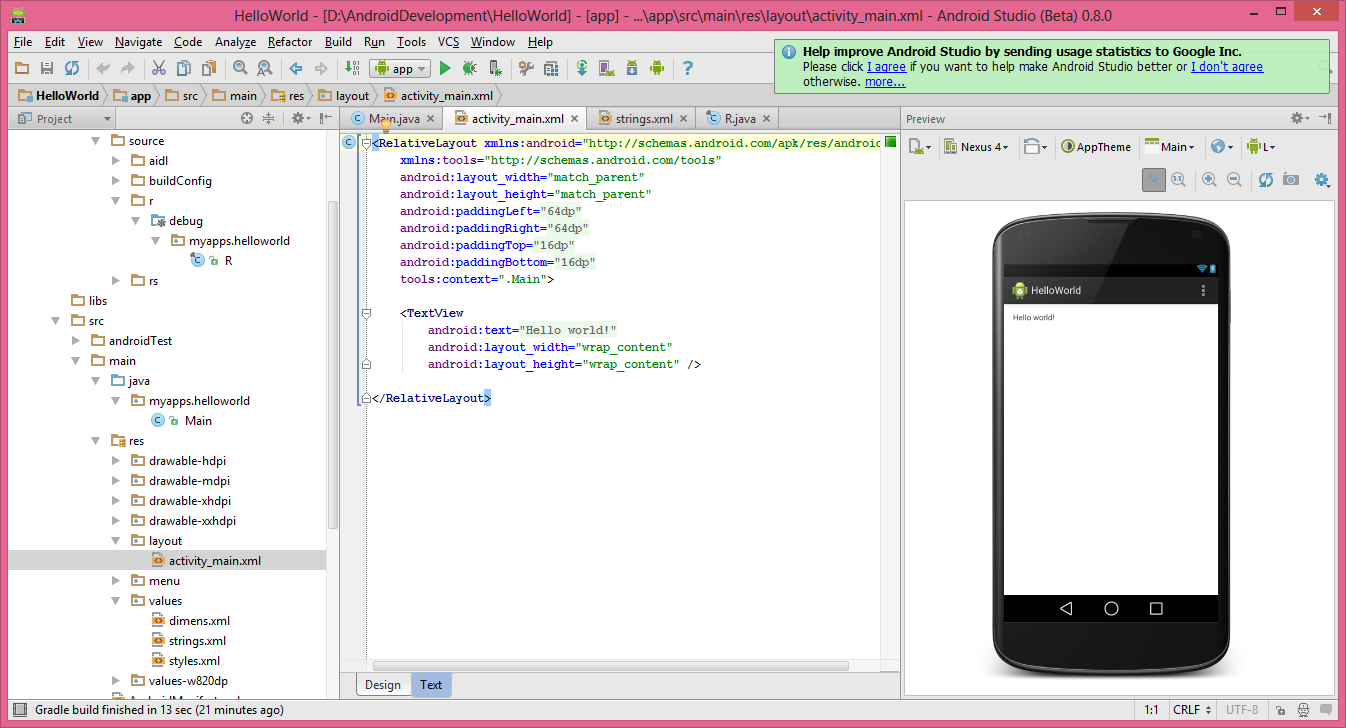
The activity_main.xml is a layout file available in res/layout directory, that is referenced by your application when building its interface. You will modify this file very frequently to change the layout of your application. For your "Hello World!" application, this file will have following content related to default layout
Text Mode
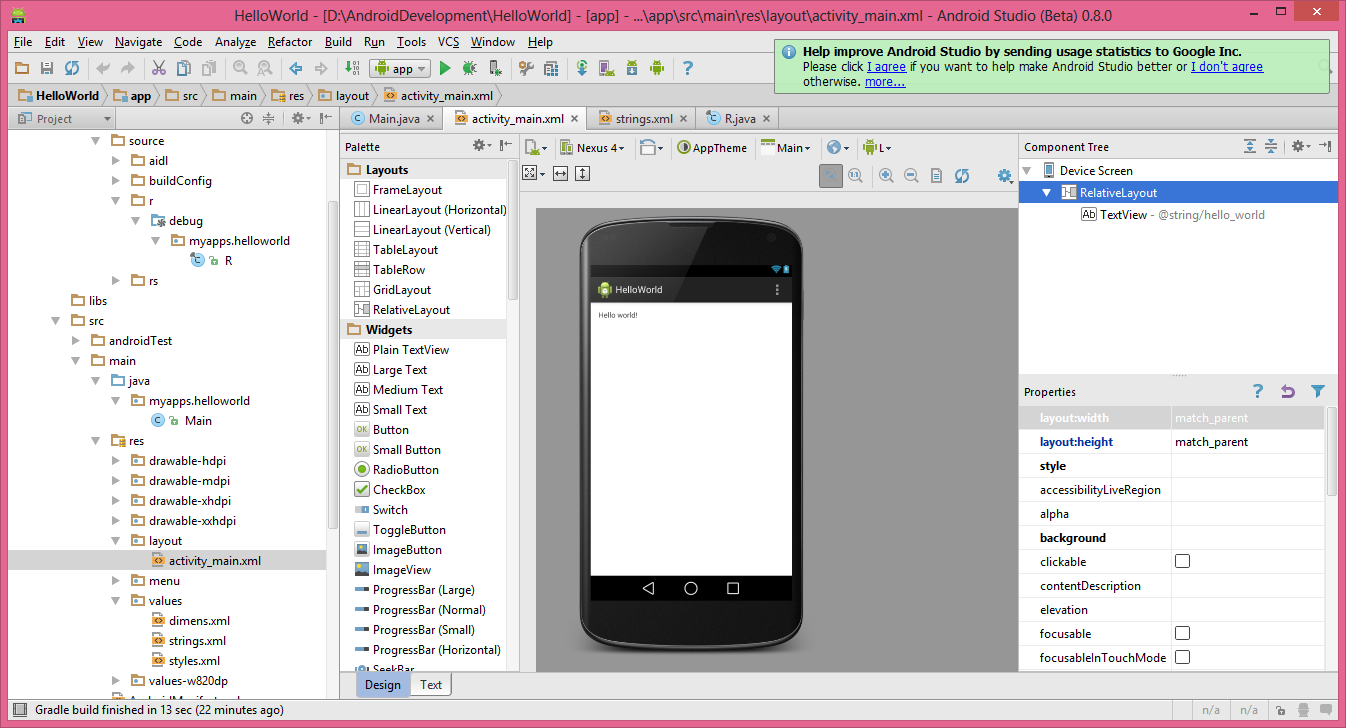
Layout Design
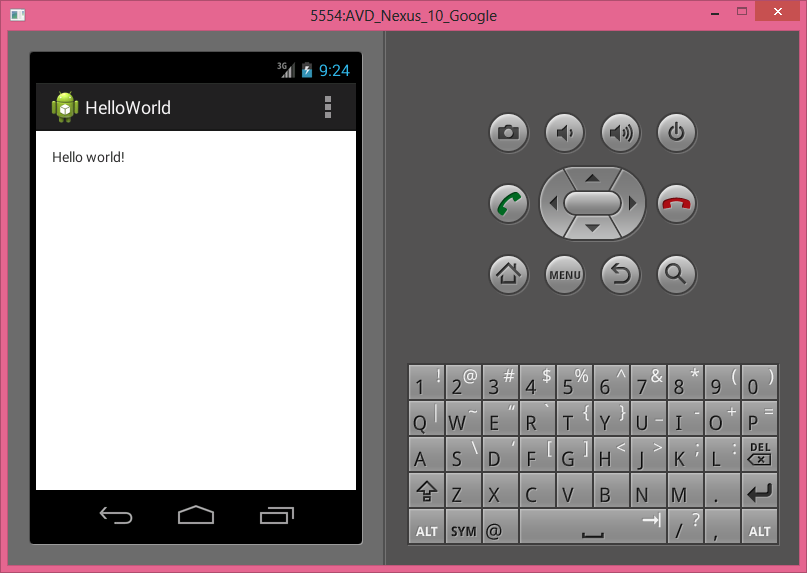
Running app on Emulator
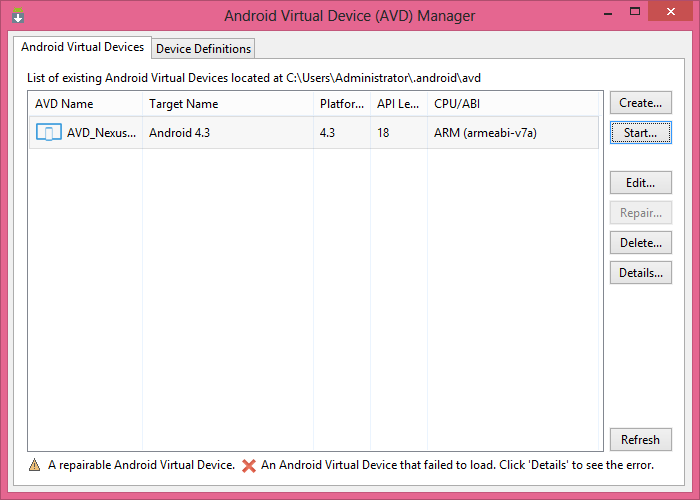
Emulator takes more time to load so before running app we should start emulator. Emulator can be started from SDK manager tools Manage AVDs.
 AVD Manager
Create the AVD and click on the start to run the emulator
Once emulator is started it will get loaded by creating an AVD Manager
Things to do on Mobile Device
Pre-requisite
Generate a signed APK from the Android Studio under Build / generate signed APK.
Steps
- Go to settings on Mobile Device
- Tap on applications or Developer options
- If it is applications options on mobile device follow below steps
- Put a check for Unknown Sources (to allow installation of non-Market applications)
- Tap on Development (to set options for application development)
- Check on USB debugging
- Plug the USB cable to computer.
- Go the platform-tools under studio directory and run the following comment
- adb install app-release.apk. App installs
- On success full install you can run the app on mobile.
