Introduction
This step by step guild is packed full of screen shots to guide you in the journey of learning about the different Android UI Layouts and Controls and how to use them in an application. Ready to code?
Background
This tutorial was made using Windows 8, Eclipse Platform 4.2.2 and the Android ADK 23.0.2.1259578.
Lets learn...
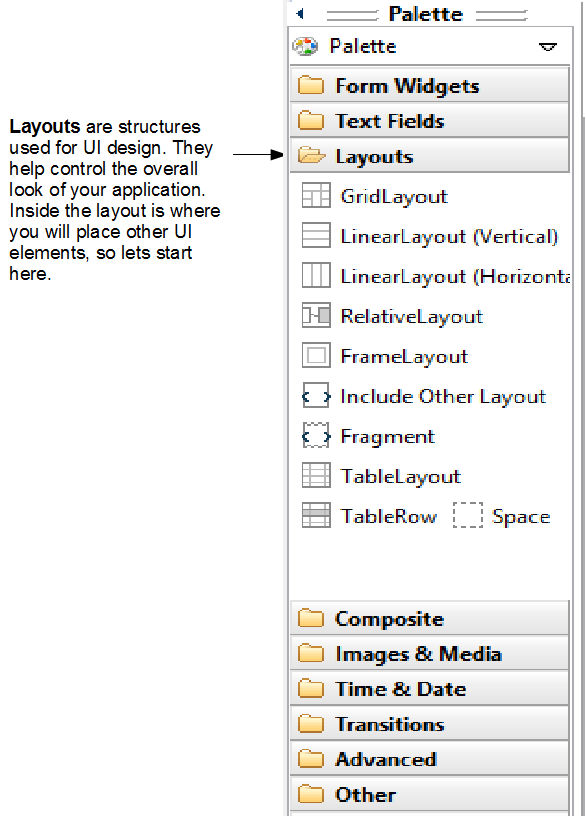
Step 1: Definitions and Basic Components

Step 2: Create a Relative Layout with some UI elements
Step 3: Change to LinearLayout with the same UI elements and two other layouts
Step 4: Code using the current UI Layouts and Controls
Step 5: Add an include Other Layout with a UI Control
Step 6: Add code for our newly added UI Control and run our application
Points of Interest
When I started this tutorial I had never used a ProgressBar, RatingBar, or SeekBar before, so I learned quite a bit through the process of creating it. :)
History

