Introduction
For Support Desk, I used Visual Studio 2015 ASP.NET Web API to host a help desk server. It allows authenticated users to create, edit, and search support tickets, customers, and solutions. The client is in WPF, but any client using HTTP can access the server through Web API allowing the customer to easily customize their client.
Background
Recently, Web API has been updated and some HttpClient code is now legacy. It's difficult to find examples with up to date code especially demonstrating a working server and client. I submit this for your review and hope that it provides a useful example of Web API and connecting client applications.
Define Requirements
The purpose of any piece of software is to solve a problem. Before opening our IDE, we should have a clear understanding of what our software is supposed to do. So let's define the customers' requirements. The customers in this case will be any company that offers technical support and would like to efficiently manage trouble tickets and maintain a solution knowledge base.
Customer needs:
- Create, edit, and search support tickets
- Tickets filtered by department and type of ticket
- Catalog and search problems and solutions
- Create, edit, and search customers
- Add, edit, and search answers in a solution knowledge base
- Support staff connect via the internet, securely
Day One
On day one, we will start a new solution containing an ASP.NET Web Application project. We'll examine the "Controllers" and "Models" folders. Then, make minor changes to the code behind so we can do a simple proof of concept exchange with the client that we can expand on later. You can download the day one completed project here https://supportdeskserverdayone.codeplex.com/ on CodePlex.
Create the Server
To start, open Visual Studio and create a new project. File>>New>>Project.
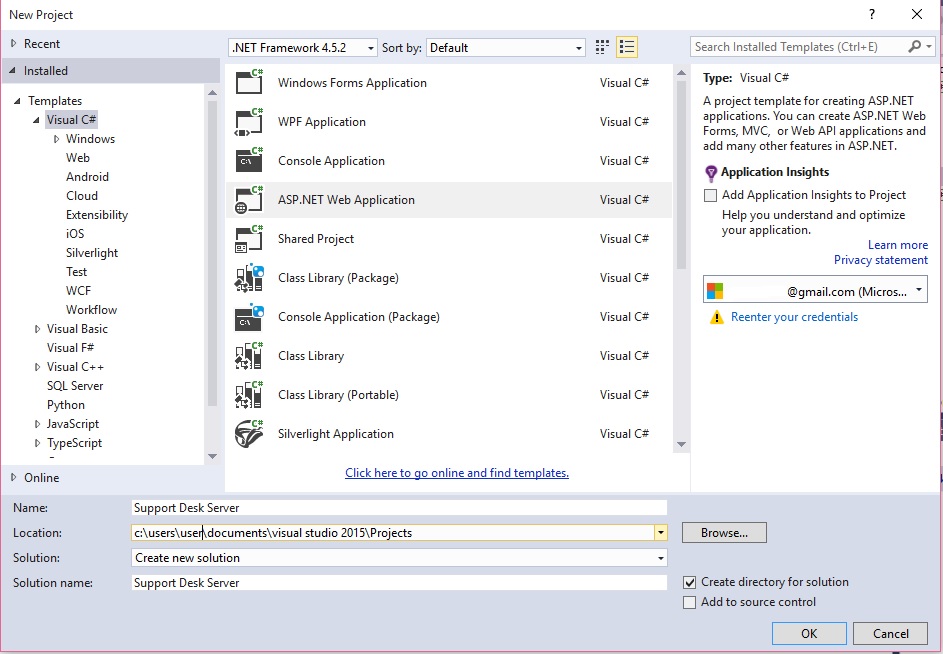
Select ASP.NET Web Application. Set Name to "Support Desk Server". Click OK.
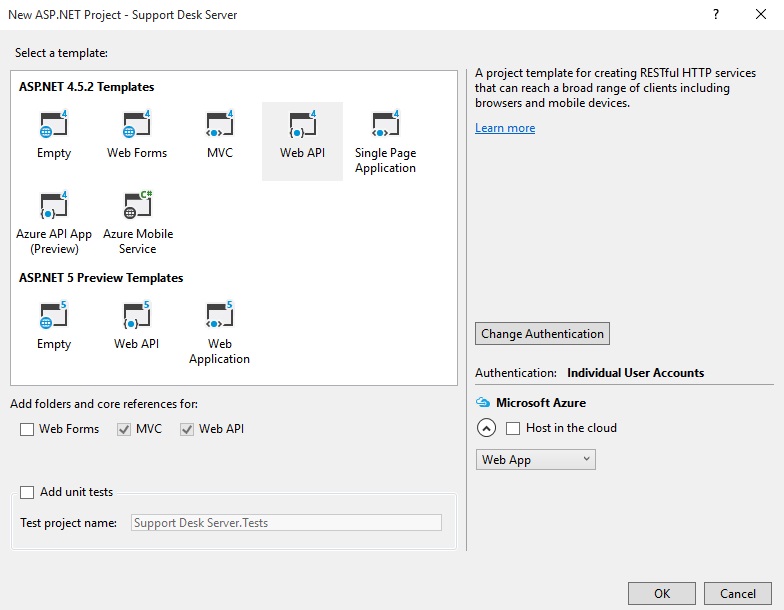
Select Web API and set Authentication to Individual user Accounts and make sure Host in the cloud is unchecked.
There is quite a bit already in our project. For now, I want to point out two folders, "Controllers" and "Models". The "Models" folder contains the data models for accounts and authentication. Later, we will use it for our data models like "SupportTickets".
Now, in the Controllers folder, look at the HomeController, it derives from the Controller class and will look familiar if you have worked with MVC. It returns HTML with documentation on the API with the View() method. The AccountController provides built in authentication. We will use it later to manage our user accounts. Now, open the ValuesController you should have something like this:
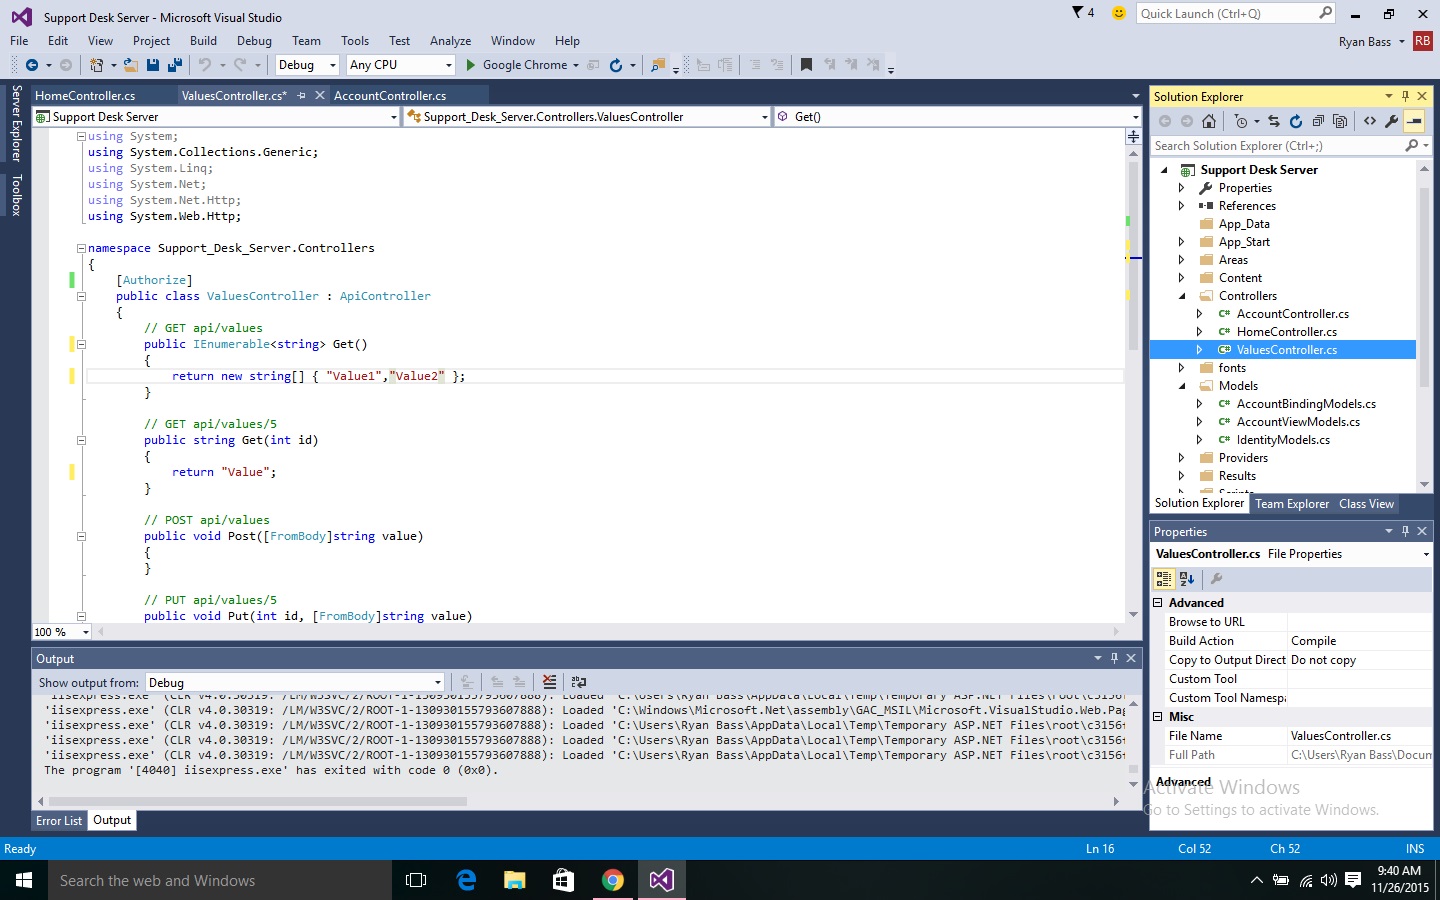
ValuesController derives from ApiController. It's very similar to Controller, but the first difference you'll notice is that we return whatever type we want instead of a view with ActionResult. By default, only authorized user can access this controller. Until we get authentication setup, comment out the [Authorize] attribute above the ValuesController and change the code as follows:
using System.Web.Http;
namespace Support_Desk_Server.Controllers
{
public class ValuesController : ApiController
{
public string Get()
{
return "Hello World!";
}
public string Get(int id)
{
return "Value";
}
public void Post([FromBody]string value)
{
}
public void Put(int id, [FromBody]string value)
{
}
public void Delete(int id)
{
}
}
}
The [Authorize] attribute restricts access to this controller to authenticated users, we commented it out so we can access the controller until we set up authentication. We've changed the return type of Get() to a basic string. When we call Get() from our client, it will return "Hello World!". That is all the changes to the server for now. File>>Save All or Ctr+Shift+S and Debug>>Start Debugging or F5. Your default browser will open View("Index") on the HomeControler.
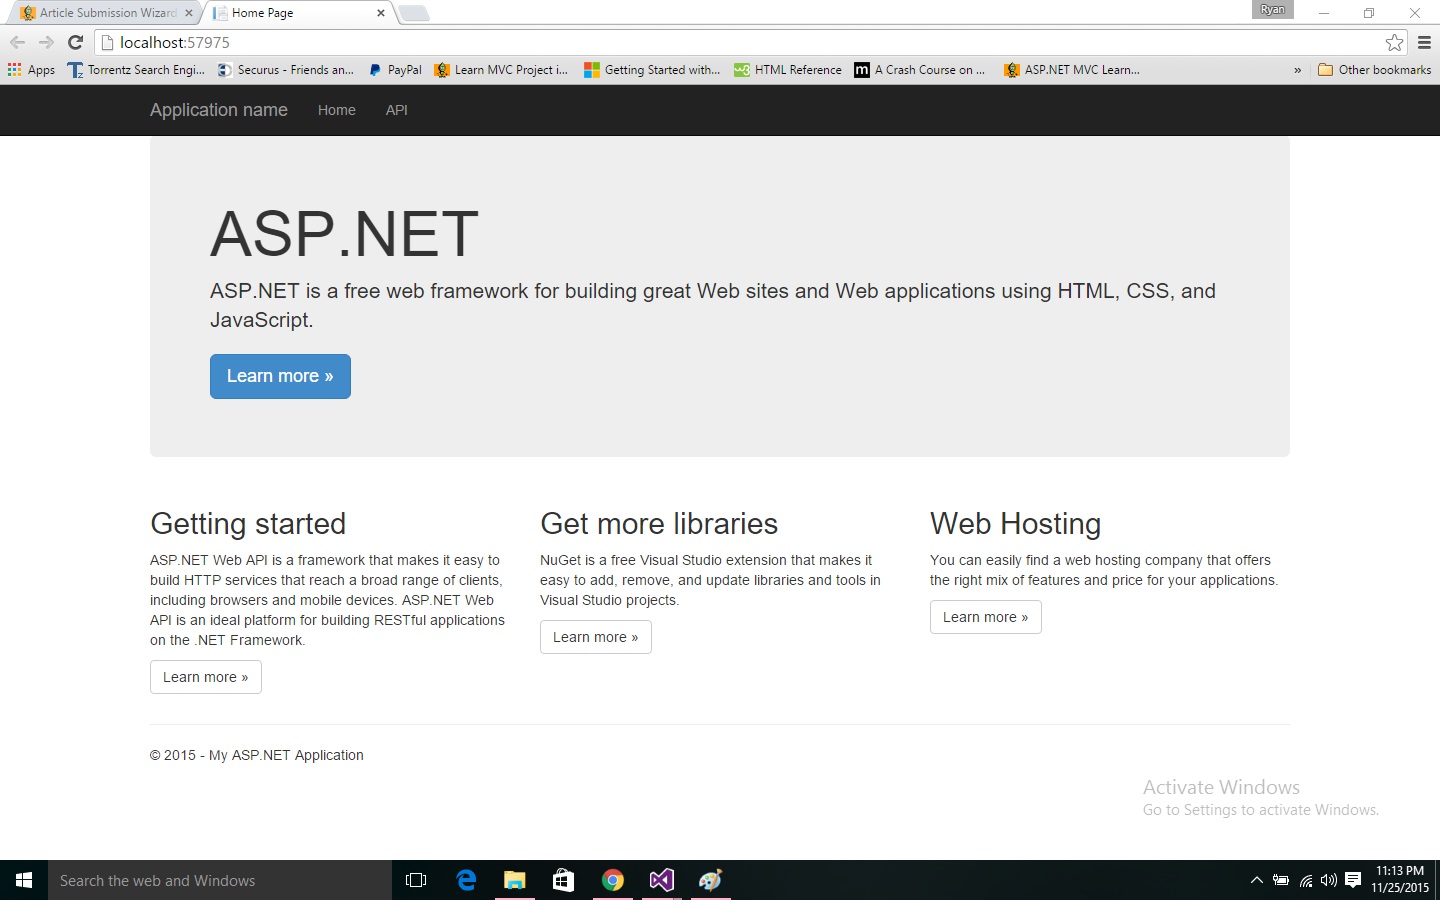
The Url ASP.NET sets up on is a random local port, so yours will differ from "http://localhost:57975/". Take note of your port number as you will have to change it in code as we go or you can change your port to 57975. If you haven't already stopped your project, shift+F5. Change you Project Url to "http://localhost:57975/" here Project>>Support Desk Server Properties>>Web.
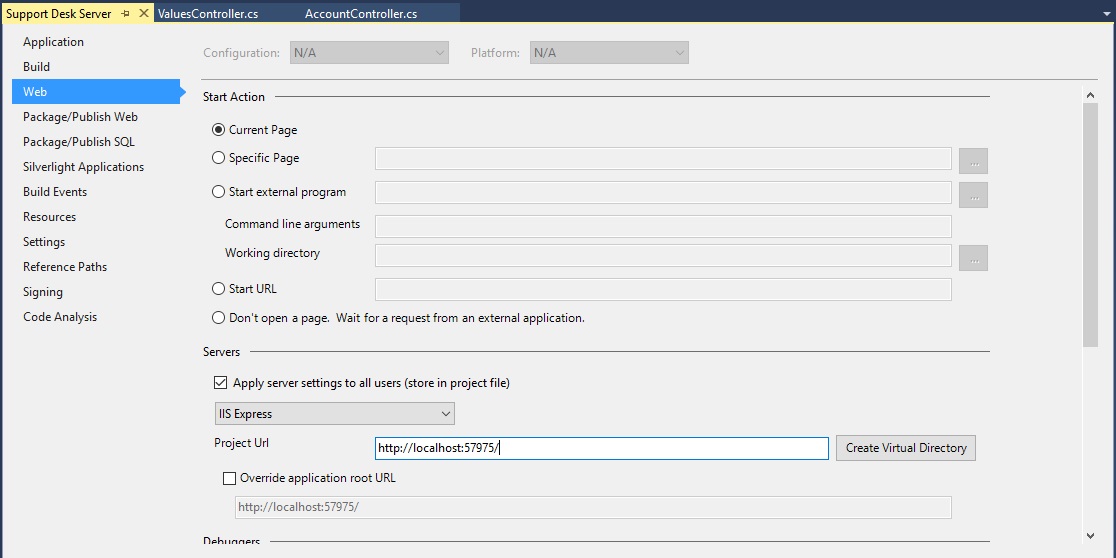
Save all changes and close that window. Leave the solution open, we'll create a separate solution on Support Desk day 2 of n where we'll create a basic client in WPF. Support-Desk-Day-of-n-2
