Introduction
In this article, we will learn how to deploy a .NET console application as an Azure webjob using VSTS.
Azure web job helps to perform common routine jobs such as sending emails, image processing, etc. Any background processing task can be implemented as an Azure Web Job.
There are two types of Azure Web Jobs continuous and triggered.
Continuous web jobs run continuously in a loop and it starts as soon as it gets created. Triggered web jobs run when triggered manually or when scheduled.
How to Deploy a .NET Console Application as an Azure webjob using VSTS
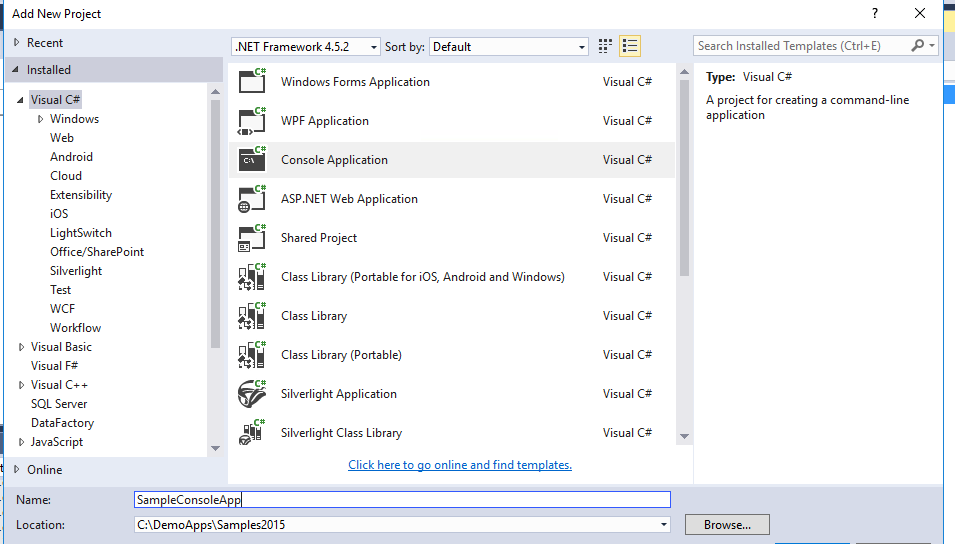
Let’s create a sample console application using Visual Studio as shown below. (I have used VS 2015).
Make sure you have Azure SDK for .NET installed if you are using Visual Studio 2015.
Create a console application as shown below:

Add the solution into VSTS source control.

Right click on the solution and click on “Publish as Azure Job” as shown below:

Select required run mode as shown below:

Close the wizard without publishing the project.
This will generate a webjob-publish-settings.json file as shown below. This file contains scheduling information and name of the webjob.

Set the name of the web job as required in the json file. Check in the project.
Let’s create the build definition in VSTS. Go to VSTS portal and create a build definition with below tasks:

Queue the build in VSTS.

Verify the build artifact. A zip file will be generated.

Create a web app in Azure portal or use the existing web app if it already exists.
Create a release definition in VSTS for deploying the console app as a webjob in Azure portal.

Add the artifact in the release definition.
Add “Azure App Service deploy” task in the release definition to deploy the console app as a web job as shown below:

Provide the values for the task as shown below:

Trigger the release. Once the release is successful, verify the web job in Azure portal:

The webjob is copied in the web app under App_Data/jobs/continuous for continuous webjobs.
To set scheduling for the webjob, add a Settings.job file as shown below in the project in Visual Studio. Set the required schedule. Check in the file into VSTS.

Set the Build Action of Settings file to Content.
Set the copy to Output Directory as Copy if newer.
Update the runmode to OnDemand in webjob-publish-settings.json file as shown below:

Trigger the build and release in VSTS. Verify the schedule in Azure web job. The schedule will be set as shown below:

The webjob is copied in the web app under App_Data/jobs/ triggered for scheduled and on-demand webjobs.
Conclusion
In this article, we saw how to deploy a .NET console application as an Azure webjob using VSTS.
References
