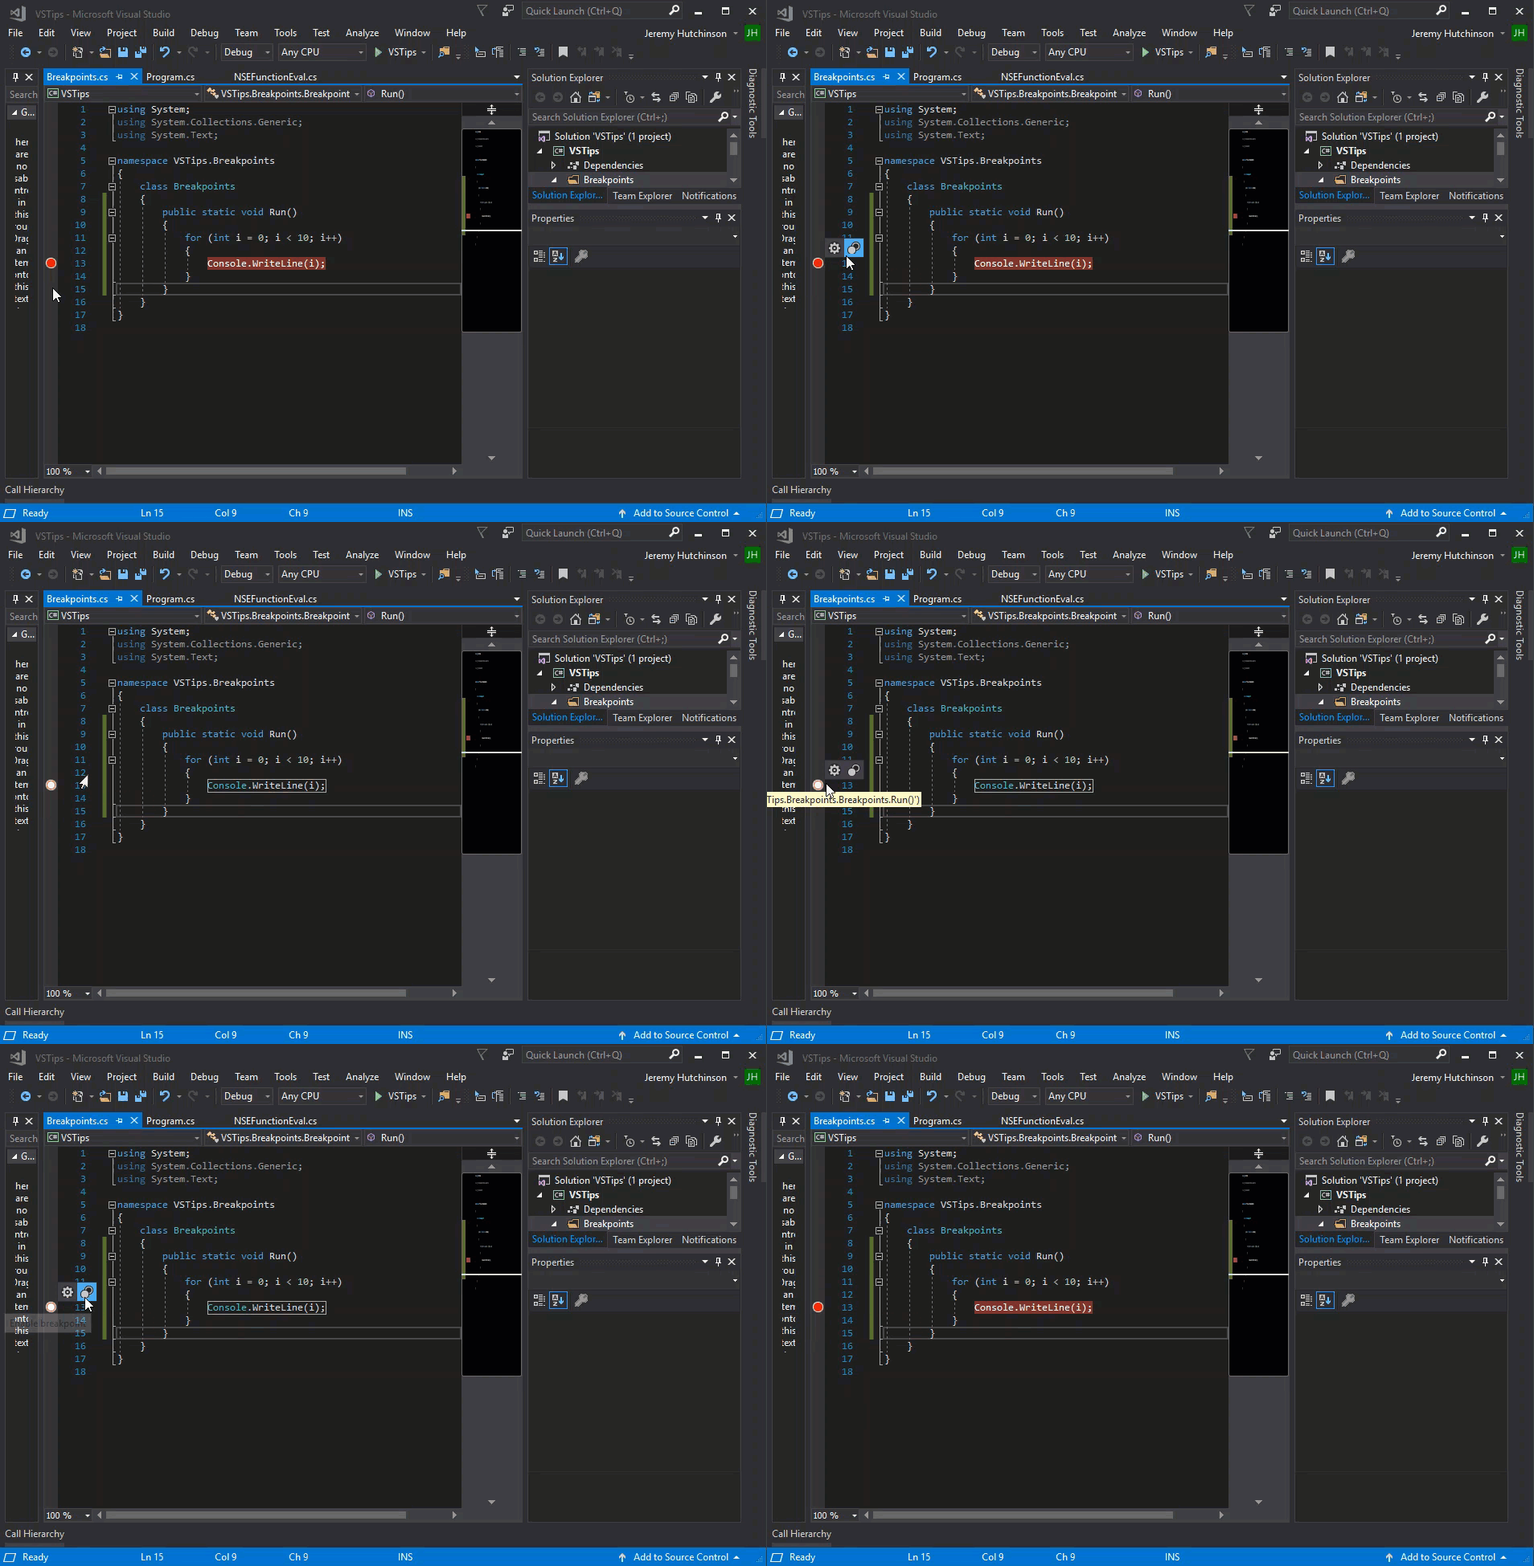
Most of us know about Breakpoints and how to use them, but there are a few under-utilized features of breakpoints that you should be aware of.
You can set a simple breakpoint in a number of ways:
- Move the cursor to the line you want to break on and hit the F9 key
- Right click on the line of code
- Clicking in the gutter
Once you have a breakpoint set, you can do a few things with it. First, you can disable it, if you don’t need the breakpoint right now, but think you might come back to it.

You can also disable all breakpoints from Debug -> Disable all breakpoint. This is handy for when you need to run and get reset, then re-enable all breakpoints and start your debugging again.
You can also make the breakpoint conditional based on the value of a variable or any boolean expression (yes, you can use the No Side Effects formatter). This can be helpful if you want to break when the value of a variable is a certain value.

You can also make the breakpoint conditional based on the number of times a breakpoint is hit. For example, you might know that the first time a breakpoint is hit isn’t interesting to your debugging scenario but every time after that is interesting. You could set hit count > 1.

You can also filter your breakpoints to a single thread or to exclude a thread, either by name or id.
