Introduction
In this article we can explore the Quotas and Locks feature of SharePoint Administration. For all these tasks the user must be a member of
the Farm
Administrator Group.
Quotas
Inside SharePoint 2010, the administrator can control the storage limits of users. A Quota specifies the maximum amount of data that can be stored inside a site
collection. We can also make a Quota Template that can be used across other sites. The Quota Settings allows Email Notifications in case the quota limit exceeded a particular level.
Please follow the steps mentioned to change the Quota Settings.
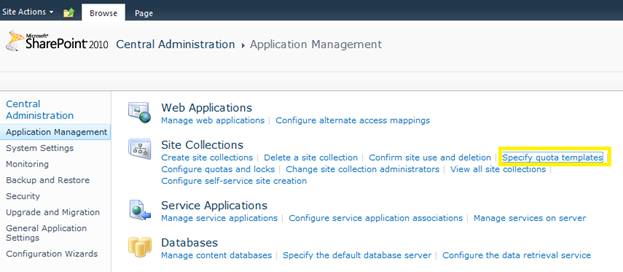
Open the Central Administration website and navigate to Application Settings > Site Collections > Specify Quota Templates.
In the appearing page as shown below you can edit the maximum size for the Personal Site template. You may wish to create a separate template as well.

The Quota Settings will be sending Email Notification in case of the warning limit exceeded.
The above settings are for the Quota Template. Any change in the template will affect all the sites using this template. If you wanted to change only a particular
site collection Quota without changing the Quota template use the following steps.
Click on the Application Settings > Site Collections > Configure Quotas and Locks link as shown below.
In the appearing page you can set the Quota check box. By default it is unchecked.
Locks
Locks allow the administrator to disallow users from viewing / adding / editing / deleting contents in a site collection. This option could be useful while migrating or
doing backup/restore activities. For performing this action the user should be in the Administrators group.
Following are the locking options available in SharePoint 2010.
Not Locked: This is the default scenario where users can view / edit site contents
Adding Content Prevented: Adding new contents are blocked but edit / delete are allowed.
Read Only: Users can only view the contents. Add / Edit / Delete are not allowed
No Access: Users are not allowed to access the site.
For locking a particular site, use the following steps. From Central Administration web site open the Application Management > Site Collections > Configure
quotas and locks option.
In the appearing page as shown below, change the Lock status as shown below.
Click the OK button to save the changes. Now you can try accessing your SharePoint default web site. You will get the following error message.
After testing please ensure you change the lock status back to Not locked.
References
Summary
In this article we have explored the Quotas and Locks feature of SharePoint Administration.

