Introduction
Today, we are going to see how to configure Azure DevOps CI/CD and setup Azure Pipeline using Visual Studio.
Not spending the time on what is Azure DevOps and its feature, we are directly moving to CI/CD. How can we configure this using Visual Studio? We will see this step by step. Once we set up the Azure Pipeline, then on each check-in, it will build the application and deploy the changes on App Service.
In this article, we will see how to configure the CI/CD for a single project in one solution. In the next article, we will see how to configure the CI/CD for multiple projects in one solution.
To know about Azure DevOps and its other features, you can refer to the below blog:
Prerequisites
For configuring the Azure DevOps CI/CD, you need the following tools:
- Azure DevOps account
- Azure Portal Account
- Visual Studio 2012+ (in my example, I am using VS 2019)
Steps
We will see how to configure CI/CD and setup Azure Pipeline using Azure DevOps.
Step 1
Create a new project by using the Azure DevOps account. I am using Team Foundation version control, but you can use Git too.
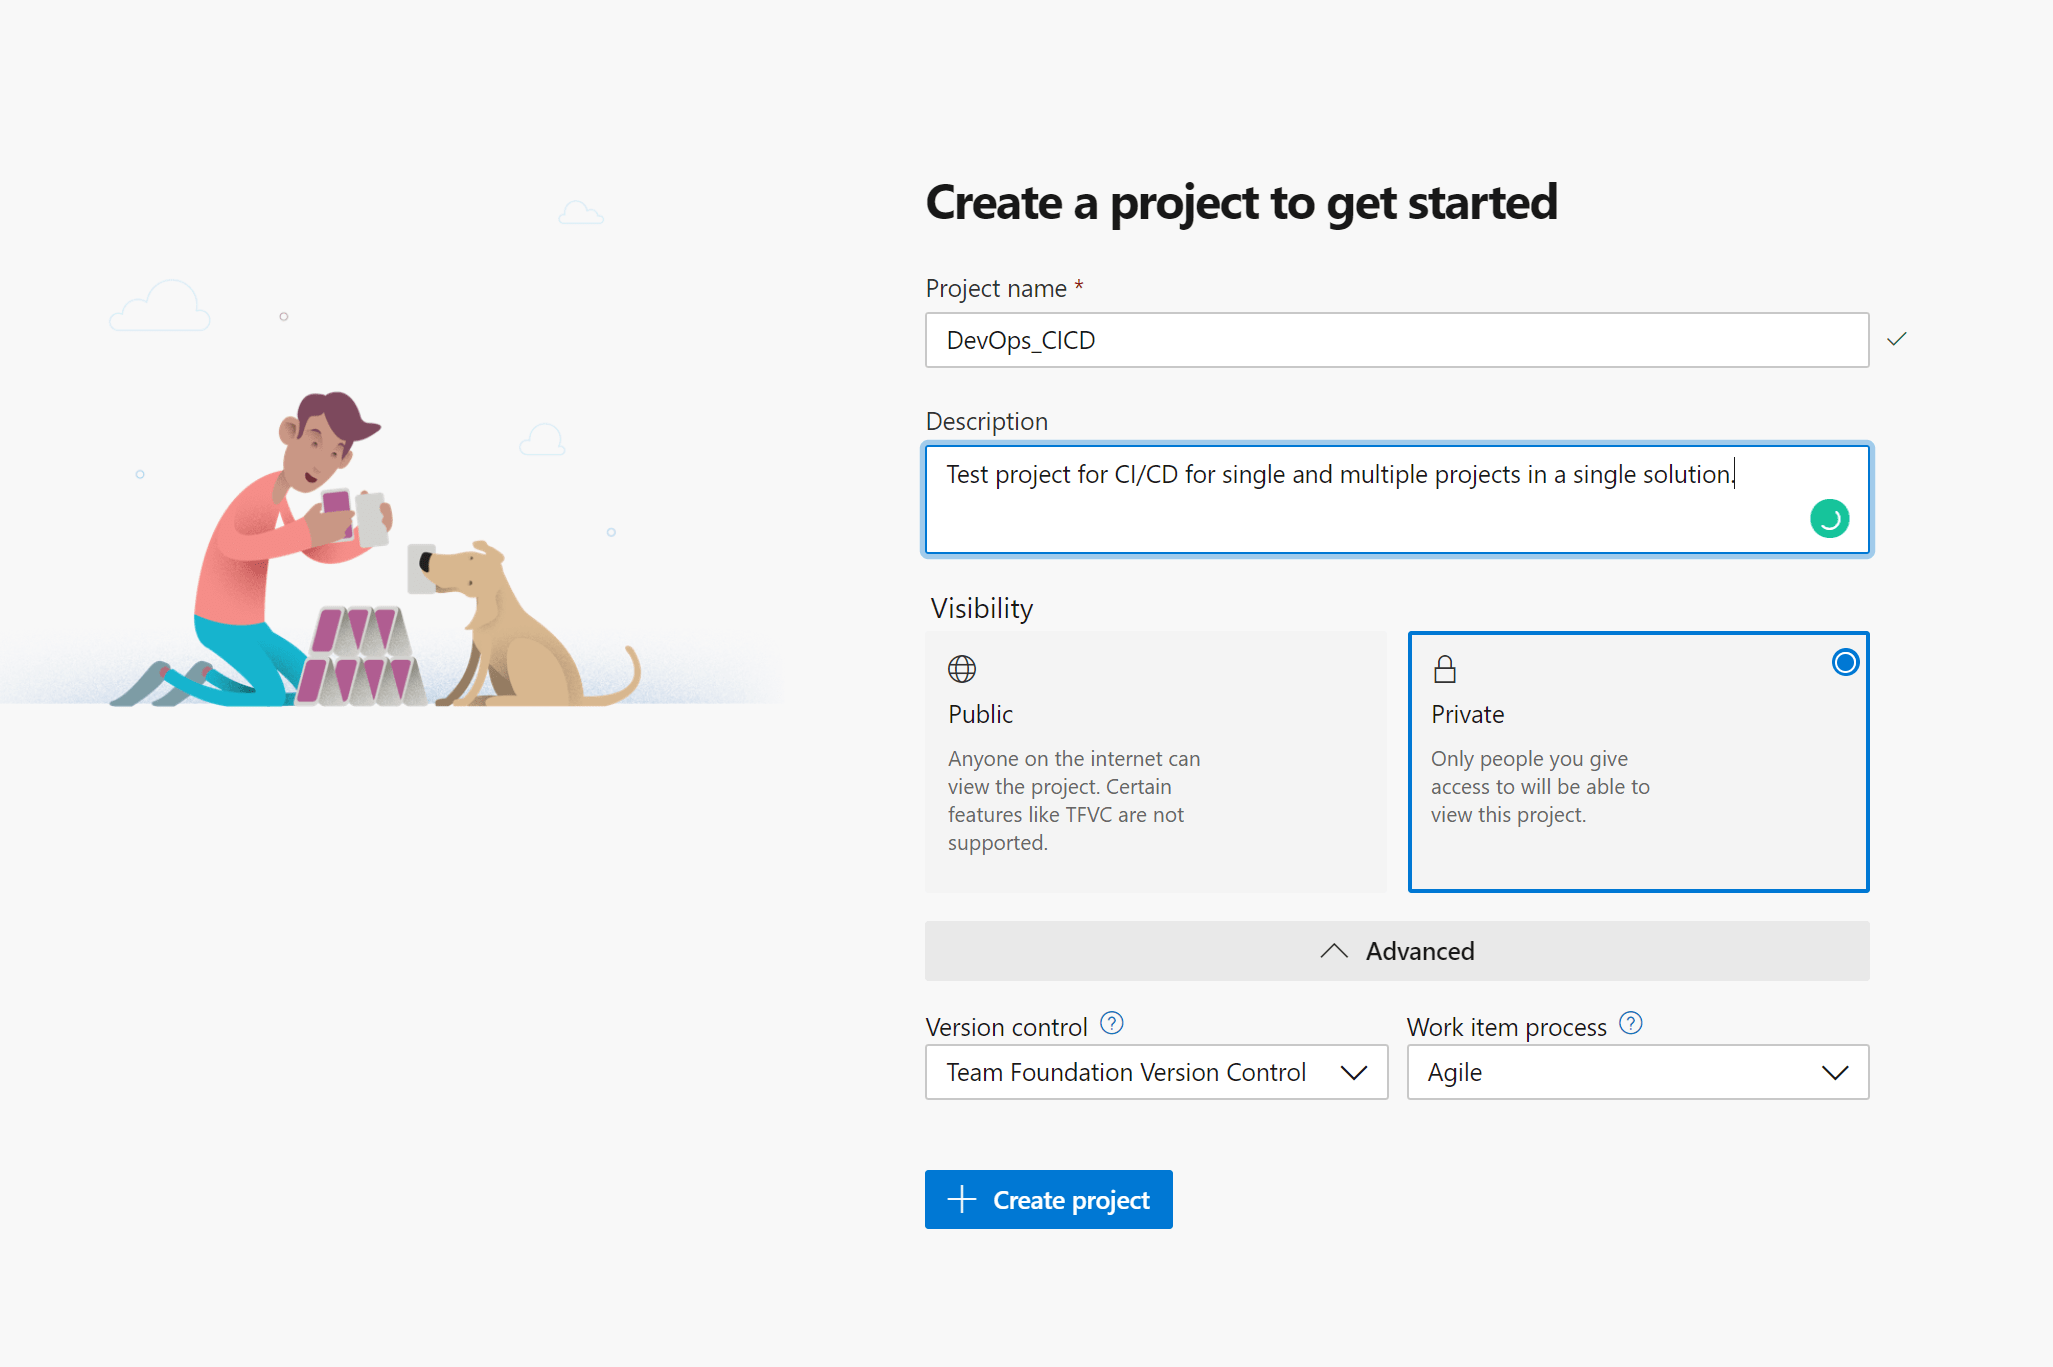
Create Project on Azure DevOps
Step 2
Configure the newly created project in Visual Studio source control on your local system.

Configure Source Control
Step 3
Create a new project with a solution in Visual Studio and add this in DevOps Source Control, then check-in the changes.
Create a New Project with Solution
Creating Project and Solution
Added project in Solution control
Step 4
Setup Azure Pipelines under the publish settings of your solution.
Setup Azure Pipeline
Step 5
Wait for a few mins and then go the pipelines under Azure DevOps. You will see a new Pipeline created and the build of the project has started.
DevOps Pipeline Created
Step 6
Check the Deployment Center on the Azure portal for your App Service, for which you have set up the Azure Pipeline in step 4.
Azure App Deployment Center
Step 7
If there is no error in the build, then after some time, your build has succeeded. It is taking a few minutes. In my example, it takes up to 1min 21 sec.
Build Succeeded
Step 8
As the build succeeds, the new release would be created and started pushing the release changes on App service.
Release the changes
Step 9
Check the App by using URL and you will see the application has deployed.
App Service after First Release
Step 10
Change anything in the application, check-in the changes and see Azure DevOps will build the solution and release the changes.
Heading change
Build has started
After build completed the Release as created
Changes are deployed
Note
We can see all Releases under Deployment Center on Azure Portal.
Azure App Deployment Center
In the next article, we will see how to configure the CI/CD for multiple projects in one solution.

