In this article, I will show you how to easily export the existing user profiles into the Keycloak, which will reduce the manual efforts.
Introduction
When you integrate the Keycloak with your existing application, you may have to migrate all the user profiles into the Keycloak, the traditional way of user creation in the Keycloak is the admin user can use the console to create the new user profile manually, but if you want to create the thousands of users, it would be a time-consuming process. The Python Keycloak package provides an interface to export the user profile into Keycloak.
Background
There is a two step process to export the user profiles into Keycloak.
- Configure the
Admin-cli client in Keycloak - Python script to create users from the JSON file
Configure the Admin-cli client in Keycloak
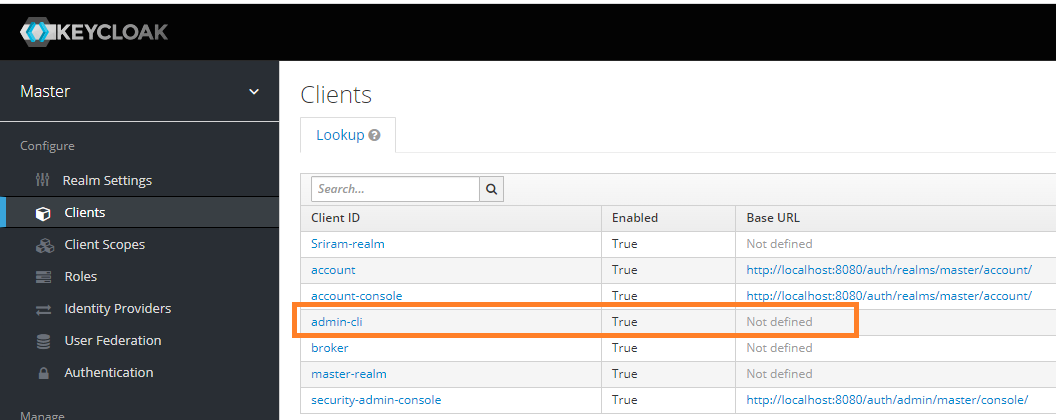
Navigate to the admin-cli:

Change the Amin-cli settings and "Save" the settings:

Assign the Admin role to create the new user:

Generate the secret key or use the existing key:

Python Script to Create Users from the JSON File:
Install Keycloak package: pip install python-keycloak
File Name: Createuser.py
from keycloak import KeycloakAdmin
import json
keycloak_admin = KeycloakAdmin(server_url="http://localhost:8080/auth/",
username='admin',
password='admin',
realm_name="master",
client_secret_key="1gk3ejBO4I5TqiNgiJ7hQL0Tch6ow2xL",
verify=True)
f = open('users.json')
data = json.load(f)
for user in data['users']:
new_user = keycloak_admin.create_user(
{
"email": user['email'],
"username": user['username'],
"enabled": True,
"firstName": user['firstName'],
"lastName": user['lastName']
})
File Name: Users.json
{
    "users":[
        {
         "email": "Blaze.Stokes@yahoo.com",
         "firstName": "Scotty",
         "lastName": "Frami",
         "username": "Kennith_Stokes84",
         "id": "1"
        },
        {
         "email": "Howell.Kuphal8@yahoo.com",
         "firstName": "Norwood",
         "lastName": "Weber",
         "username": "Derrick89",
         "id": "2"
        }
       ]
}
References
History
- 29th July, 2022: Initial version
