Every time I have to print bulk labels - about once a year - I have to find the right instructions and then get confused and swear a lot. I also swear a lot when I want to print a single label on a used sheet. So I assembled this to show me what to do next time.
Introduction
Every Christmas, I have to do the Christmas cards, so I circulate a list of victims recipients so they can be posted in plenty of time and no-one gets forgotten and sulks. This goes on a spreadsheet, which is used as the basis for next year's card list.
But every year, it's the same, I can't remember how the heck you persuade Word to print the damn things, and end up getting confused and swearing a lot. So I typed it up this year, and added the "print a single label" bit as well, because I do that most times I have to use snail mail.
Then I thought I'd share it, because with a guide, it's pretty easy to do.
Printing a Single Label on a Used Sheet.
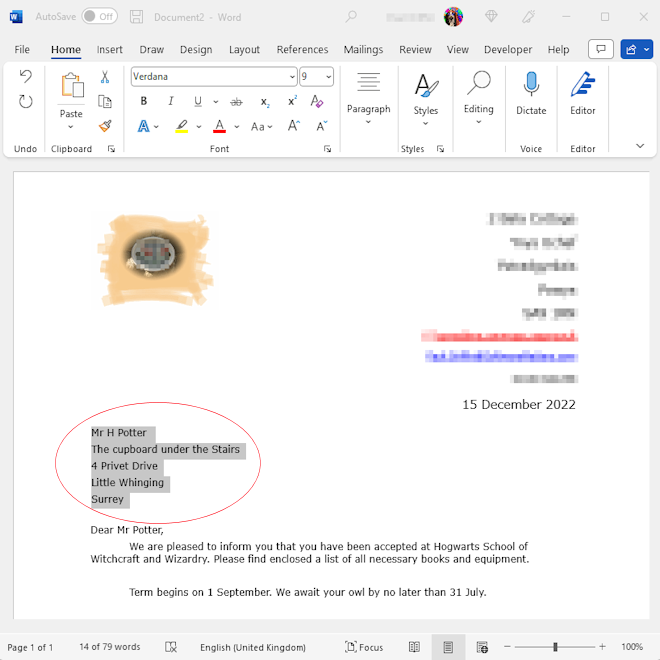
Type your letter in Word as normal, and highlight the "To" address:
Select the “Mailings” ribbon and click “Labels” from the “Create” group.

Under “Print”, select “Single label”, and pick the row and column you want (1s-based).
Click the “Print” button.
Bulk Labels from Excel Sheet
Select the “Mailings” ribbon, and from the “Start Mail Merge” group, open the “Start Mail Merge” drop-down.
Select the “Step-by-Step Mail Merge Wizard…”
Select “Labels” on the right, and press “Next: Starting document” at the bottom right.
Select “Label options” and pick your label type.
Click “Next: Select recipients”.
Click “Use an Existing list”. Click “Browse” to locate the spreadsheet. “Ole DB Database files” is fine and select the right sheet.
Click “Next: Arrange your labels”, then click “Address block”.
Highlight it and change the font, line spacing, etc. as necessary. Press the “Update all labels” button.
Click “Next: Preview your label” If you are happy, click “Next: Complete the merge”.
Click “Print…” and set your paper type (thick is good), then just print as normal.
History
- 15th December, 2022: Original version

