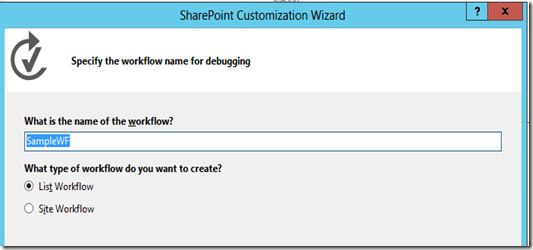
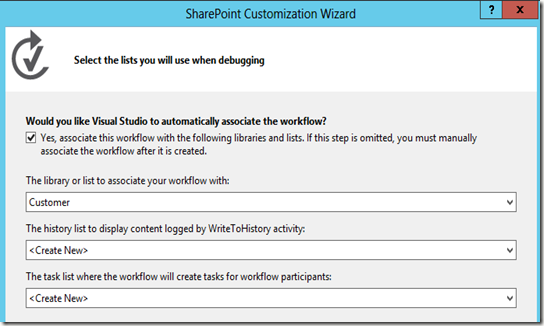
First we need to install and Configure Workflow Manger. You can install it using Web Platform Installer

You can find complete guide here (Prabath’s Blog).


select the options that you need to run the workflow
- Manual
- Item Created
- Item Changed
As a sample WF I’m going to get the “Age” Column in the item and Write it to log and update a column using a message.

Since we need to look the Age Column, i added the LookUpSPListItem to the sequence. In the LookUpSPListItem you need to set properties to currentitem and currentlist as well as valuable you need to retrieve properties (You can change these on right side property window).
Then by clicking get properties VS generates a GetDynamicValueProperties action. In there you need to select the variable as the Source and specify properties you need to retrieve.

Then drag and drop a WriteToHistory Action to the sequence. here you can go to properties and specify the message you need to log to history.
Then you can insert UpdateListItem with the Property and variable you want.
And ultimately you can deploy the workflow to your server.

I will put another set of posts by saying how each and every workflow actions works. This post is only touching overall process (steps) to deploy a workflow. :D
