Introduction
In software projects, we often come across scenarios where we have to implement separate concrete classes for a given interface. Let’s deliberate this with a real life example. Consider a virtual store that supplies electrical equipment. The store receives the equipment from various vendors. The store decides to implement a web service to retrieve the data and designs the service interface and concrete implementation. However, it is found that there are altogether 50 vendors and they have to write 50 separate services. This solution will be a maintenance nightmare, how to resolve it?

Background
Inversion of Control ( IoC) usually is limited to one class per interface. The binding process usually enforces a one-to-one correspondence. What if the application uses different classes that implement the same interface for different purposes?
Solution with Ninject
Using Ninject, you can bind an interface to concrete implementations at runtime. For example, the virtual store can have all these vendors (i.e., concrete class each) sharing an interface derived from a common one. At run time, the application determines the specific interface, searches for the corresponding implementation using a dictionary and allows Ninject to map the interface to the concrete class.
Using the Code
Code Explanation
With Ninject, your type bindings are collected into groups called modules. Each of these modules represents an independent segment of your application. They can be organized however you like. Modules just need to implement the NinjectModule interface as shown below.
Bind<ILaunchServiceHelper>().To<LaunchServiceHelper>();
  Bind<IVendorA>().To<VendorA>();
  Bind<IVendorB>().To<VendorB>();
Once you create modules, you load them into a container called the kernel. As the name suggests, the kernel is the core of your application. To request an instance of a type from Ninject, you call the kernel's Get() method
var kernel = new StandardKernel(new VendorServiceModule());
  _ServiceHelper = kernel.Get<ILaunchServiceHelper>();
Ninject Magic
The main logic of the application is based on a dictionary. The dictionary consists of pair of VendorName and Interface. If you have 50 vendors, there will be 50 pairs. When the application runs, it checks if the selected vendor is presented in the dictionary. If the vendor is found, the Ninject module magically brings the corresponding class. All you need is to ensure that the corresponding concrete class is present in the solution.
_vendorDictionary.ContainsKey(show) ? _vendorDictionary[show].ImportData(out  serviceoutput) :
    show.ToString() + " is not mapped to a class"
In the code sample above, ImportData is part of the Ninject interface called ILaunchServiceHelper. If vendor is found (in the dictionary), this interface checks the chain of dependency to determine if the concrete class is present and dynamically instantiates the vendor object.
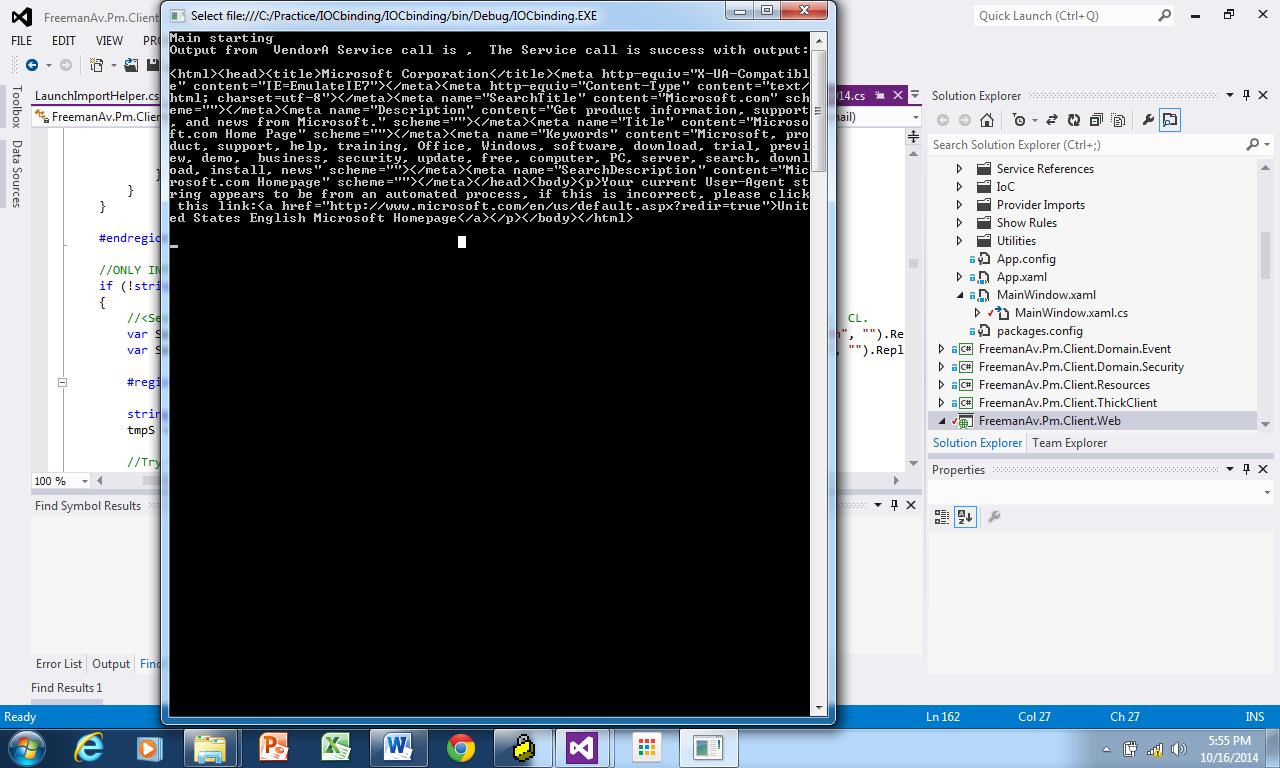
In our implementation, VendorA and VendorB each implement ImportData method. We have implemented a HttpWebRequest to http://www.contoso.com to simulate a web service call. VendorA is using ResponseStream while VendorB is using GetResponse – to show that the service calls are different.
The application doesn’t know which vendor is being called, it knows only at runtime – when the Vendor name is retrieved from the configuration file. It is the Ninject which knows how to find and bind the Vendor interface and Vendor implementation. It is a convenient approach; the vendor list can quickly grow large and difficult to manage. With Ninject, you can selectively bind to one of the implementations and the approach is quite simple.
Points of Interest
The sample project can be enhanced to run in Windows task scheduler. Suppose you are expecting to access VendorA on Monday, Tuesday and Friday and VendorB on Wednesday and Thursday. You can schedule the same with task scheduler by attaching to the specific Vendor. You can also implement a repeating task like calling the Vendor service every hour.
History
- 17th October, 2014: Initial version
