Introduction
I recently got a hold of this while searching the web for learning JavaScript. This got me quite interested. I had been using jQuery for a while now, and it really simplified DOM scripting ! Also, I had used several jquery plugins like unslider but never thought of creating my own, but reading the simple tutorial, I realised it was quite easy, so I went on creating my own - box-drop.
Your First Plugin
The first plugin we'll create is extremely simple. It's just going to log the id of every element it is called upon. Now, think how will other developers use this. As all the other jQuery plugins, it will be invoked using something like:
$('div').plugin();
We'll use the following code in the jquery.logid.js, which is the plugin file:
$.fn.logId = function() {
  return this.each(function() {
    console.log(this.id);
  });
};
And then, add some divs with ids in the HTML document and run the plugin using:
$(function (){
    $('div').logId();
} ();
Take a step back to figure out exactly what happened here. The first line ($.fn.logId = function()) adds your method, i.e., logId, to jQuery. This is also referred to as extending jQuery.
Adding a method to the $.fn method means it’s available to be used on a jQuery object, because a jQuery object is the result of running $('div') or similar. All this line does is add a new property to $.fn, logId, which is equal to a function.
Next, let's look at the this.each method. Within the function, the value of this is the jQuery object your function was called on. So when you call $('div').logId(), the value of this refers to the jQuery object containing the result of $(“div”), which will contain all the divs on the page. Therefore, you want to loop over every element within this, so you can run your code on every element.
Next, let's see why have we used return. This makes the plugin chainable, i.e., you can call something like:
$('div').logId().attr('class')
This is because the jQuery object is returned. if nothing is returned, this cannot be possible. Unless your plug-in is specifically designed to return a particular value, it should always be chainable. People will assume your plug-in is chainable—and they will get mighty confused if it’s not.
The Box-Drop Plugin
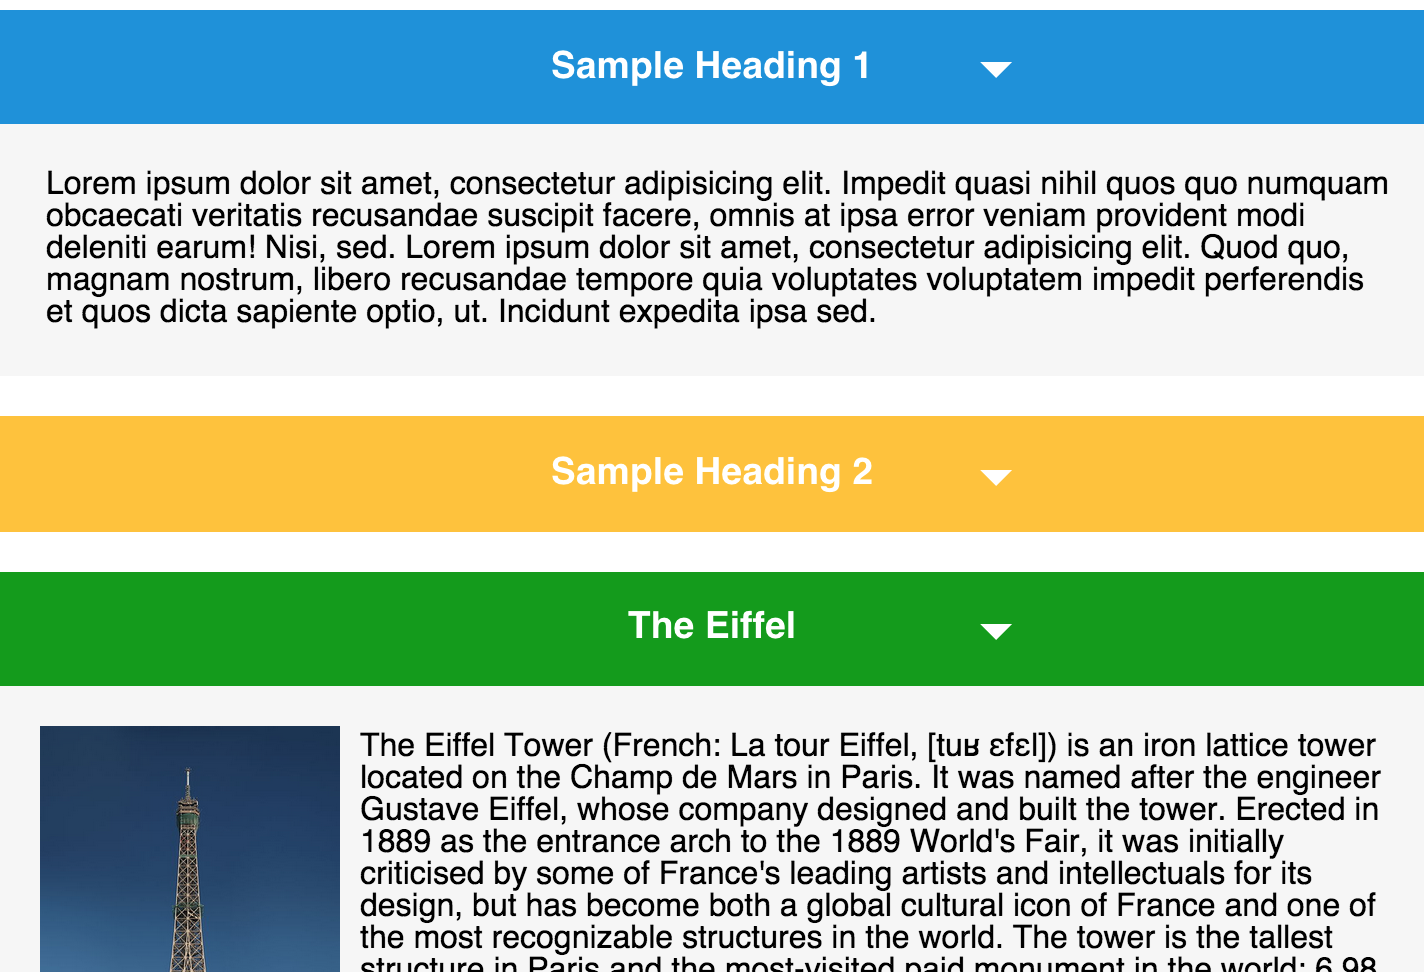
So what's the box-drop plugin ? You can see it live here. You must have seen websites which have some boxes filled with content which expands or collapses on clicking the arrow ? box-drop's similar, but in the form of a jQuery plugin.

The Box-Drop Plugin
You can see in jquery.boxdrop.js, the code is something like:
(function($){ ... }(jQuery);
But why? Why don't we just start with it? It's because if you're developing a plugin, it could be used by anyone and the person may/may not be using $ for jQuery. This could lead to a conflict, so it's better to use this way.
Animation
jQuery has a lots of animation functions. The $.slideUp and $.slideDown functions have been used in the box-drop plugin to animate it, but it also supports custom animations. Like:
$('.box-container').boxdrop(function ($element){
$element.fadeToggle();
}
This means that jquery plugins can take an argument. Just add the argument to the $.fn function to add arguments and you are done. It's often recommended that you keep only one argument. If you require multiple arguments, you can use a JavaScript object. The $.extend method comes helpful in this case.
$.fn.plugin = function(options){
    var defaults = {
         'class':'container',
         'id': 'main'
    }
    var finalOptions = $.extend(defaults, options)
}
This merges the defaults and the user supplied options. In case of the box-drop plugin, I didn't use an object literal because it requires only one argument which too is optional.
Go ahead, play with the plugin and share your cool implementations with jQuery !!
Plugin Methods
The next big thing was how was the user to interact with the plugin ? jQuery recommends that you should take only one slot in $.fn . So, while creating a simple TreeView plugin, I followed a simple practice.

The jQuery TreeView Plugin
See below
function treeView (){
return {
init: function(){
},
func1: function(){
},
func2: function(arg){
}
}
}
The initialisation code looks something like this -
$.fn.treeView = function(options) {
var args = (arguments.length > 1) ? Array.prototype.slice.call(arguments, 1) : undefined;
return this.each(function () {
var instance = new treeView($(this));
if ( instance[options] ) {
return instance[options](args);
} else {
instance.init(options);
}
});
}
Using the following code, we can minimise the use of using conditional and instead use good object-oriented design. Methods can be invoked as -
$('selector').treeView();
$('selector').treeView('func1');
$('selector').treeView('func2', 'argument');
History
- Feb 9, 2015 - Initial release
