Introduction
Working in the field of Computer Vision for a decade, I have been using popular application frameworks to help me accomplish complex tasks, such as image processing, object tracking, face detection, and more.
Two of these tools are OpenCV and CUDA.
- OpenCV is a set of programming modules that help us accomplish complex real-time computer vision tasks easily. Due to its reliability and open-source philosophy, it’s been one of the most popular computer vision tools.
- CUDA is a parallel computing toolkit that allows us to use the power of an NVidia GPU to significantly accelerate the performance of our applications.
James Bowley has published a detailed performance comparison, where you can see the impact of CUDA on OpenCV.
However, the official OpenCV binaries do not include GPU support out-of-the-box. To harness the full power of your GPU, you’ll need to build the library yourself.
The following guide will show you how to compile OpenCV with CUDA support.
For your convenience, I have uploaded the latest stable compiled binaries.
Remember: If you download the binaries, share this post to help other developers, too!
System Requirements
Hardware
Ensure you have a computer with the following specifications:
- GPU with CUDA support (tested on Nvidia 1060)
- CPU Intel Core i7 (recommended)
Software
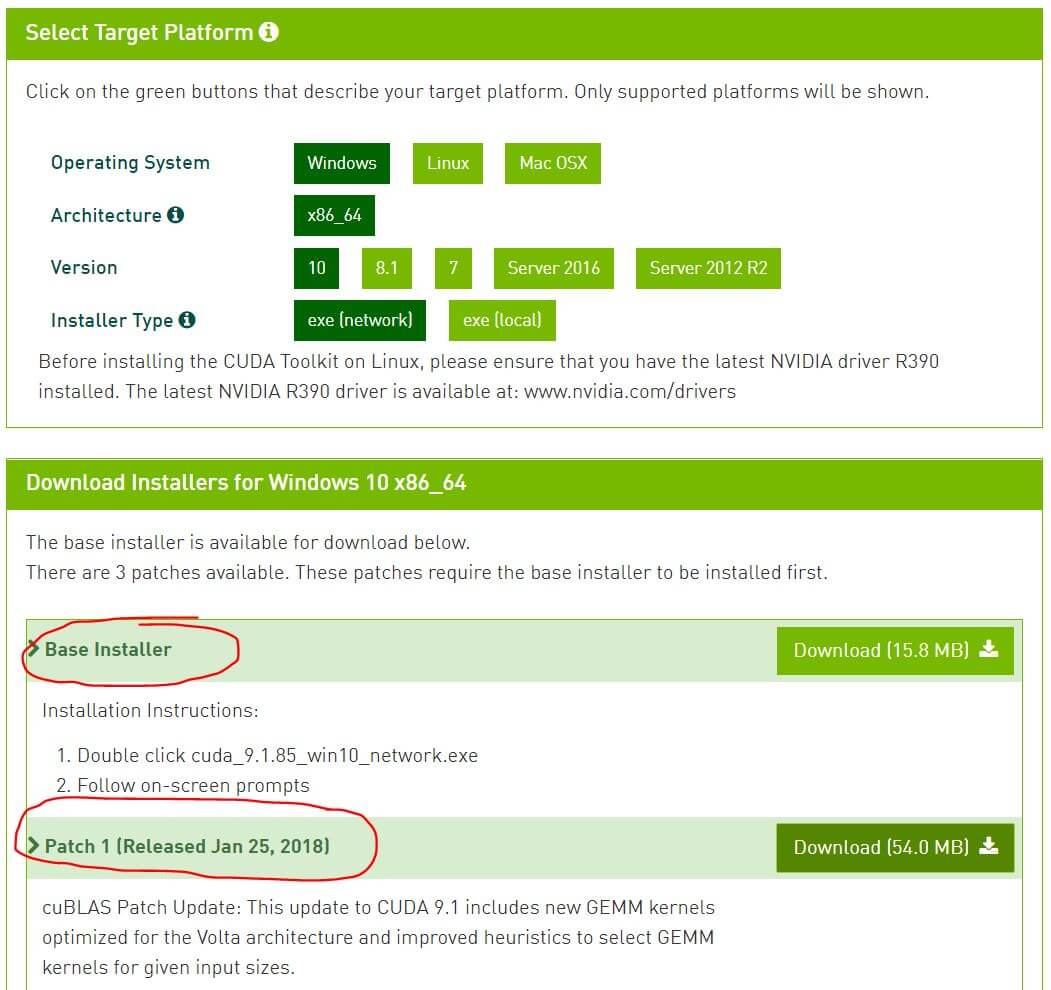
Download and install the following software:
Nvidia CUDA download page:

Nvidia cuDNN download page:

Build/Compile OpenCV
This is how to download and compile the latest version of OpenCV with CUDA support.
Clone OpenCV to the desired location in your disk:
git clone https://github.com/opencv/opencv.git</code>
In my case:
C:\Users\Vangos\Projects\OpenCV</code>
Also, switch to the latest stable branch, e.g. “3.4”.

2) Generate the Visual Studio Solution
Before going on, ensure that your Path Environment Variable includes the following path:
C:\Program Files (x86)\Windows Kits\8.1\bin\x64

In case the path is not included, add it manually.
Open CMD and type the following command. Replace PATH_TO_SOURCE with the path of the OpenCV installation (e.g. C:\Users\Vangos\Projects\OpenCV).
"C:\Program Files\CMake\bin\cmake.exe" -B"PATH_TO_SOURCE\build"
-H"PATH_TO_SOURCE" -G"Visual Studio 14 2015 Win64" -DBUILD_opencv_world=ON
-DWITH_CUDA=ON -DCUDA_FAST_MATH=ON -DWITH_CUBLAS=ON -DINSTALL_TESTS=ON
-DINSTALL_C_EXAMPLES=ON -DBUILD_EXAMPLES=ON
In my case:
"C:\Program Files\CMake\bin\cmake.exe" -B"C:\Users\Vangos\Projects\OpenCV\build"
-H"C:\Users\Vangos\Projects\OpenCV" -G"Visual Studio 14 2015 Win64"
-DBUILD_opencv_world=ON -DWITH_CUDA=ON -DCUDA_FAST_MATH=ON -DWITH_CUBLAS=ON
-DINSTALL_TESTS=ON -DINSTALL_C_EXAMPLES=ON -DBUILD_EXAMPLES=ON</code>
3) Compile!
Navigate to the PATH_TO_SOURCE folder and open the build directory. Find the OpenCV.sln file and open it with Visual Studio 2015.
In the Configuration Manager, select the following:
- Active solution configuration: Release
- Active solution platform: x64

In your Solution Explorer, find the project named INSTALL.

Right-click the INSTALL project and select “Build”.
Then, wait patiently while Visual Studio builds the project. Depending on your computer specs, it may take lots of minutes or even hours!
4) Verify the Installation
When the compilation process is finished, the binaries should be under the build\install directory.

You can now follow the official OpenCV guide and integrate OpenCV with CUDA support in your own applications!
Running OpenCV with Visual C++
When running your OpenCV projects using Visual Studio, you need to add the following information in your Project Properties window:
C/C++ → General → Additional Include Directories
C:\Program Files\NVIDIA GPU Computing Toolkit\CUDA\v9.1\include</code>
and:
C:\Users\Vangos\Projects\OpenCV\build\install\include</code>
Linker → General → Additional Library Directories
C:\Program Files\NVIDIA GPU Computing Toolkit\CUDA\v9.1\lib\x64</code>
and:
C:\Users\Vangos\Projects\OpenCV\build\install\x64\vc14\lib</code>
Linker → General → Additional Dependencies
opencv_world400.lib</code>
and:
cudnn.lib</code>
This is it! You can now use the full power of a GPU-accelerated OpenCV build.
Again, if you just want the precompiled binaries, I have uploaded them for you. Before downloading, please do me a favor and share this post on social media. This way, you are going to help other developers access great resources.
So, did you find this tutorial helpful? How are you going to use OpenCV with GPU CUDA support? Let me know in the comments below!
The post How to Build OpenCV for Windows with CUDA appeared first on Vangos Pterneas.
