Hi All,
Here is some cool stuff to deploy windows application using "ClickOnce" without using VS 2005 IDE. Please fallow the steps given below to publish your application at IIS.
Steps:-
1. Please create one folder under wwwroot folder for example FirstClickOnce.
2. Create one subfolder under FirstClickOnce for example FirstClickOnce_1_0_0_0 since first time you are publishing application.
3.Copy your .exe & .dll from bin\debug folder into FirstClickOnce_1_0_0_0.
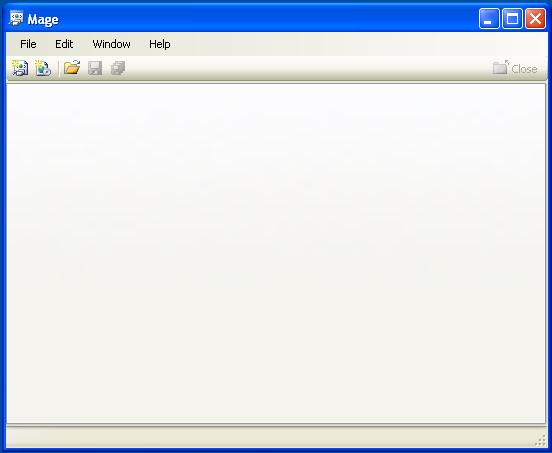
2.Go to Start-->Program-->Microsoft .Net Framework SDK v2.0-->SDK Command Prompt & type MageUi.exe one window will open,

3. Create a new application manifest by selecting File, New, Application Manifest from the menu.
4. On the default Name tab, enter the name and version number of this deployment.
5. Select the Files tab and click the Browse... button next to the Application Directory text box.
6. Select the directory containing your application files that you created in step 2, and click OK on the folder selection dialog box.
7. Click the Populate button to add all your application files to the file list. If your application contains more than one executable file, mark the main executable file for this deployment as the startup application by selecting Entry Point from the File Type drop-down list. (If your application only contains one executable file, MageUI.exe will mark it for you.)
8. Select the Permissions Required tab and select the level of trust you need your application to assert. The default is Full Trust, which will be suitable for most applications.
9. Select File, Save from the menu, and save the application manifest. You will be prompted to sign the application manifest when you save it.Save it in folder created in step 2.
10. Select File, New, Deployment Manifest from the menu to create your deployment manifest, and then on the Name tab, supply a name and version number (1.0.0.0 in this example).
11. Select the Publisher tab, and supply values for Publisher and Product. (Product is the name given your application on the Windows Start menu when you install your application locally.)
12. Switch to the Deployment tab, and uncheck Use .deploy file name extension & type start location as shown below,

13. Switch to the Update tab, and specify how often you would like this application to update. If your application uses the ClickOnce Deployment API to check for updates itself, clear the check box labeled this application should check for updates.
14. Switch to the Application Reference tab. You can pre-populate all of the values on this tab by clicking the Select Manifest button and selecting the application manifest you created in 9 steps.
15. Choose Save and save the deployment manifest to disk. You will be prompted to sign the application manifest when you save it. Save deployment manifest in folder created in step 1.
That’s it now browse .application file from location given in step 12 for example
http://10.42.30.40:86/FirstClickOnce/FirstClickOnce.application
For any further queries plesae fill free to ask me on,
a.malpani@zensar.com
