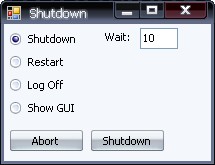
Introduction
Some programs have a "Reboot your computer for changes to take affect" option after installing updates or changing settings. But how do they reboot your computer? It's very simple. You just call "C:\WINDOWS\System32\ShutDown.exe", which is the same as typing "Shutdown" in the Command Prompt (in Windows XP).
Arguments
Here is a list of all the arguments used:
- -i: Display the GUI interface
- -l: Log off
- -s: Shutdown the computer
- -r: Shutdown and restart the computer
- -a: Abort a system shutdown
- -f: Forces all windows to close
- -t xx: Set timeout for shutdown to xx seconds
Starting the Shutdown Process
Start the shutdown process by calling ShutDown, like so:
System.Diagnostics.Process.Start("ShutDown", "/s") 'Shutdown
And to abort the shutdown:
System.Diagnostics.Process.Start("ShutDown", "/a")
This is very important to have when testing your app, because otherwise there is no way to stop the shutdown process.
Shutdown Dialog
After you start the shutdown/restart process, a dialog will appear with a warning to close all running processes before the computer shuts down.

This screen is required to give users a warning that their computer is about to be shutdown so they can close all running processes, but this can be disabled by using the -f argument, which forces all windows to close.
GUI Interface
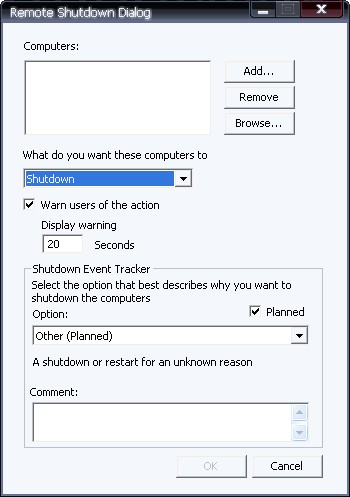
This is the GUI interface which allows advanced customization of the shutdown process. For example, you can set which computers to shutdown, the process for each computer (shutdown, restart etc.), set a shutdown timer, and much more.

Conclusion
Overall, I don't really like the shutdown process, it's not very customizable. I think that would make a good addition to the .NET Framework, which would allow more control. But if you just want a simple function to restart your computer, this is perfect.
Also, using this shutdown example will not work in Windows ME or below, only in Windows XP. And, administrators can block unauthorized users from shutting down the computer, which can cause problems.
