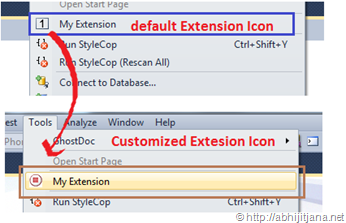
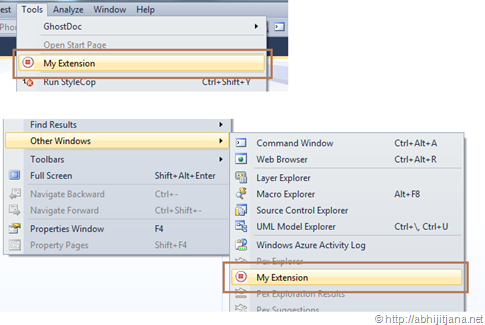
If you have dealt with Visual Studio Extension (VSIX), you must have seen, after the extension installation, default icons are predefined (as shown in the below image). In this post, I am going to describe how you can customize /change the default Visual Studio extension icon and provide your own icon over there.
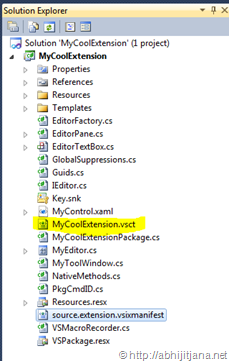
Before looking into how we can change the icon, first have a quick look at how this command customization works. Once you create a new Extension Project, move to Solution Explorer, open the .VSCT file as highlighted below. This .VSCT file defines the actual layout and type of the commands. It is divided in different sections (e.g. command definition, command placement, …), with each defining a specific set of properties. If you want to customize any of the sections where you want to place your extension, you have to change this file.
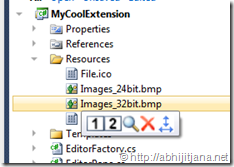
Open the vsct file and move the Bitmaps section. you will find by default image reference is picking up from Resources\Images_32bit.bmp file.
This bitmaps section is used to define the images in command window or others windows. In the below image definition, a list of images has been given as “UsedList”.

All the UsedList images must need be specified in a GuidSymbol area:

So, you have noticed for each and every image, there is an IDSymbol and Value. Now based on Symbol name (guidImages) and id specified in the command area, images will be picking up from the resource.
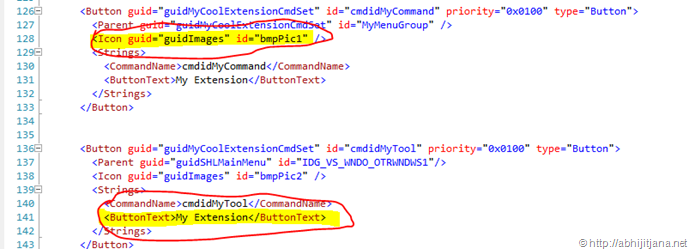
So, this is how Icons in Visual Studio Extension are displayed. Let’s have a look at how we can customize them. If you want to customize, the first thing that you need is a 16*16 24bit Bitmap Image. So, first create an image as per your extension, place the same inside the Resource folder. This can be a list of images, with 16*16 size of 24bit mode or you can use a single image as well. I have used one single image to make it simple.
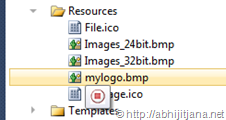
Now, move to the GuidSymbol area, remove all the previous entries and add your new image name as IDSymbol.

Once done, the only remaining task is to provide the same name, in the command Button Icon area.
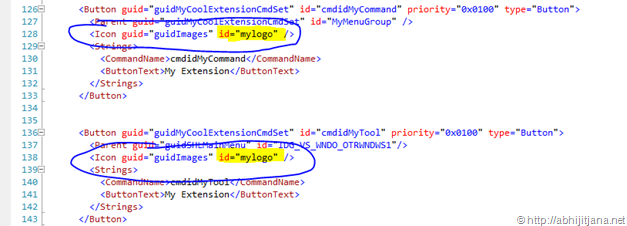
The final change we need to make is to change the mapping in BitMaps area of vsct file.

Once done, run your extension, you can view the customized icon in all the applied command areas.
Hope this will help you!
Cheers!
AJ
Filed under:
.NET 4.0,
Visual Studio 2010,
VSX 


